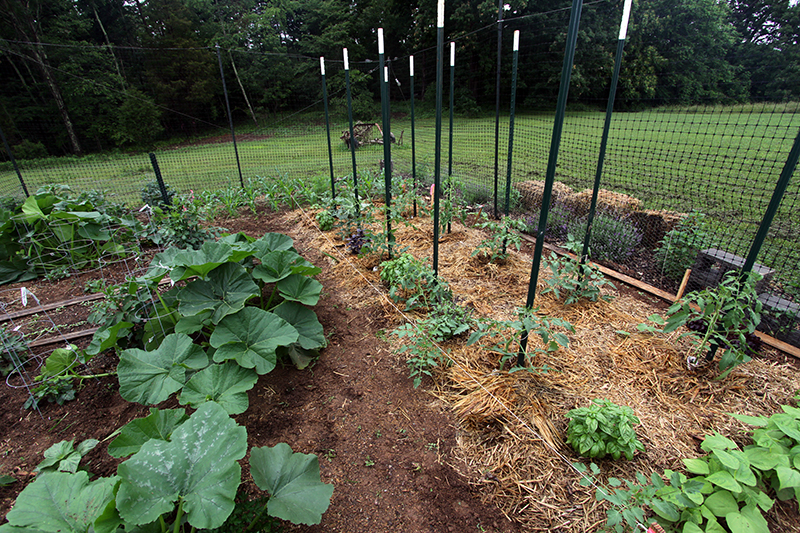
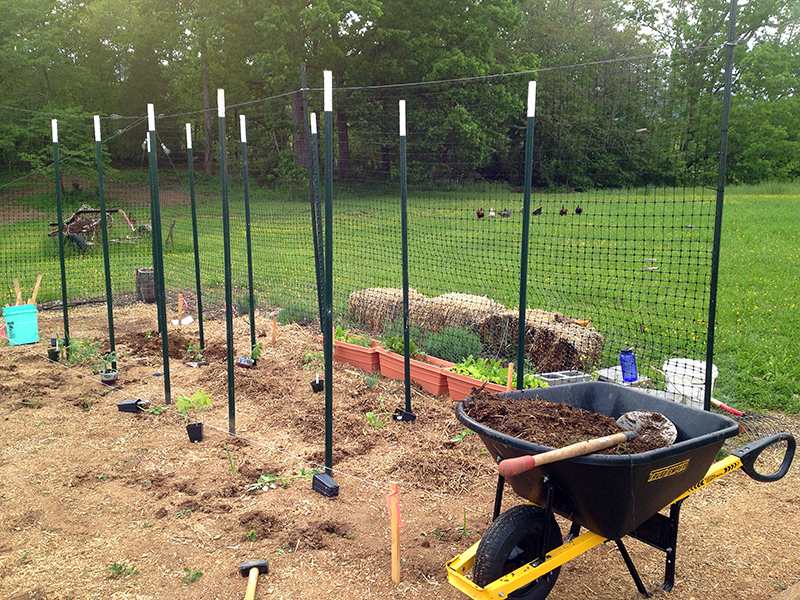
We now move in to the tomato patch, a topic deserving of its own post.
This year I got most of my seedlings from the Piedmont Master Gardener’s Plant Sale. I bought a bunch of heirlooms, including:
Constoluto Genovese
Black Cherry
Ponderosa Red
Orange Oxheart
Mr. Stripey (the only tomato of these I’ve grown before, and a favorite)
Mortgage Lifter
Green Zebra
Amish Paste
Sun Sugar (a deviation from last year’s Sun Gold, which though delicious split too much for my liking)
Abraham Lincoln
I chose these heirlooms because for the past few years I have grown mostly big-box store hybrids, and I haven’t been wowed by their taste. So this is an attempt at a fantastic tomato even though I know I am running the risk that these less-disease resistant varieties might be struck down before bearing fruit. But I also hedged my bets a bit by planting two hybrids: New Girl and Big Beef.
The worst day of spring gardening is the day I put in the tomato stakes. These are heavy eight-foot fencing posts. Installing each means I climb on a ladder and balance, trying not to tip forward and impale myself while using a sledgehammer to drive each post in the ground. This year, as usual, I ended up with a black-and-blue left hand—the victim of each missed strike. And there are many while sledgehammering at the top of a ladder.
But once the stakes were in, and after a few days of recovery, comes one of the best spring gardening days: planting the tomatoes. I did every thing I could to give my plants the best possible start, including amending each planting hole with two gallons of home made compost, a tip I picked up from this Mother Earth News article:
Unless you planted some vetch in early fall, simply mix about two gallons of compost into each planting hole. In a tomato trial at Iowa State University, compost increased overall yields by 40 percent, while early yields shot up by more than 200 percent.
I searched for but wasn’t able to find the cited Iowa State study. I went ahead with the advice anyway as an experiment.
The plants had grown so leggy that some of them got as much as a foot of stem buried during planting.

The buried stems grow roots and help anchor the plant more firmly in the ground. But don’t try this with just any plant—burying most plants this deep will mean certain death (for the plant!)
After each plant was tucked deep in its compost nest I circled each stem with aluminum foil, as I always do to ward off cutworm damage. It was cold and all the plants looked peaked as they transitioned to full-sun and through transplant shock. I realized they weren’t well hardened off, and so I shaded them with boxes and gave them extra water. Then I went to the beach for eight days and worried about them all the while. But when I came back it looked like most had taken hold and were doing well. The only one that looked poor was Green Zebra, and that’s my fault for breaking its rootball while planting it. I kept it in the ground and stuck the Big Beef in next to it.
And now they’re all doing great and we’ve transitioned into the normal maintenance routine which means pinching out suckers and tying each vine to the post as it grows. Most plants have already set flowers, which is a sign that their compost beds aren’t too rich for their liking—a good thing.
I remain hyper-aware to signs of disease, and have taken a few steps to help prevent it. After the soil warmed up, I heavily mulched around each plant with straw. This keeps soil from splashing on the plant leaves when it rains, and cuts down on disease transmission from soil-borne pathogens. I have also removed any lower leaves that touch the soil with the same idea in mind. It’s a hard call to make, as those leaves shade the stem during the hottest part of summer, but any way to keep the dirt off the leaves helps reduce infections.
With all this preparation, and a hefty dose of luck, I hope to have a few good tomatoes this year. Stay tuned!


Tom,
I believe this is the ISU reference you referred to.
http://www.ag.iastate.edu/farms/04reports/arm/EvaluationofSoil.pdf
Since last year my husband and I have been using homemade tomato cages, avoiding the need to stake our tomatoes. We bought a 150′ (6′ high, I think) roll of welded wire fencing with 6″ x 6″ holes. (Home Depot) We cut lengths to give a 2′ diameter cage. The sharp ends are bent over to attach so it forms a cylinder. We wired the cage to those green t-posts that you can drive into your soil with your foot, and are easy to remove in the fall.
I subscribe to a lot of blogs, but yours is one of 2 that I really look forward to.
Lisa
Thanks for the link, Lisa! I am always interested in the science behind what we do in the garden.
Good idea for the tomato cages. I have considered something similar but at the end of the day I grew up staking and tying tomatoes and like the process once I get the stakes in. Believe it or not, but fussing over the tomatoes every few days is one of my favorite garden tasks—so relaxing!
Glad you are enjoying the blog. Thanks for reading!
Bonafide Farmer
Time to invest in a T-post driver…you get to keep your feet firmly planted on the ground and takes a lot less effort.
One example:
http://www.google.com/imgres?imgurl=http://www.nqmproducts.com/postdriver.jpg&imgrefurl=http://www.nqmproducts.com/postdriver.htm&usg=__8V4VQOebSEWhBqFwPloywCbrAac=&h=1886&w=1255&sz=663&hl=en&start=13&zoom=1&tbnid=Jgb6Y4viEWNH5M:&tbnh=150&tbnw=100&ei=HZTEUcaJLIHO0wHm3YHwBA&itbs=1&sa=X&ved=0CEAQrQMwDA
Get one at your favorite farm store.
[...] of my gardening friends, whose tomato plants are already halfway yellow, I am doing okay. I think my planting and mulching practices are paying [...]