July 31st, 2011 §
I spent three hours in the garden this afternoon, sweating it out in 100-degree heat indices. I’d neglected the garden for too long, and with our two-week stretch of 90+ temps and no rain, things were looking bad.
With the hose running all the while, I cut my losses and pulled out the squash-bug infested pumpkin vines. It makes me sad as I find pumpkins to be one of the most rewarding plants to grow, and I’ve had success with them in other gardens. But these vines were so infested that I knew it was better to get rid of them. There would be no Prince Charming this fall.
With the vines removed, I faced the challenge of how to dispose of them. Burning is the recommended option for infected crops, but I didn’t want to clear out the fire pit and sacrifice all the firewood it would take to get things good and hot. Then I had a flash of inspiration: my flame thrower. It targets blistering heat that no bug could survive.
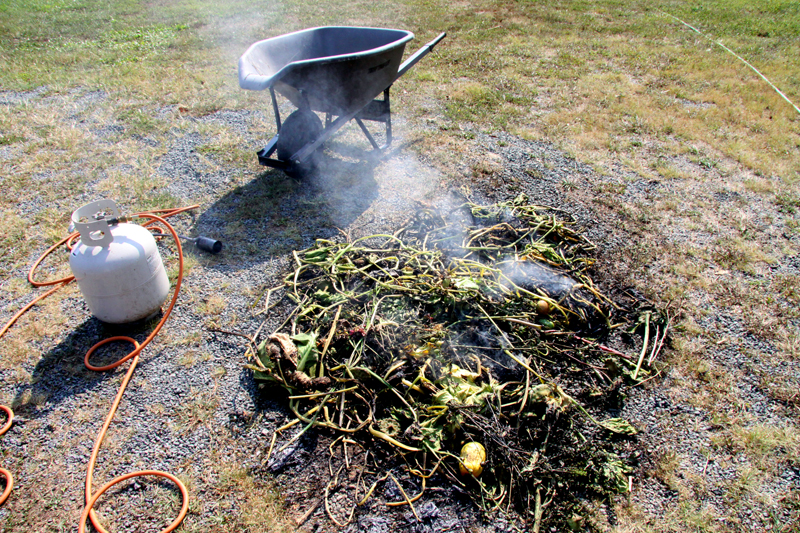
I dumped my refuse in the driveway and went to work. Squash bug eggs went from this:
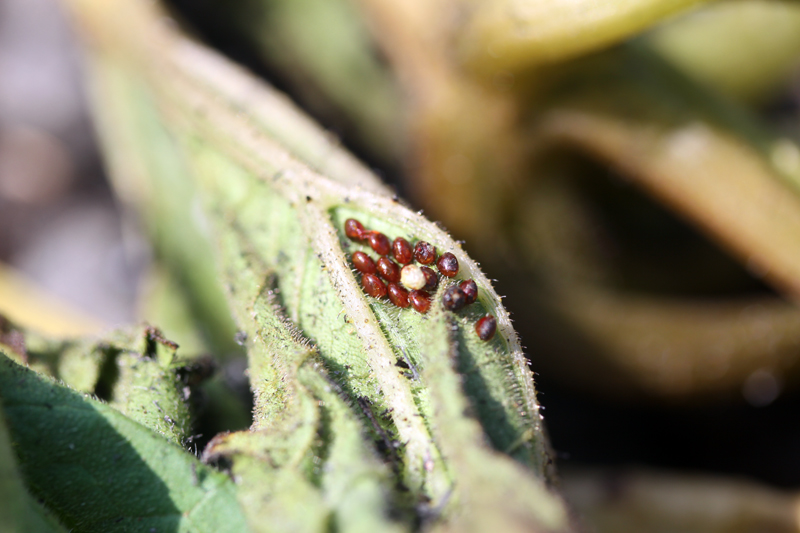
To this:
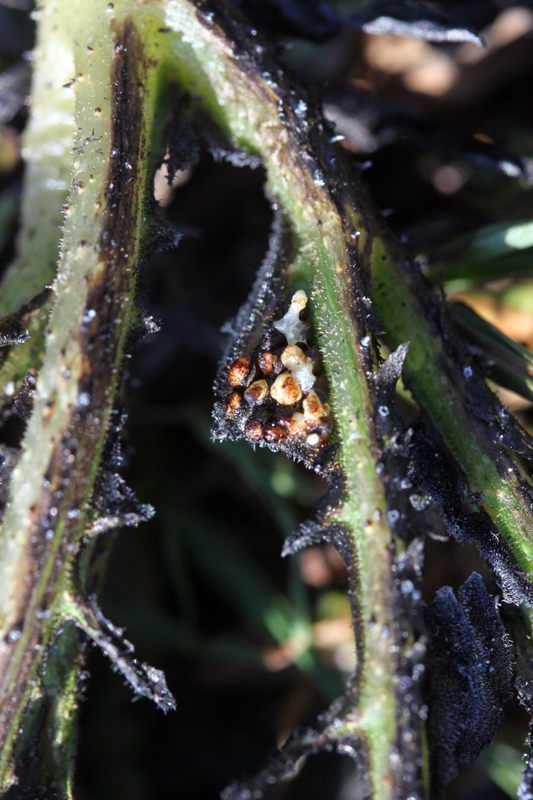
I wish I could take the flame thrower to the infested beds to get the rest of the buggers left hiding in the straw, but I fear the heat would damage beneficial worms and microbes. My next inspiration involves turning Mr. King Guinea, who has taken it upon himself to harass his ladies and the hens, out into the garden to free range and pick up the remaining pests. There may be more damage to crops than critters, but I may just give it a shot.
July 26th, 2011 §
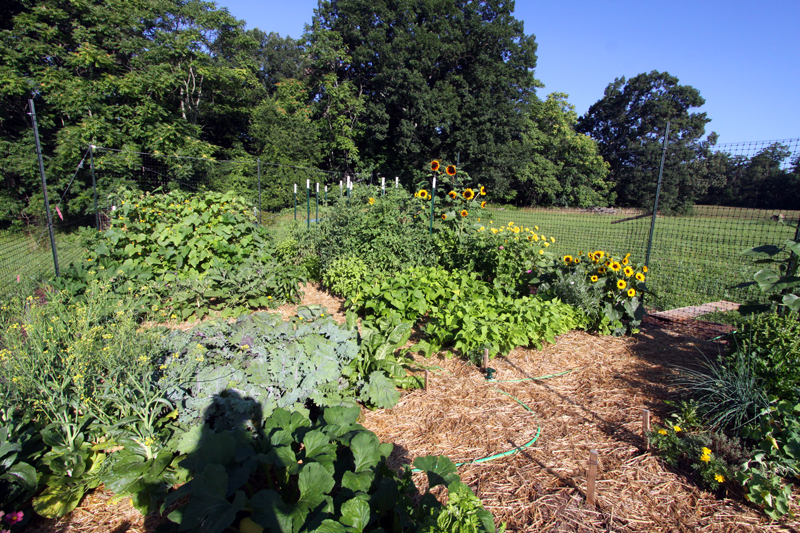
I took this pic last week right before a massive heat wave hit. Shown are squash and zukes, box choi gone to seed, kale, chard, yellow and green beans, eggplants, peppers, cabbage, cukes on the trellis, tomatoes, and pumpkins—as well as cutting flowers and herbs.
With last week’s heat indices around 115, the garden’s gone round the bend and started its midsummer decline. The squash bugs polished off my yellow squash plant and are most of the way through a Black Beauty zucchini. The pumpkins are running for their lives, breaking out of the fence trying to escape the squash bugs that do their damage from the base of the stem up the plant. I’ve never had garden with a squash bug problem before…I handpicked eggs off as I found them, and squashed adults to no avail. Any tips other than to get a greenhouse or use row covers? I tried neem and insecticidal soap, but no luck. I’m about ready to cut my losses, pull up the pumpkins and zuke, and toss a guinea or two in the garden to go after the little buggers.
July 24th, 2011 §

Peaches from Chiles.
July 21st, 2011 §
A few weeks ago I ordered a HenPals chicken nest box for my hens. They were rapidly approaching laying age, and I wanted to be prepared. Other projects got in the way, though, and it was just last weekend that I could clean out the coop and install the nest box. I figured that since my hens turned twenty weeks old—pretty much the earliest they could start laying—on July 17, they had plenty of time to get used to the box before biology kicked in.
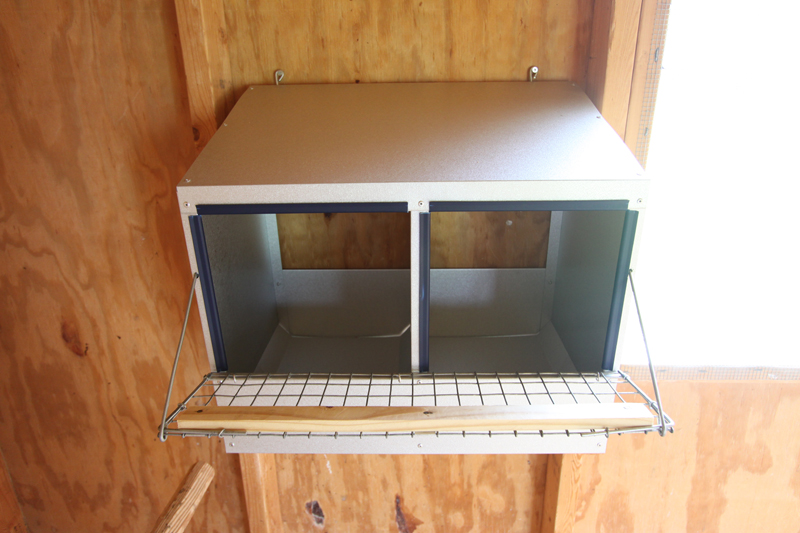
I am really pleased with this box. I ordered it online from a Georgia farmer who makes them by hand, and whose wife writes a great blog: Life on a Southern Farm. The nest box is well made and an incredibly good value compared with the commercially manufactured metal boxes. And I am proud to support an American farmer instead of a Chinese factory.
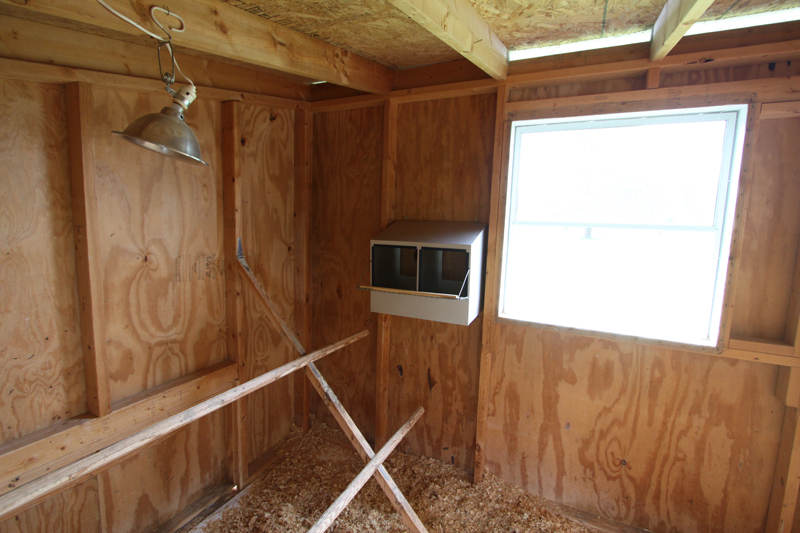
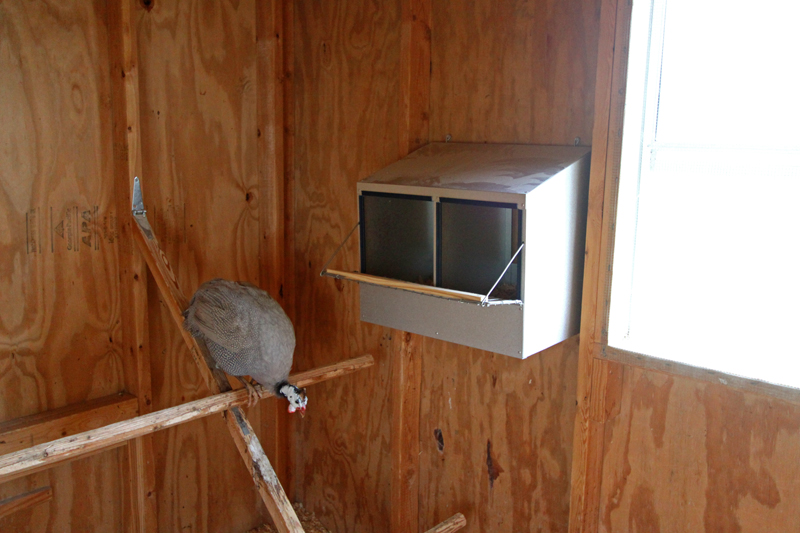
Anyway, I hung the box up last Saturday, and I know the hens were checking it out. And then last night I went in the coop, and this is what I found—on the floor of the coop, not in the box!
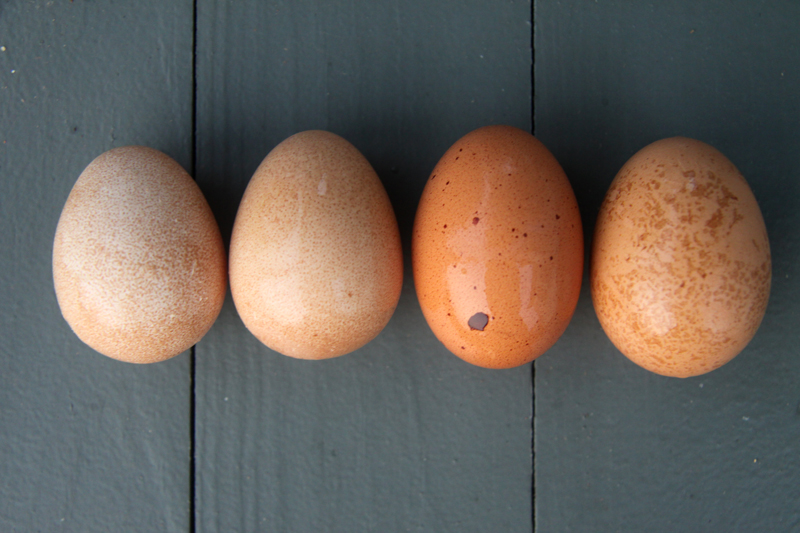
I first picked up that very dark egg, and I thought, hmmm…this doesn’t look like a guinea egg. So I rooted around the pine shavings and came up with four eggs! I had been getting two guinea eggs a day (on the far left above). Something was definitely up! Either both hens started laying on the same day, which would be amazing but not impossible, or I missed an egg that had already been laid.
The poor things picked a inopportune time for this development—we are stuck in a miserable heat wave with temps around 100 degrees. Despite the fan I have running on high through the coop 24-hours a day, all the birds are showing signs of stress. Some stress-induced feather picking is happening on some of the guineas and the hens, just like it did during the hottest days last summer.

I compared my first chicken eggs with mature chicken eggs (the three on the left above). I am really impressed that my girls didn’t start with little “peewee” eggs but produced some pretty good-size eggs on their first try. I am so proud of my little hens. Now if they will just realize they are not guineas and start laying in the nest box instead of the floor of the coop. All in good time, I suppose…Now I’m off to add some ice cubes to their waterer!
July 16th, 2011 §
Last night’s full moon is nicknamed the Full Hay Moon.
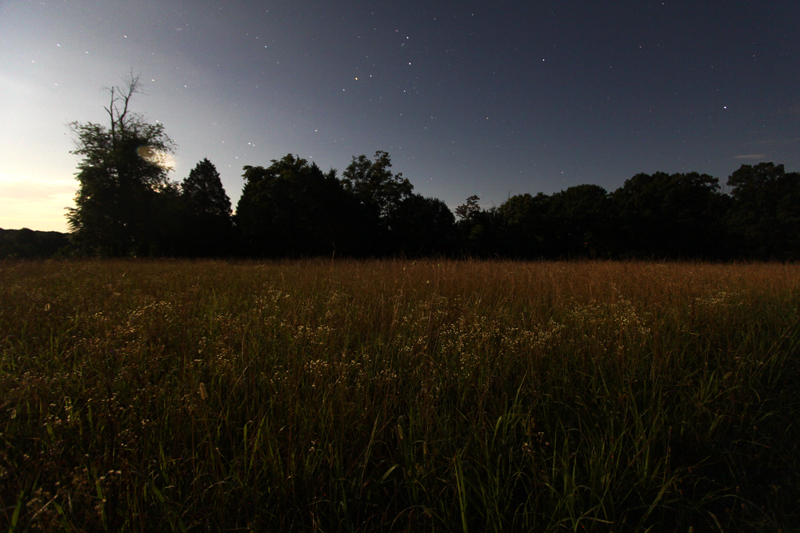
Fitting, then, that I came home to find a neighboring farmer had cut the back pasture for hay. It made for great vole hunting for the pup this morning!
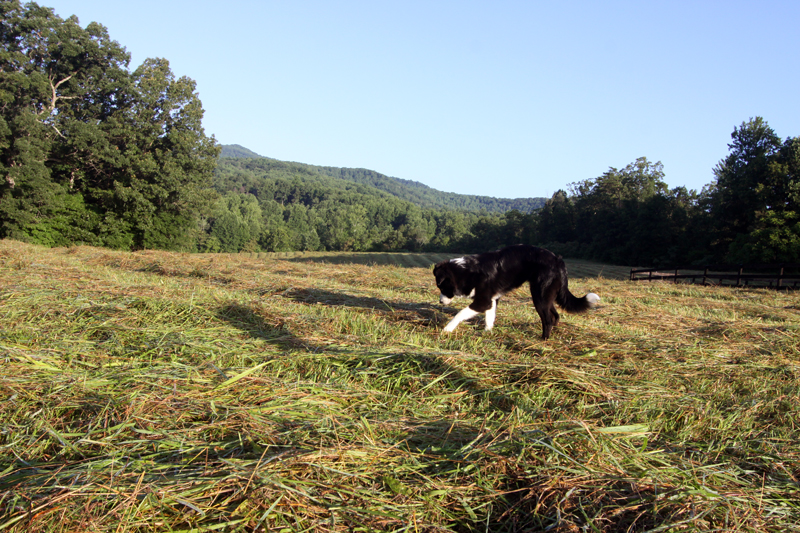
Who’s a big farm dog now? Tucker looks right at home in the hayfield—just like his greatgrandfather and greatgrandmother. Now if I only had some cows or sheep to complete the picture!

July 15th, 2011 §
July 14th, 2011 §
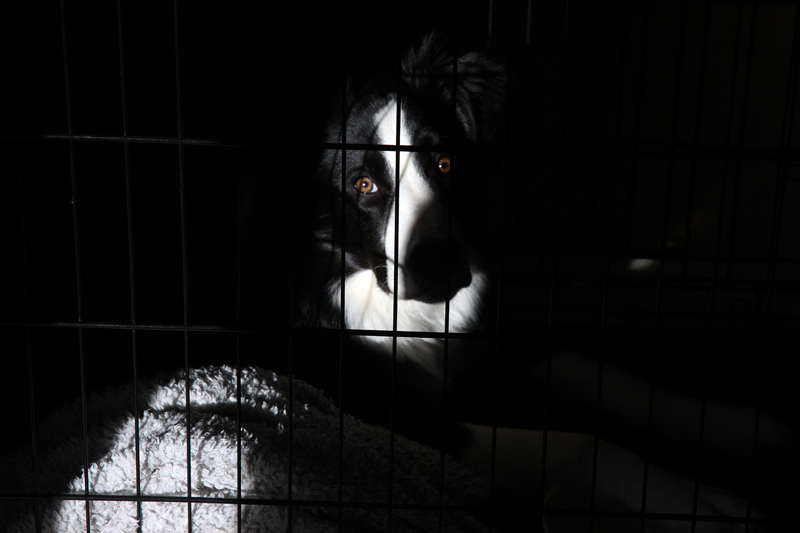
Tucker in his crate, lying in a sunbeam.
July 13th, 2011 §
July 10th, 2011 §
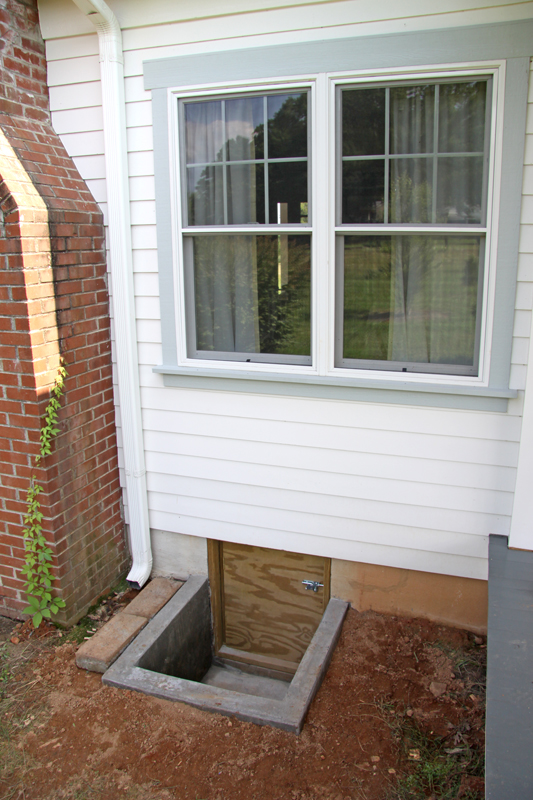
Yesterday my dad and I finished a huge project—the crawlspace pit—a big job that had been lingering in various states since the house was completed two Mays ago. The pit is on the backside of the house between the chimney and the porch. When the house was nearing completion, we weren’t satisfied with the way my contractor proposed to finish its entryway. So we decided to take this job off his list of responsiblities and put it on ours. Where it sat, for more than a year. But now it’s done and here’s how it all went down.
My dad had visions of creating the mother off all pits—big enough to get in and out of relatively easily and that one could pass tools and equipment through (a lot of my house systems are in the crawlspace, including the interior HVAC unit, dehumidifier, and water heaters). The pit would also have to deflect water from the nearby downspout, and keep critters out of the crawlspace.
The unfinished pit shortly after moving in last June. Pretty, huh?
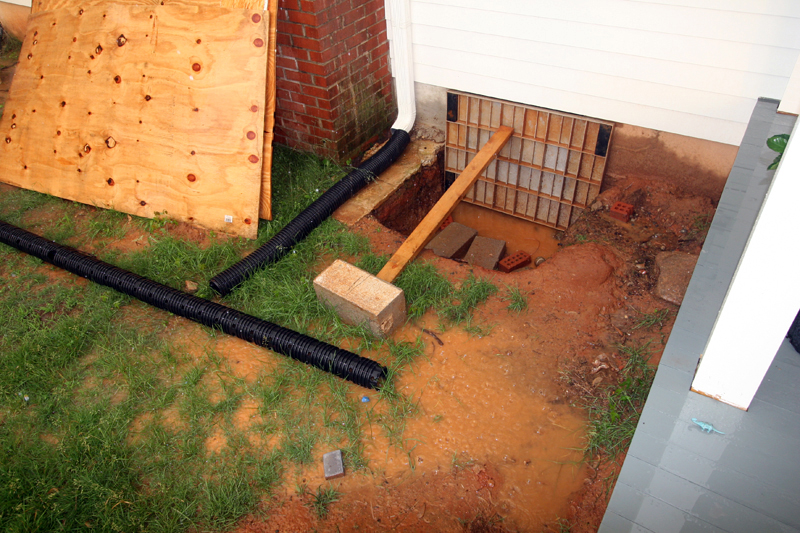
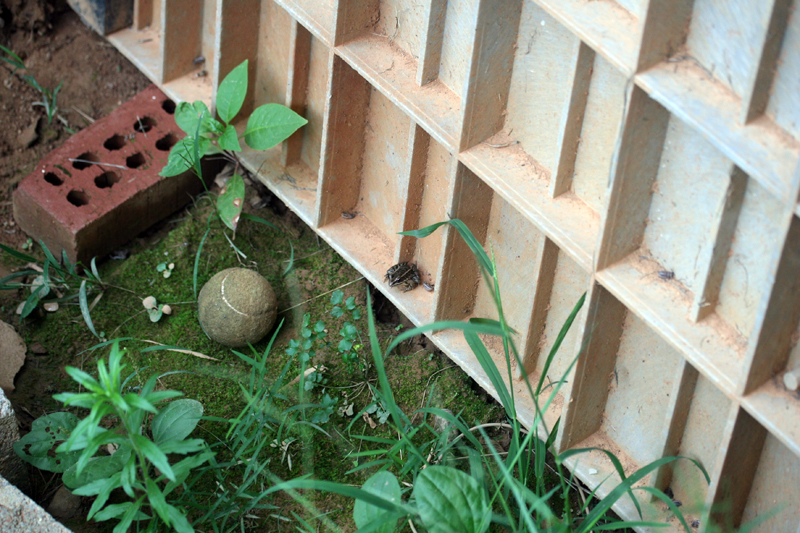
The base of the old air unit, propped up with a 2×4, made a temporary door that sufficed until a snake decided to make his home in the crawlspace and freak me out. And each time it rained, I had a red plunge pool that made a nice habitat for other local wildlife:
Last fall I’d had enough of the animals and Dad and I started the project. We poured a concrete footer underneath the opening, and he framed in and built a rock-solid door. We also poured the floor of the pit, and designed it to have a sunken drainage sump that was big enough to fit a pump into should we still have water collection problems when it was all done. This all was a bit tricky as we were trying to join our new concrete up to the jagged edges left when the builder made a hole in the original house foundation. We had to be meticulous in pouring the patch job that would join the old foundation to the new pit walls.

Dad formed the exterior pit wall last Thanksgiving, and got some of the rebar reinforcement tied into place. And then it got too cold to pour concrete, and the pit sat like this until last weekend. Man, it was ugly!
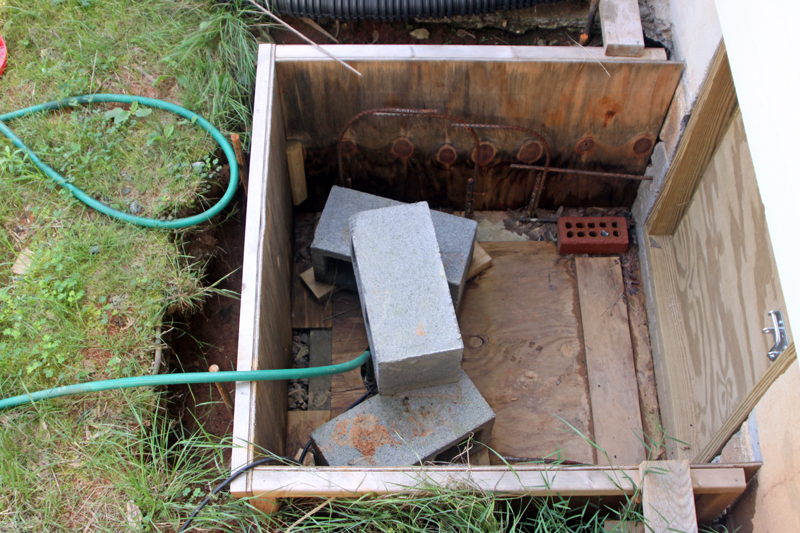
We took advantage of the long July 4 weekend to re-attack this project, prompted, in part, by the recent mousecapade. The area around the doorframe—which was to be filled with concrete—was perhaps letting the little guys inside. So Dad formed the interior wall, I learned how to tie steel and bend rebar using the tractor bucket . Here’s the completed form enclosing the rebar reinforcement, right after I got greasy up to my armpit painting the plywood with motor oil to help the finished concrete release.
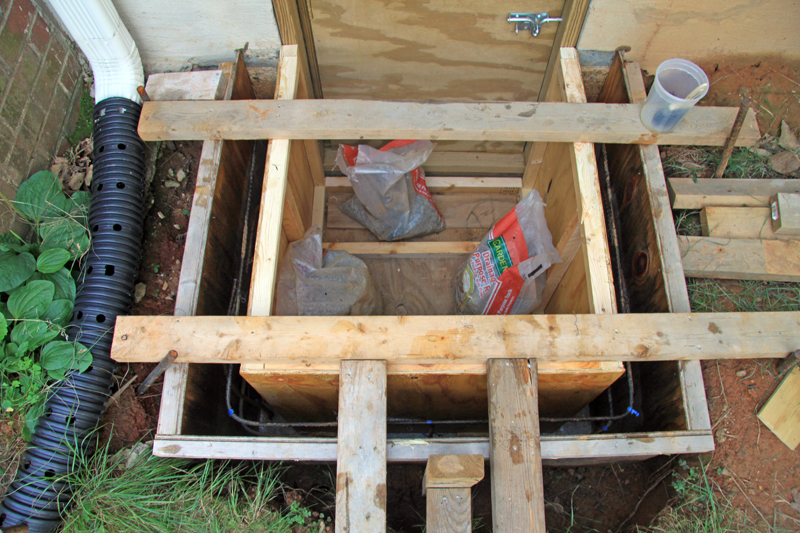
We spent two almost-12-hour, 96-degree days transporting, breaking up, mixing and shoveling almost 1,000 pounds of concrete into the form. I spread most of it with my hands, and rodded down each batch. Hey, it just wouldn’t be a holiday weekend without a Stalag–like labor camp—just like last year!
Then came the worst part, chiseling out the nails on those 2×4 braces on top so we could remove them and finish the surface underneath. I say this is the worst part because it’s the only part where I hurt myself (other than general muscle strain), beating my hands up so that they still hurt. But this bunker is rock-solid!
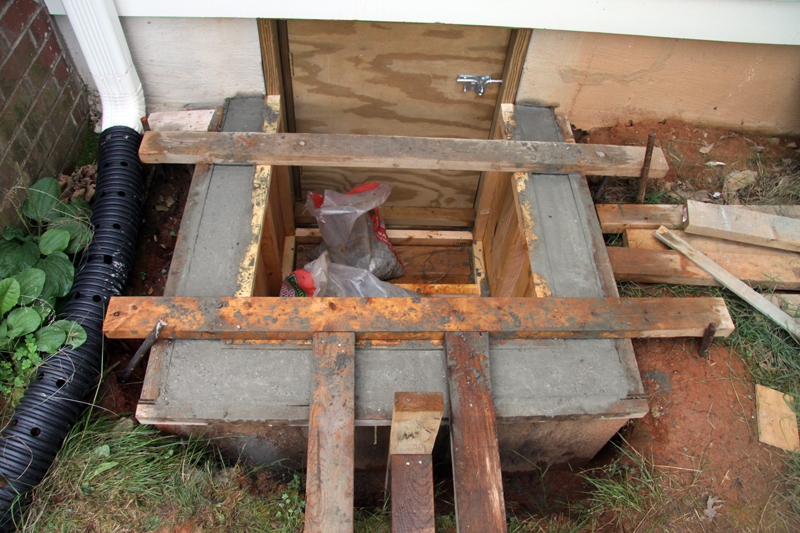
The form sat a week until yesterday, when we removed it and finished the concrete off with a stone. I have to say I think it looks great, and the best part is the relief I feel at having this major undertaking completed. Here’s the pit once we backfilled with dirt around it. It’s got a great drain that’s embedded in the floor in a thick bed of gravel. Again, it will fit a sump pump should the need arise:
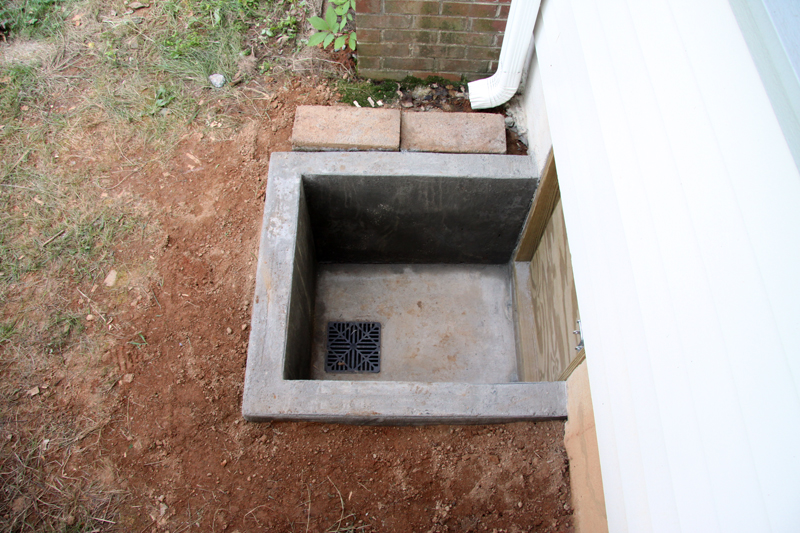
Now a nice, big, clean entry into the crawlspace! If this doesn’t raise my property value, I don’t know what will!
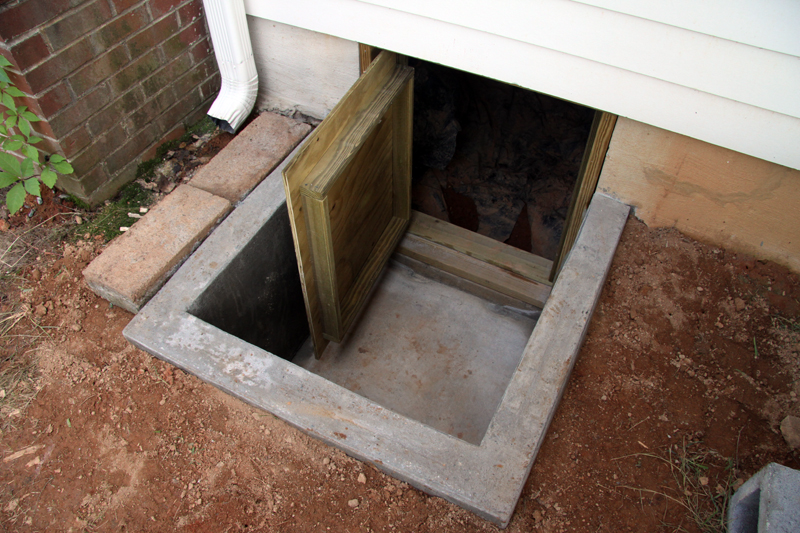
The crawlspace pit was a year-plus, torturous project for both my dad and me, but I am thrilled with the outcome. Thanks, Dad, for a great pit and for teaching me all about concrete—a new medium for me and one I find I rather enjoy!
July 8th, 2011 §
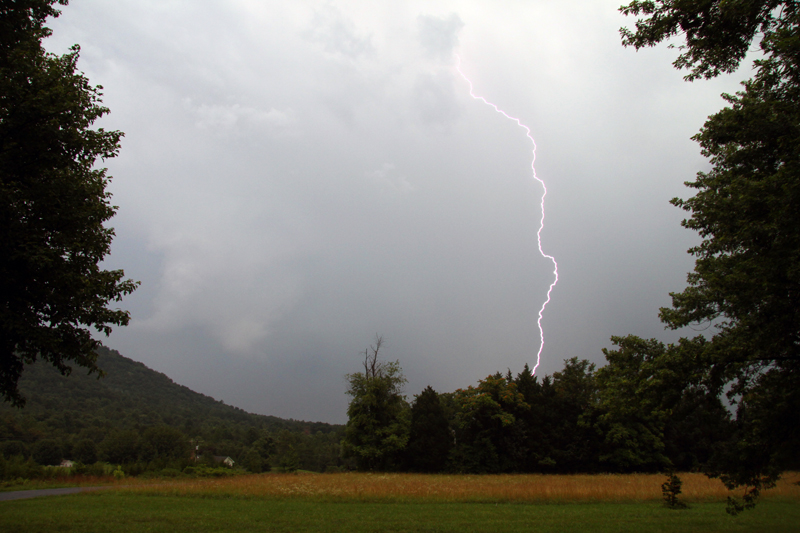
A massive storm rolled just south of the farm last Sunday. Though I didn’t get any rain, I was treated to a lighting and thunder show that seemed to go on for hours. It was the slowest-moving storm in memory. It gave me ample time to sit on the front porch and practice my lighting photography.
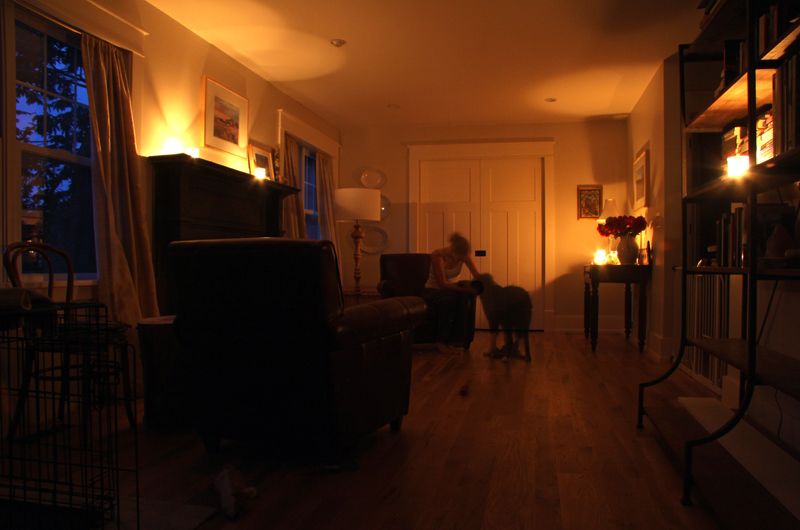
Around 8:30 p.m. the power went out, and I experienced my first extended outage since moving into my house. I lit a few candles and enjoyed the silent sound of my house, which I hadn’t heard since it was under construction and premechanized.
It wasn’t until the next day that I heard of the extensive damage just south of the farm. I consider myself fortunate to have dodged the storm—this time—and come through no worse for wear. My freezer didn’t even defrost a bit, and the power was out for 15 hours!


