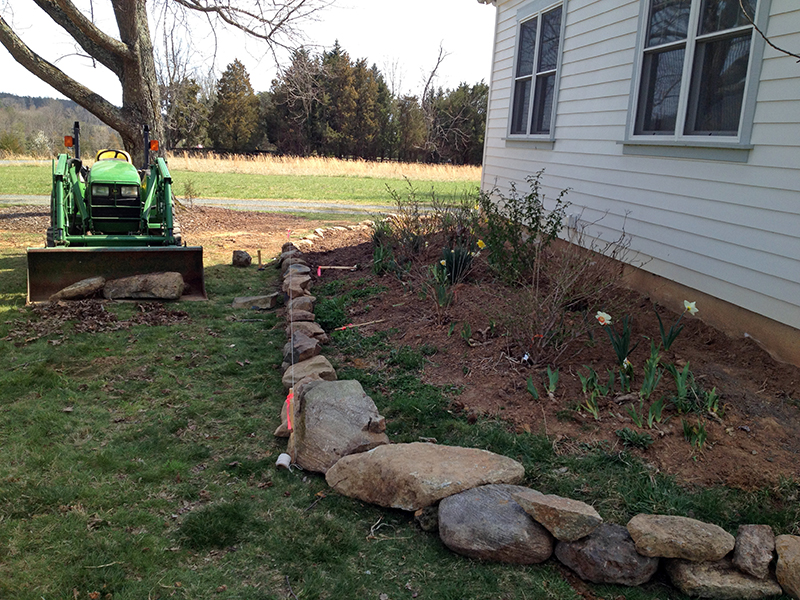
Once all the rocks were in place, I covered the turf that extended into the bed with newspaper several sheets thick. This grass-killing trick had been effective when I used it under the mulch rings I placed around my trees. Then I went in to the woods and dug up bucket loads of loamy topsoil, mostly with a shovel so I could pick out the rocks, sticks and vines as I went.
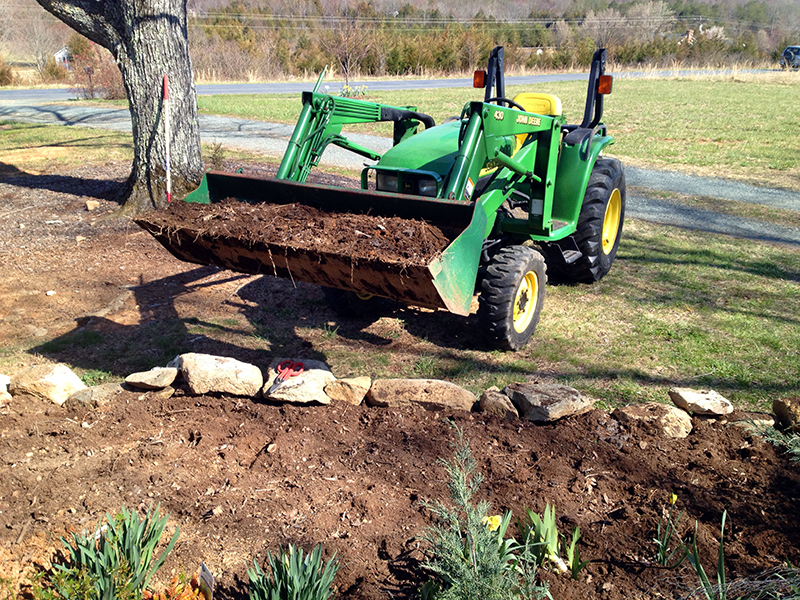
I dumped this topsoil into the new bed space, on top of the newspaper and up against the back wall of rocks, in effect forming a raised bed around two sides of the house.
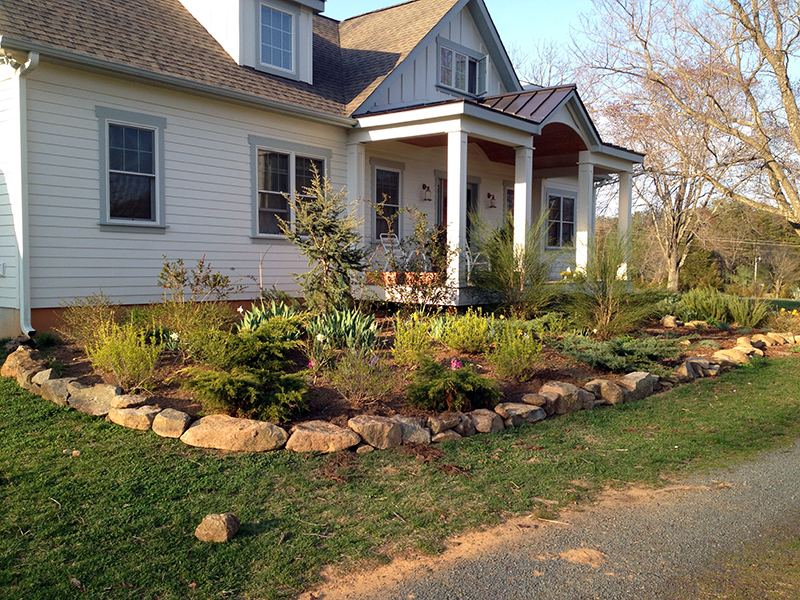
Then on April 10 I called my favorite mulch guy and had ten yards of double shredded hardwood mulch dropped near the woods. This is prettier—and more expensive—than the pine bark nuggets I buy for mulching around my big trees (below, on the ground). It will also break down much faster, helping to enrich the soil as it does.

I spent a day hand-forking the aforementioned ten yards of mulch into my garden. It was super-tricky, delicate work as many of my perennials were just starting to emerge and hard to see, and I didn’t want to smother them.
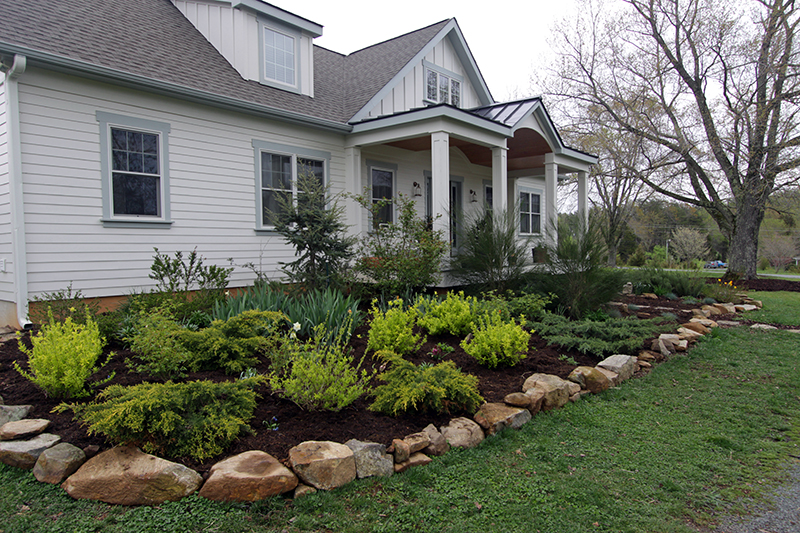
But after eight hours of mulching and only a few blisters across my palms, it was done. And looked pretty nice, I thought. There are a few spots that can use another stone or two, but I will fill those in once I’ve fully recovered.
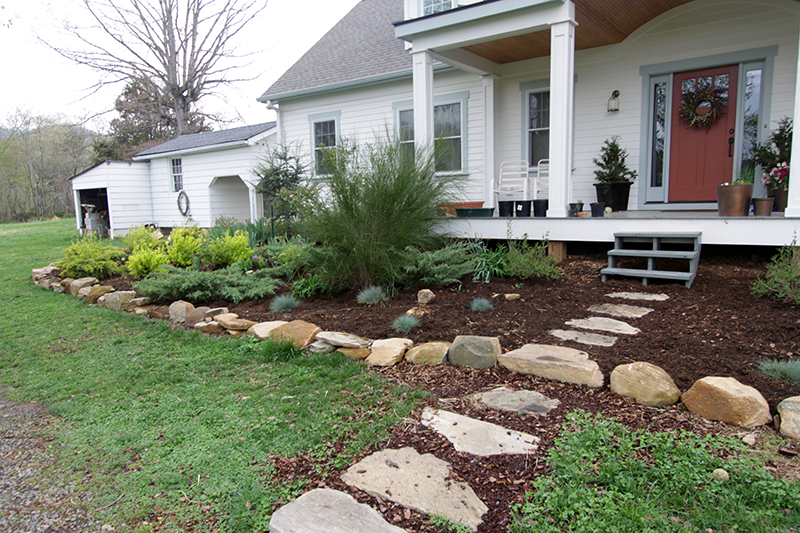
It’s not the fancy hardscape I’d most love, but for $285 worth of mulch and untold hours of bodybreaking labor, I finally have some decent-looking garden beds that are in keeping with the informal, cottage nature of the house. What’s more, this project massively contributes toward my goal of making maintenance around here as easy as possible. Now I just run the string trimmer right up against the rocks—which means no more futile hours spent hacking enroaching turf out of the beds. Plus, the mulch will help keep weeds out and moisture in during the hot summer while feeding the soil and coddling the earthworms beneath.
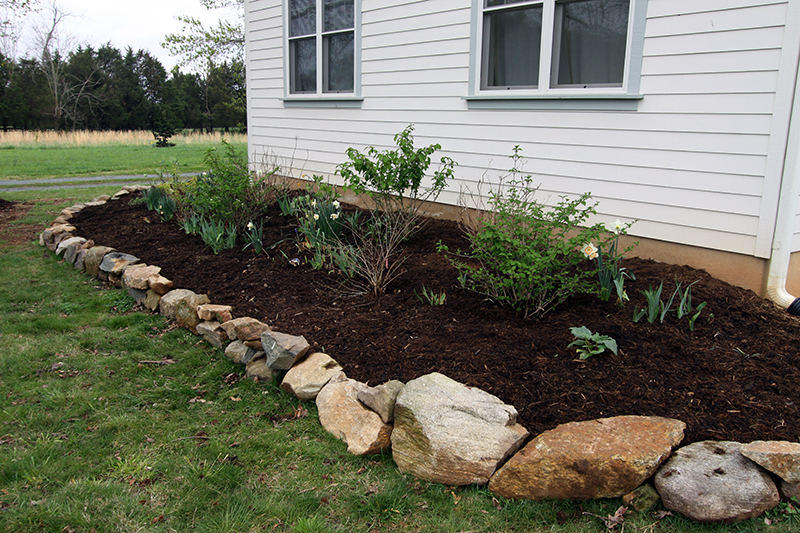
And, I am really excited to have gained a bit more extra bed space, complete with pretty decent soil—thanks, forest! I have already started planting some fun new additions, including peonies for the shadier areas and sedums for the sunny front corner. My plan is to eventually colonize the rock wall with sedums growing over it and through the spaces between rocks.
The garden has really come on in the weeks since these pictures were taken, so a little virtual plant walk will be coming soon.
Much of March and April was devoted to building a rock wall around the front and road-facing side of the house. I’d grown tired of hacking turf out of the unedged beds, and the bed on the side of the house that faces the road was too steep to hold water on the plants in it. As you can see below, within the stone wall, it wasn’t a good look. Last summer I’d gotten some quotes to build a nice stone retaining wall around this end of the house and around the front, with a flagstone front walk and stairs. The quotes ranged from $8,000-$18,000, which just wasn’t in the budget at this time in my life.
So I started pulling rocks out of piles in the woods and used the tractor to get them near the house. Some of these rocks were the foundation of the house I tore down to build mine, and others no doubt came from clearing the pastures way back when. All winter long I played around with the rocks, moving them many times until I got them arranged in a line I liked and that would almost double the depth of the bed on this front corner of the house.
I had really low expectations for this project, as I think rock-edged beds can be pretty stupid looking. And I know that a proper rock wall is dug into the ground for stability and protection against frost heave. But I made peace with the idea that this didn’t have to be a perfectly permanent solution, and I figured that if I used rocks that were as large as I could handle the installation would appear more like a rock wall and less like a line of rocks, which is exactly what it looked like below, during the head-scratching phase of this project.
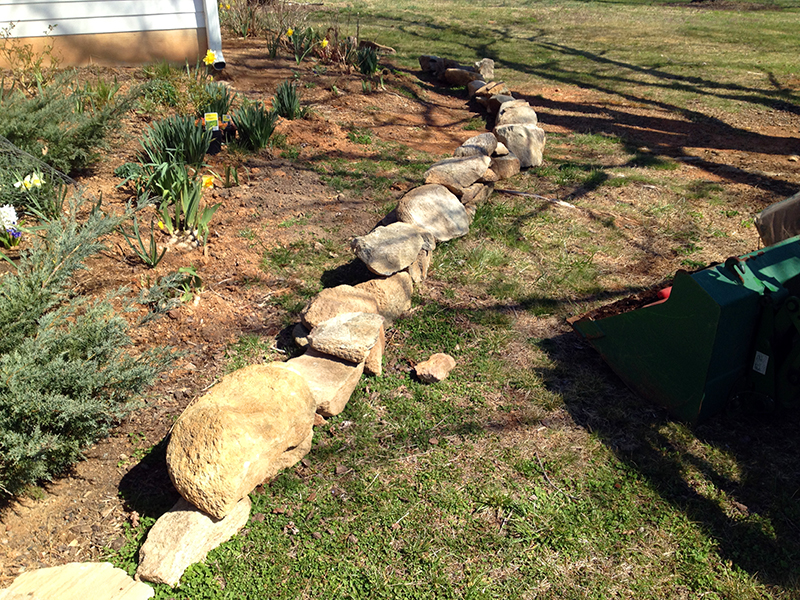
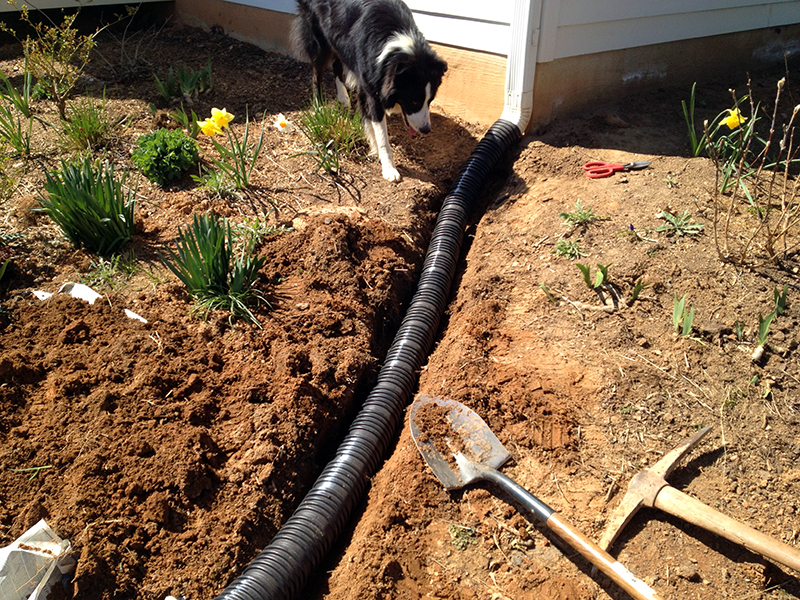
I’d been having trouble with runoff from the downspout in the above photo. Every time it rained, water ran down the bed and pooled near a maple tree in the yard, messing up its mulch ring and eroding the bank. So I figured that I’d take care of this issue by burying a drainage pipe under the bed I was expanding. It was easy to dig it in and hide its opening at the inside edge of the new wall. The bottom of the pipe is dotted with quarter-sized holes that let water escape as it flows away from the downspout.
Then I went back to the woods for more rocks, some of which took every ounce of my strength and willpower to budge into the tractor bucket. I don’t remember how many trips it took, but there are 173 rocks in this installation and many are not insignificantly sized.
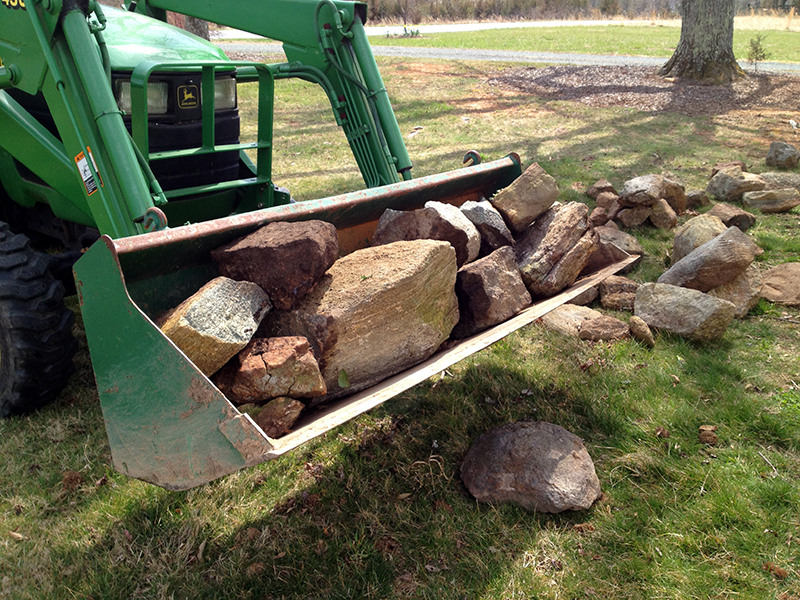
I spent days fiddling with rocks, turning each this way and that, trying my best to fit them into a wall-like configuration. Of course this week coincided with our freak 90-degree April heat wave. Let’s just say I got tan and back to my summer weight during this heavy-labor boot camp!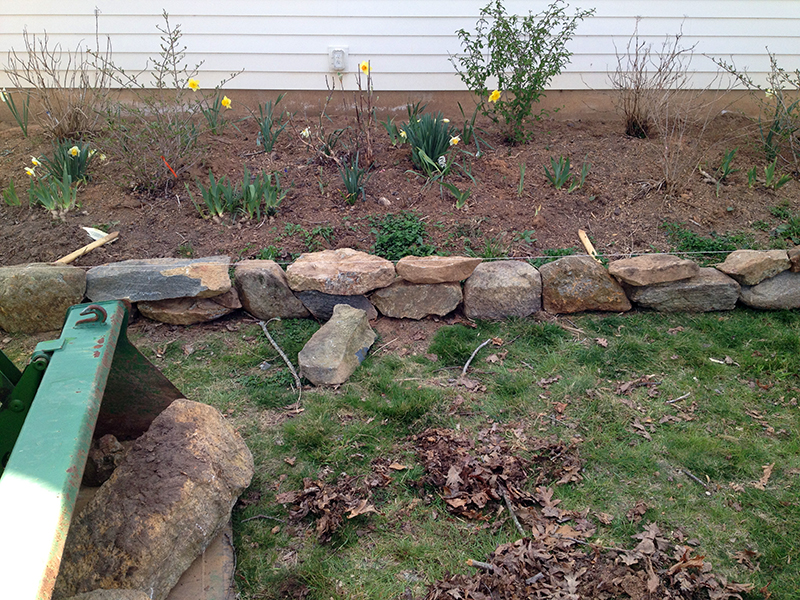
Up next, the wall continues…
