April 26th, 2014 §
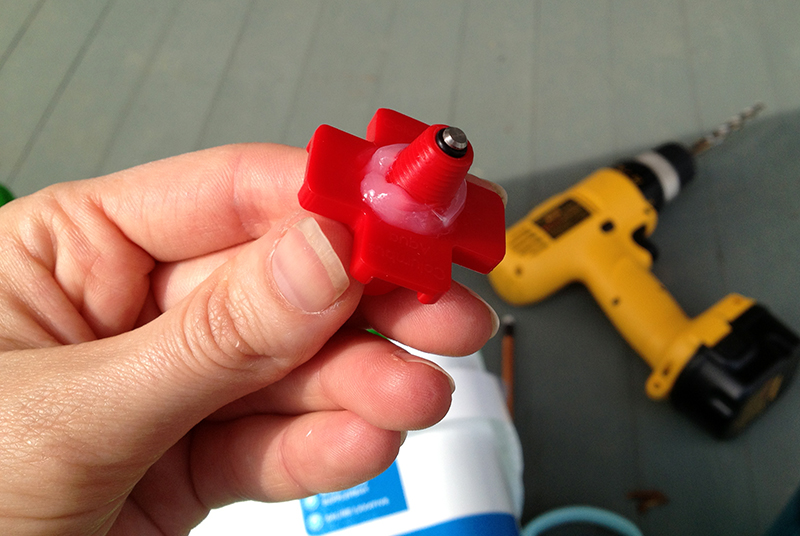
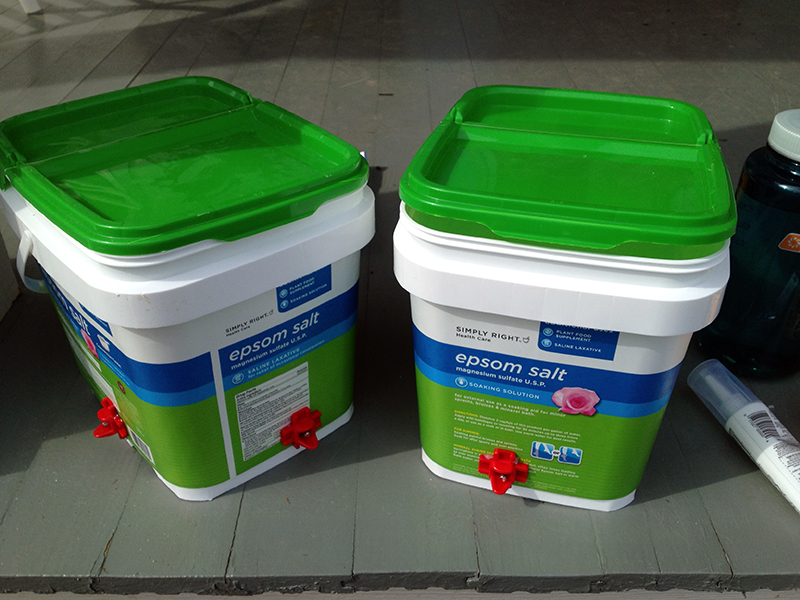
The creation of the chick waterer went so well that I wasted no time in making a few more for the main coop. These would be permanent containers, so I used clear silicone to install the nipple waterers into a couple of recycled containers. Yes, I buy epsom salts in 10 pound tubs, about fifty pounds at a go. Don’t laugh. Farming really beats up the body!
These are actually pretty great containers because 1. they were free, 2. they’re opaque, which helps prevent algae growth, 3. they’re sturdy—if they held ten pounds of epsom salt they’d have no trouble holding ten pounds of water, and 4. they had well-positioned handles to make hanging easy.
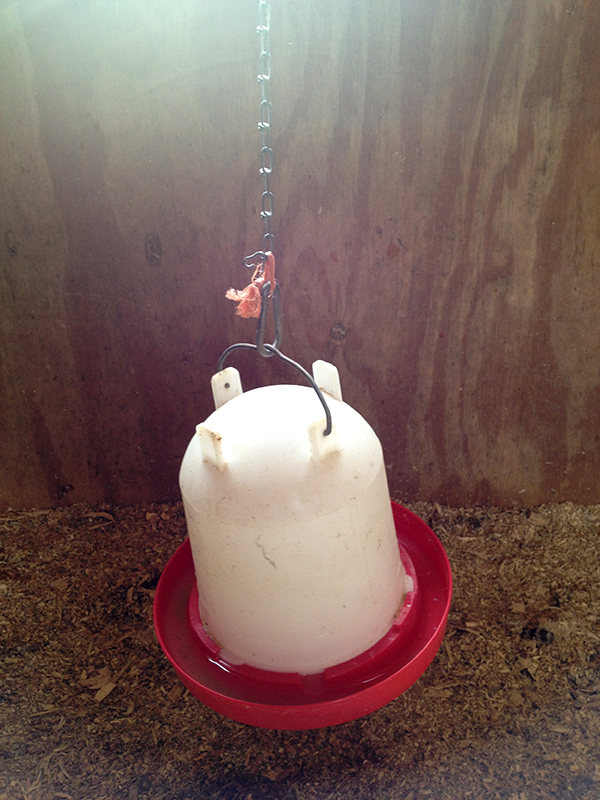
The idea was to get rid of the situation below—hanging waterers that were the bane of my chicken-keeping life. The water got so dirty, downright filthy in the heat of summer, and when the chickens drank it down low enough the whole thing tipped, spilling the water out into the bedding and wetting the wooden floor of the coop enough to cause it to rot. The wet bedding is bad for birds, makes habitat for disgusting flies, and stinks. Plus, the one-gallon waterer needed to be filled twice a day in the heat of summer, and required frequent checking to make sure it hadn’t spilled.
With my new waterers assembled, it was time for some framing in the coop. I assembled a few bucks worth of supplies and fired up the drill.
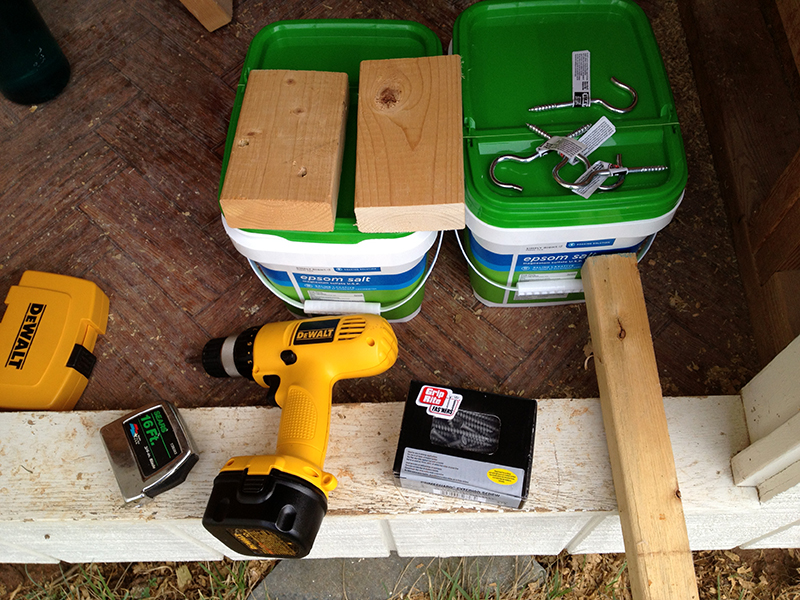
First I put up some blocking, using a couple of scrap 2×4 pieces.
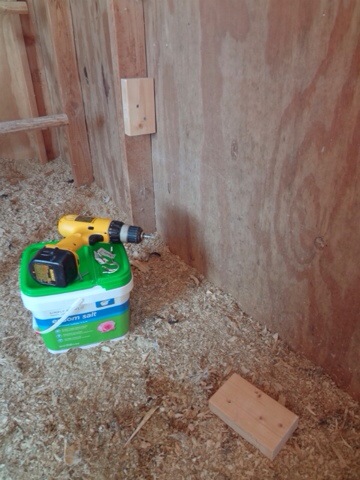
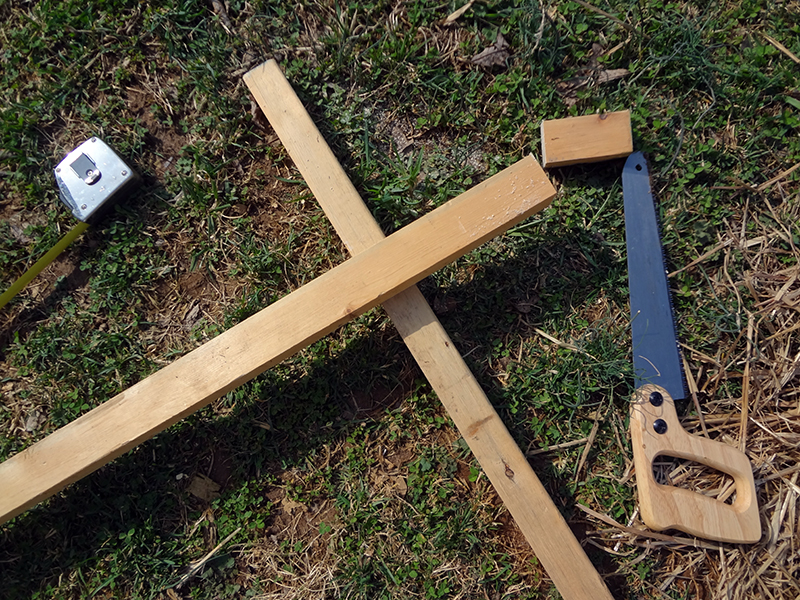
Then I cut a piece of scrap wood to length and screwed it in place on top of the blocking.
Finally I installed heavy-duty cup hooks to fit the width of the container handles.
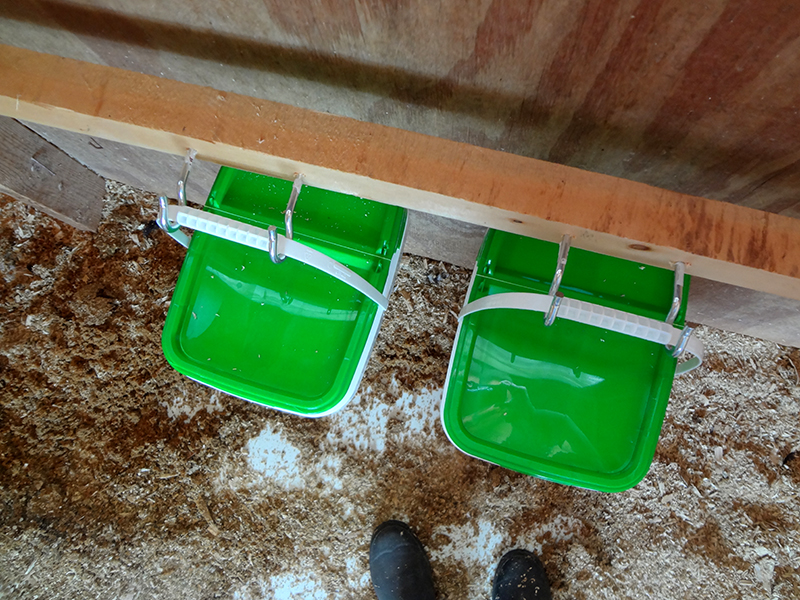
And voila! A new chicken watering system!
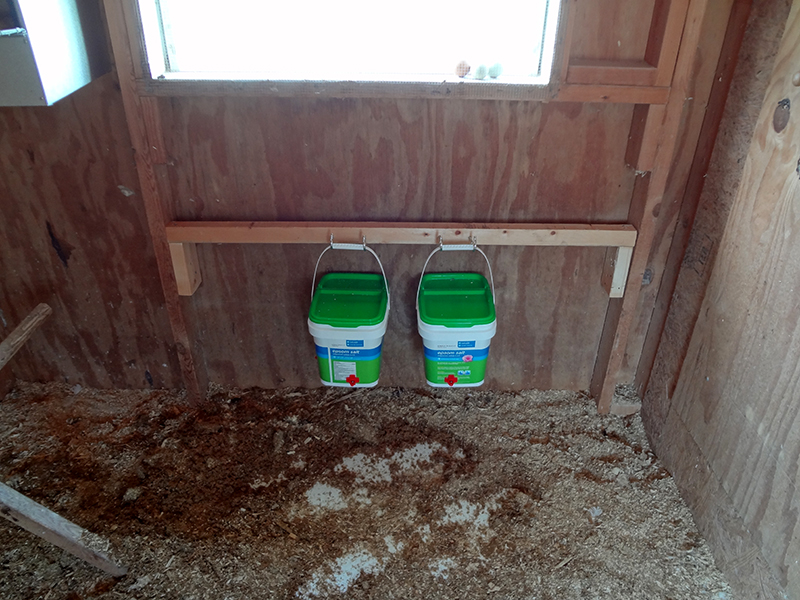
I taught the chickens how to use the new waterers with the cranberry trick I used in the broody coop, and after a few weeks of use I am still happy with this system. The bedding remains dry, there’s enough water in the containers to avoid filing them every day, and it stays clean and fresh. Down the line I could even add more containers if I wanted. In all this is an incredible upgrade that solved the biggest, messiest problem of chicken-keeping, and I am happy with how it turned out. I only wish these new horizontal nipple waterers would have been available four years ago when I started keeping chickens!
April 25th, 2014 §
I set the new chicken water in the broody coop, using a block of wood to elevate it to the level of the chicks’ heads. I chained it to the coop wall, and that, combined with the weight of the water, was enough to keep the container upright even when bumped by the birds.
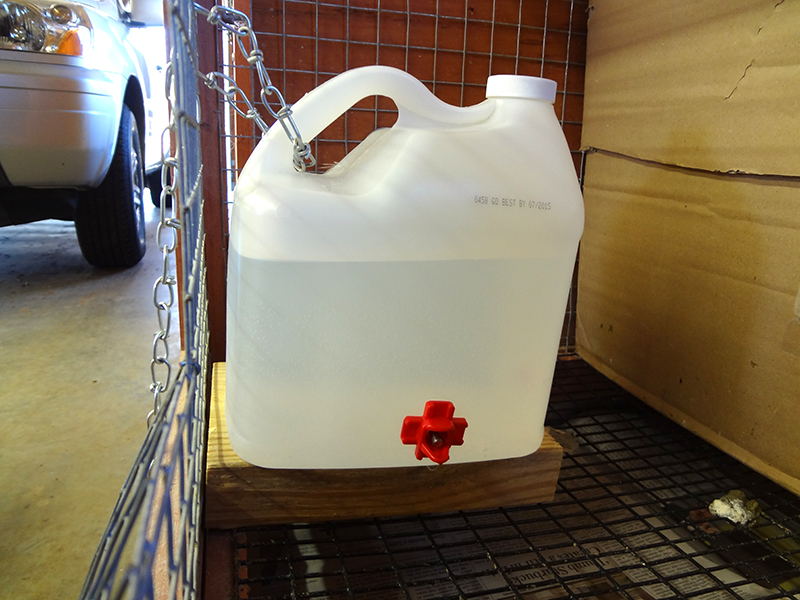
The chicks were wary of the new contraption at first, and reluctant to approach. So I took some dried cranberries and stuck them on the ends of the watering nipples. Once the mother hen figured out where she could get a sweet treat, she hungrily pecked the waterers, and in doing so discovered that her action produced water. And that was all it took. In about five seconds she had shown her chicks how to use the waterer, and they all crowded around to explore the new device. It was another great example of why I like using a broody hen to raise chicks—it’s fascinating to watch her teach the babies exactly what they need to know, and they learn from her instantaneously.
These horizontal watering nipples are not recommended for chicks of less than ten days old. It takes a fair amount of strength for them to manipulate the spring-loaded mechanism with their beaks, so I can see how smaller chicks wouldn’t be able to drink from them.
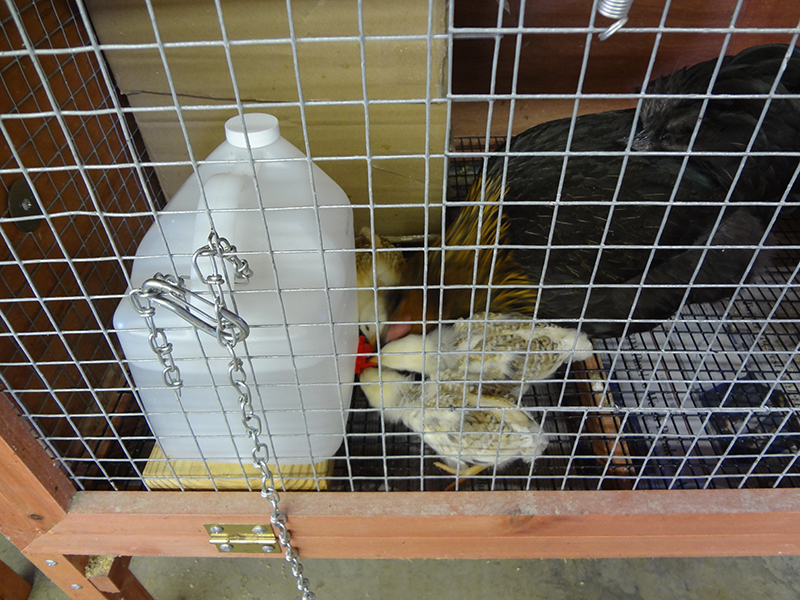
I had marked the starting water level on the side of the jug, just to make sure that the birds were actually getting water out of it during this transition. And I watched them carefully for the next few days to make sure no one was suffering from dehydration. But training them to use the new waterer couldn’t have been easier, and overall it is a huge improvement from the old, dirty, spilling chick fount.
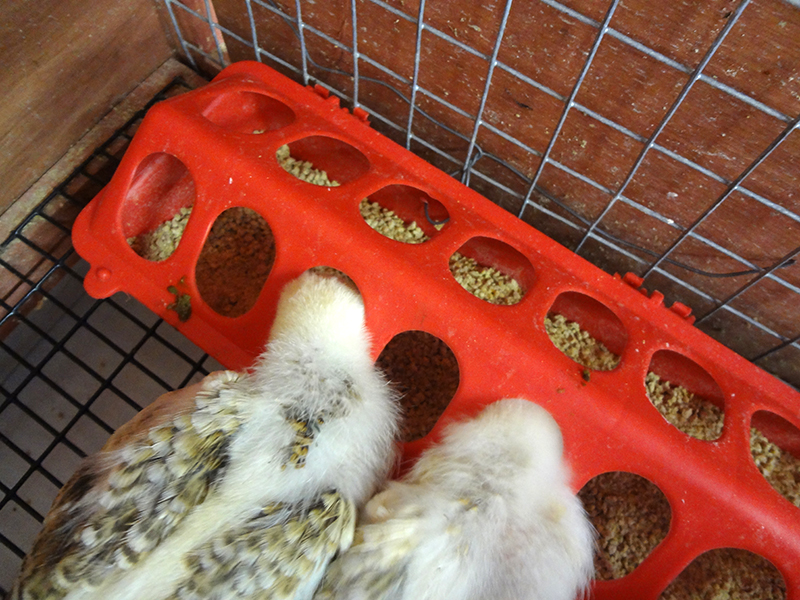
While I was updating the watering system, I also introduced a new feeder to eliminate the problems I was having with the chicks, and mama hen, scratching out and wasting so much food. I drilled a few sets of holes into this plastic trough feeder and wired it to both the side and bottom of the coop. That holds in securely in place against being tipped over, and it’s easy to pop the top off to refill. The birds are wasting much less food with this design.
The birds have been using the new water and food systems for a couple of weeks now, and all is well. Especially for me, as with these simple and inexpensive upgrades I solved two of the most disgusting and wasteful problems of chicken keeping!
April 2nd, 2014 §
Having a broody hen hatch and raise chicks is far easier, to me, than worrying about fluctuating incubator conditions or heat lamps. However, now that I’ve worked with a broody hen a few times, I realize that using a broody raises some specific issues that are easily addressed with a little bit of construction. I hope that publishing my trial-and-error process will save you time and mess and maybe even the lives of your chicks.
A full-size hen in a small broody coop can be like a bull in a china shop. Certain hens are more gentle than others, but the one I am working with now is a real bruiser. She is just acting out a chicken’s nature, which is to scratch and peck everything in sight. But when everything in sight is a newspaper-lined coop, open food dishes, and a top-heavy chick waterer, not to mention eight delicate little chicks, we have problems. The instant I filled the food bowl with chick feed, the hen would scratch it out to fall through the wire cage floor onto the tray below, wasting pounds of food a day, starving her growing chicks, and sometimes flipping the entire heavy, ceramic feed bowl into their heads. Then she’d continue scratching, ripping up the newspapers that lined the coop’s wire floor, which I used to give the chicks a solid, warm flooring to protect them from drafts. And then she’d knock over the waterer, which was usually filled with food, poop, and wet newspaper, draining the water into the spilled food.
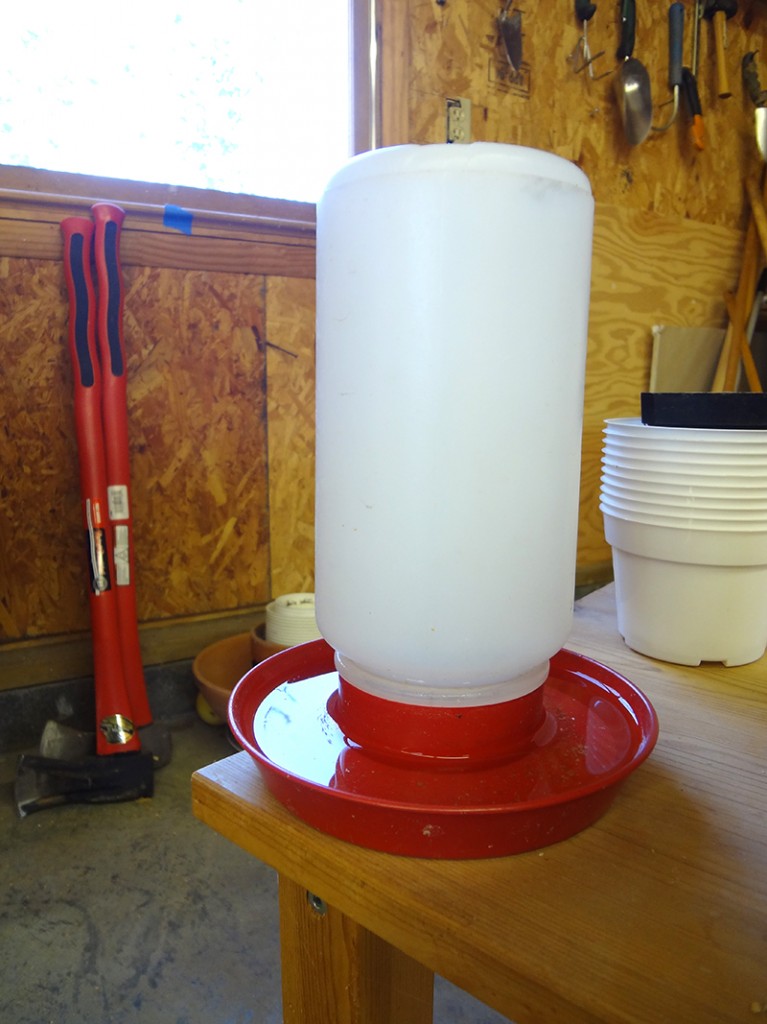
I tried all sorts of tricks—tying the waterer in place, using various dishes and pieces of cardboard under the food bowl, but the whole system was a mess despite cleaning three times a day. Disgusting living conditions aside, the final straw was the fatal implication of a tipped-over waterer. Birds as tiny as these chicks can only go for a couple of hours without water before they’ll die.
A lot of internet research revealed that poultry keepers usually have great success with “nipple waterers,” which are used in commercial poultry production. An evening spent typing “chicken nipple” into various Web sites (what will Google think?!) revealed options such as this, which were supposed to be relatively easy to install on the bottom of a bucket:
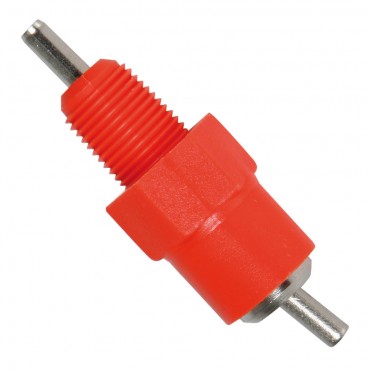
However, I had a hard time imagining filling the waterer with the valves installed on its bottom, not being able to set it down. What a pain! I thought there had to be a better solution. After more searching, I discovered the much-less-common “horizontal nipple” and ordered a few from an eBay seller. According to this article in Mother Earth News, this new style of nipple was just introduced a few months ago. Instead of being installed on the bottom of the water container, these go on the side. They are spring-loaded and have a little drip cup underneath to catch the water and help the chickens drink.
My new nipples arrived yesterday and I began to build my improved chicken waterer. 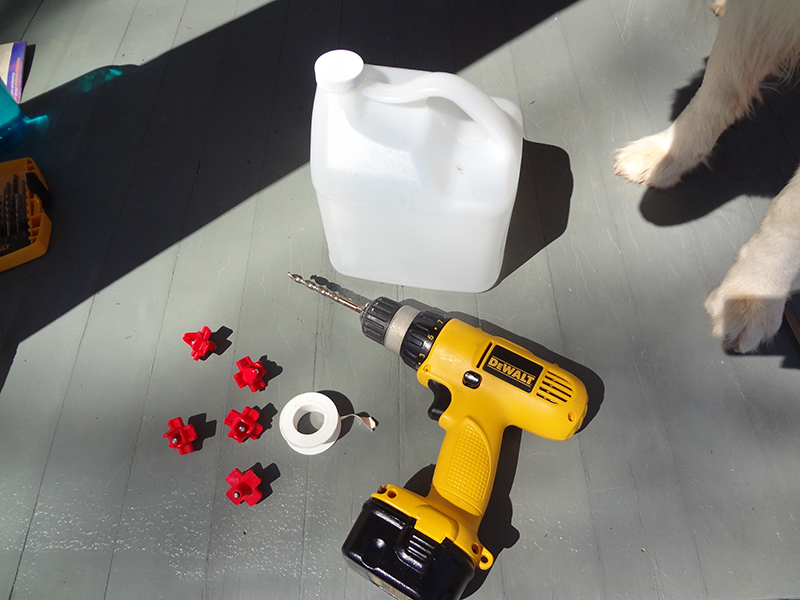
I used a gallon aloe vera juice container because its squared off shape fit more easily in the coop, and I thought I had a better chance of a good seal between the nipple and the container if the container walls weren’t curved. I drilled a couple of 3/8″ holes in the container. I considered installing the nipples with silicone sealant, which would surely eliminate leaks, but I wanted to be able to reuse these nipples on another container. So I wrapped the threads with plumber’s tape in hope that it would improve my odds of a leak-proof seal.
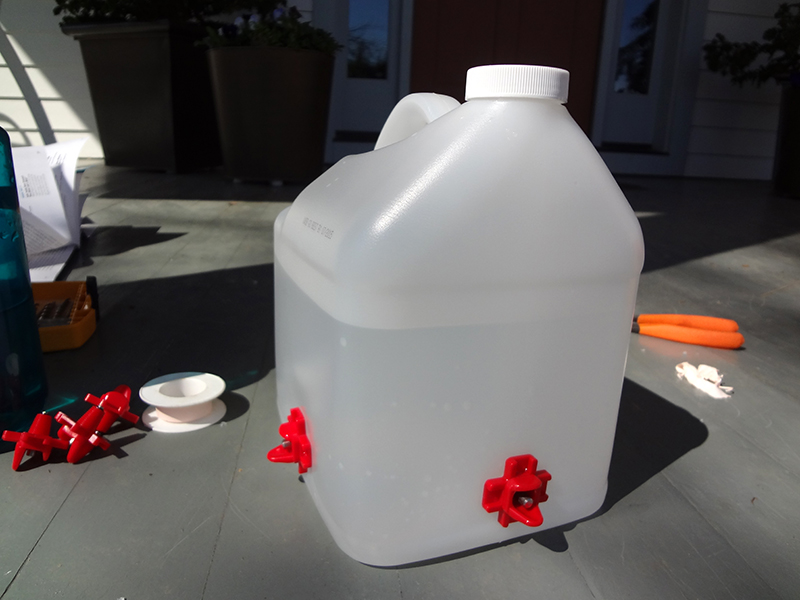
My first attempt yielded one leaky nipple, so I took it out and saw that some bits of container plastic in the drill hole were impeding a tight seal. I cleaned up the edges of the hole, rewrapped the nipple threads, and put it in again. When it seemed like it had a good seal, in that the nipples were very hard to turn as they got further into the container, I filled the container with water and let it sit on the porch all afternoon, watching for leaks. When I saw none, it was time to introduce the birds to their new drinking fountain.
Up next: teaching the chickens to use the new waterer and fixing the food dish problem.


