November 4th, 2013 §
Sunday morning dawned just a beautifully as Saturday, though it was cooler and substantially more windy. After lunch I headed outside to keep working at the vegetable garden cleanup. Unfortunately I had overdone it the day before and reactivated an old injury, a muscle spasm in my upper back next to my shoulder blade. In addition to being constantly uncomfortable, it makes turning my head to the right, such as when backing up the car, downright painful. Farming. Let me count the ways it hurts.
Regardless of any physical discomfort, the garden still needed more attention. First I dug out a couple dozen dahlia tubers for winter storage in the garage. I was amazed at the size of most of these tubers—just gigantic. Seeing this, I am suspicious that something caused this year’s dahlias to put their energy into making tubers instead of into flowers. More research on my theory to come.
I moved the dahlias’ labels, which are attached with twist-ties, from the wire support cages directly to the tubers to keep them properly labeled.
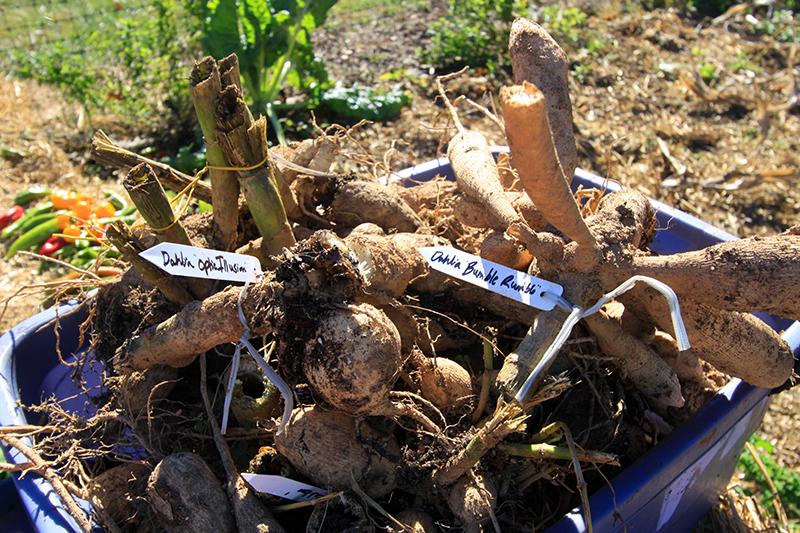
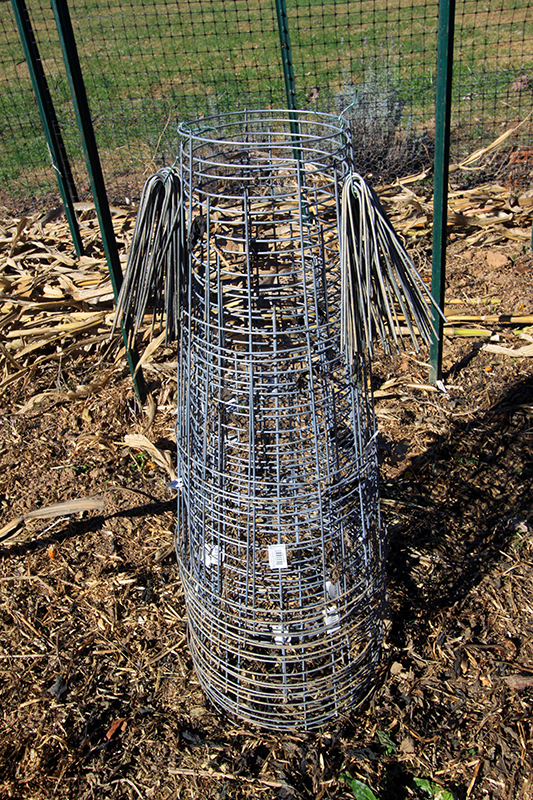
I stacked the custom-made cages and wired their ground pins to them for safekeeping. When I get around to it I will layer the tubers in boxes of peat to keep them from either drying out or rotting during winter. Last year I hung the tubers in mesh bags in the garage and lost some of them to drying out, so I will try a different technique this year.
Then I had to figure out what to do with the Glass Gem corn stalks. I tried digging one stalk out, but the root ball that came with it was so massive and full of soil and beneficial worms that I realized I’d be transplanting most of my hard-won, improved garden soil directly into the woods if I chose that route. So I decided to chop each stalk off at the ground and hope that the root balls would just decompose and continue to feed the soil without the major disturbance of digging. We’ll see. I figured that come next spring, anything I’d want to plant in this area can be tucked amongst any stalks or root balls that may be left over.
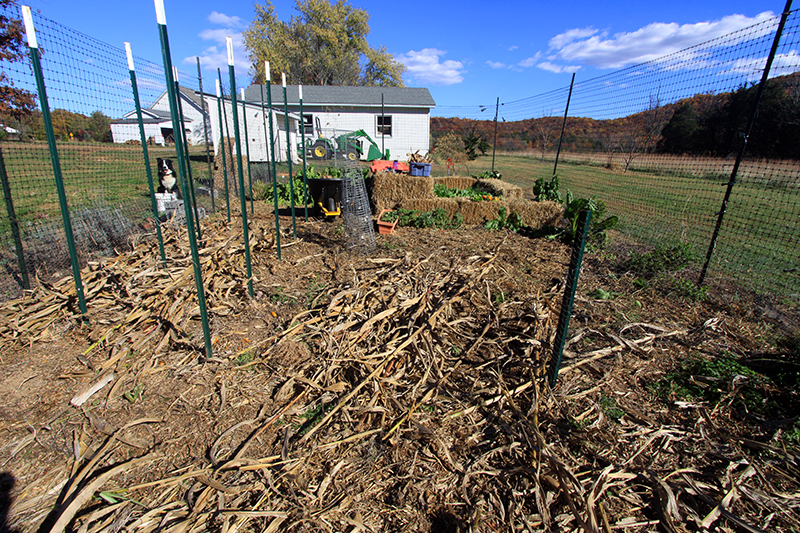
I am undecided about what to do with the stalks. I am heading toward leaving them on the ground over the garden. They will form a nice mulch layer to protect the soil below during winter, and if they’re still around in the spring they’ll be easy to pick up and remove to the compost pile. I plan on putting down a layer of compost then heavily mulching with straw anyway, so these corn stalks perform much the same function and help stretch the straw budget.
I still need to get the tomato stakes out, and then the next step involves shoveling compost into the garden and spreading straw. But as I was not in great compost-shoveling condition with this muscle knot, once I got the dahlias up and the corn down I quit garden cleanup and headed to town for an hour and half of vigorous vinyasa yoga in a warm studio, followed by liberal application of the gym’s hot tub jets to my back muscles.
October 15th, 2013 §
After harvesting more than 100 ears of ‘Glass Gem’ corn, I needed to do something with it. A harvest wreath was the perfect project. I love to make wreaths—I love the seasonal symbolism of them and the way they act as jewelry for the house, dressing it up in a way that shows that the person who lives there cares enough to make the public face of their home pretty and welcoming.
However, the wreaths one most often encounters in stores are all too frequently plasticly hideous, reminding me of cheap gravestone decor, while being simultaneously, ironically expensive. It’s very hard to find a good wreath, which in my definition is one that looks natural and fairly understated, while also having enough going on to be interesting. The wreath should also be complementary to the home that it’s decorating.
Because I am picky about wreaths, I tend to make my own each season. I’ve done fall fruit wreaths, winter greens wreaths and spring wildflower wreaths, but I’d never before attempted an Indian corn wreath. It was a bit of a learning curve, but here’s how it all went down.
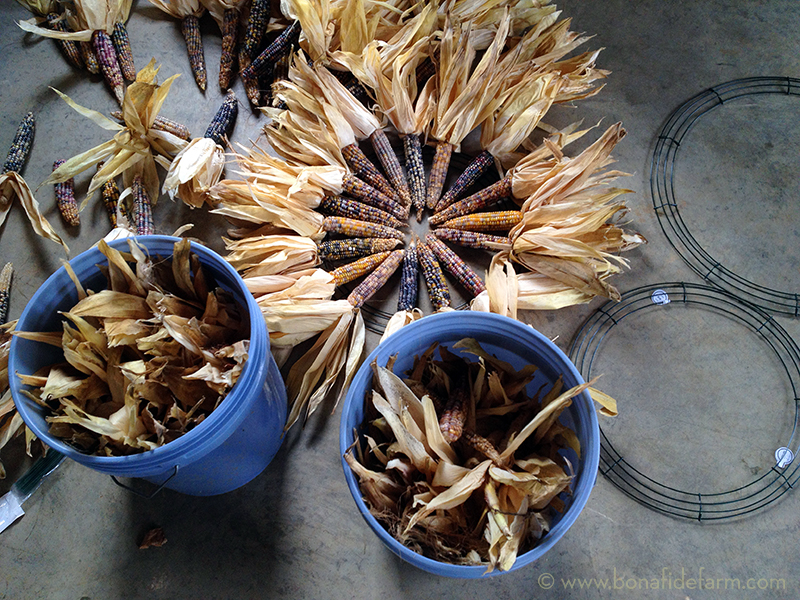
I got a few cheap wire wreath frames, and then I set to work sorting my best-looking ‘Glass Gem’ corn by length into separate buckets. I figured I had enough good corn for two fairly substantial wreaths. Then I did a test fit for the first wreath, choosing the ears for the four cardinal directions and then filling in between them with a nice balance of colors.
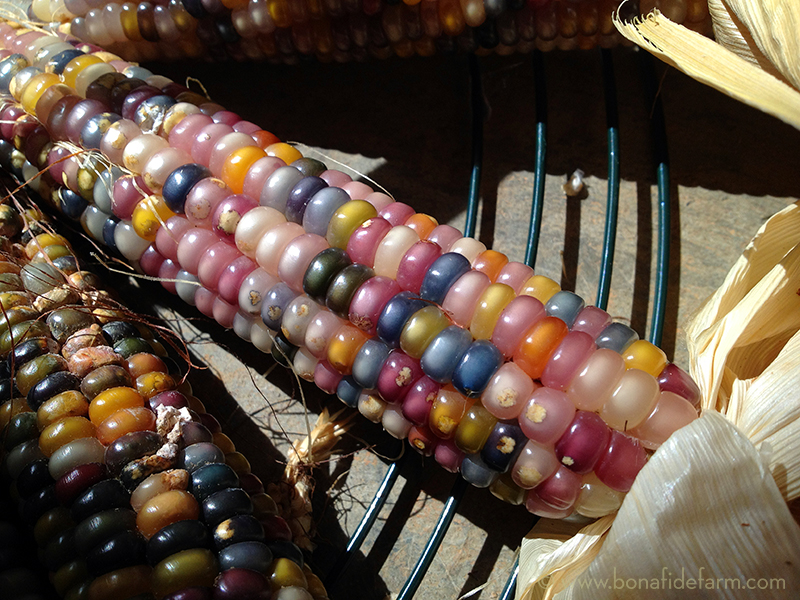
I soon realized that the corn wasn’t thick enough to totally hide the wire frame. I did two things to fix this issue. First, I wired some pieces of rafia sheeting, which were actually cut-up IKEA window screens that I’d had for many years, to the wire base. Second, I folded a few pieces of corn husk back behind each cob, trimming the husk that stuck out past the end of the cob.
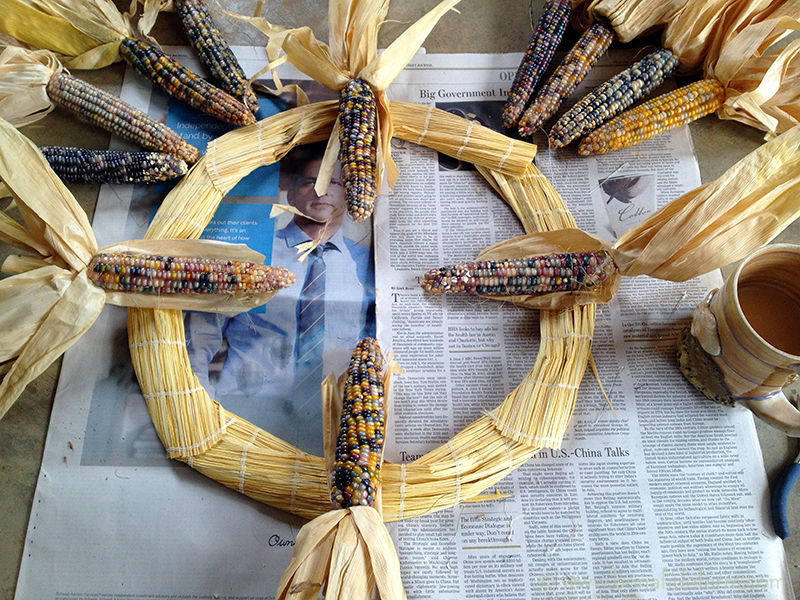
After I hot glued each ear down, they still needed more support to stay on the frame. I had to make two points of connection on each ear to keep them from flopping around or falling off when the wreath was hung. I got a big needle and some very fine gauge wire and sewed each ear onto the frame, going around twice. The silver wire blended in pretty well and wasn’t too noticeable. I tied the wires off in the back of the wreath, leaving them long enough that I could tighten them again should the corn shrink as it dries.
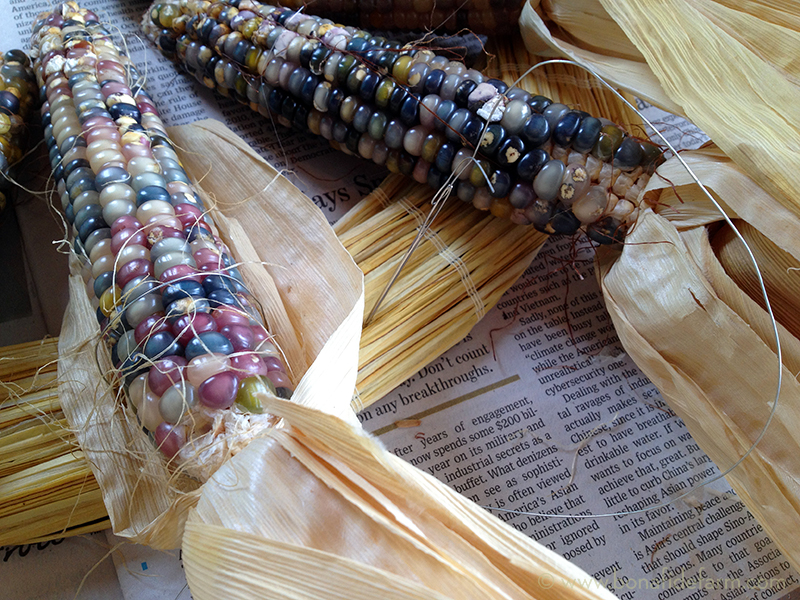
And then I just kept going, glueing and wiring the corn in place, all while sitting on the floor of the garage.
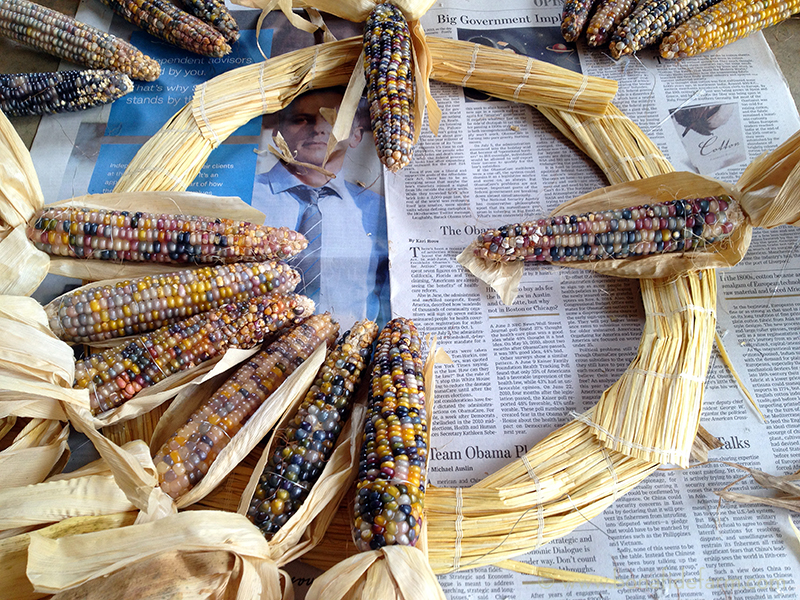
It took a long time to fuss with each piece to make it look nice, but I had lots of company.

In fact, the chickens seemed pretty happy to be snacking on runaway ‘Glass Gem’ corn kernels. What a gourmet treat!
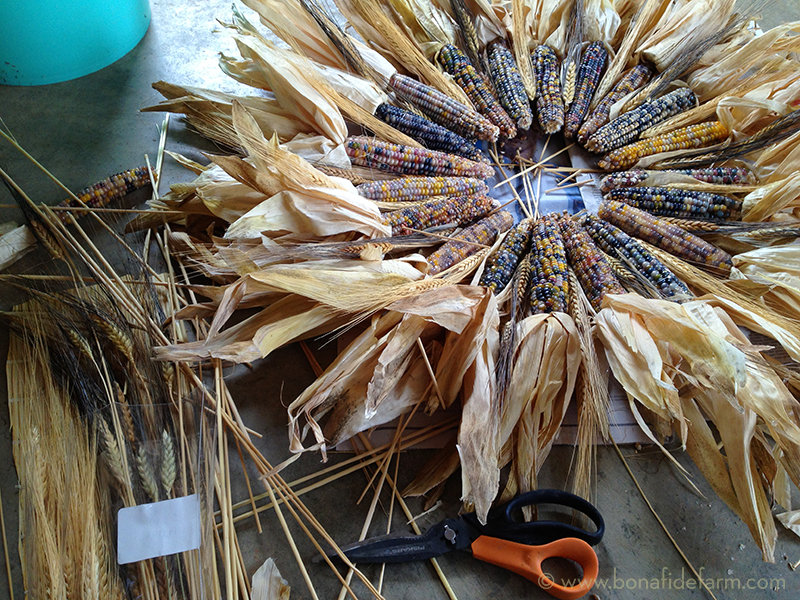
Once I got all the corn cobs attached, I went back and filled in some thin-looking spots with extra corn husk. Some of cobs had lost their husks entirely, so I hot-glued prosthetic husks to them. And then I got some wheat stems (picked up at the craft store) and glued them in between each cob for another layer of interest. I trimmed the tips of some of the cobs with my pruners to help make the negative space in the center of the wreath as even as possible.
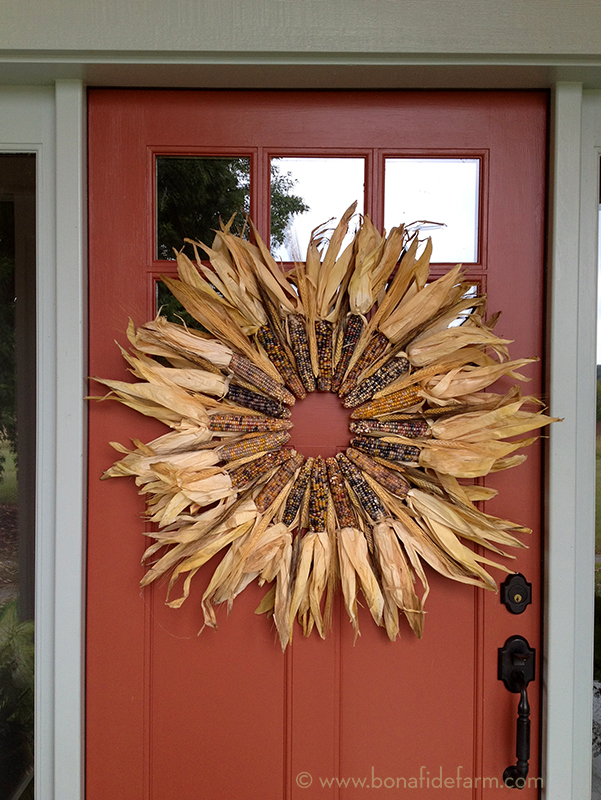
After a test-hang to check for any weird-looking spots, the wreath was ready for the front door. I couldn’t have picked better corn colors to go with my house!
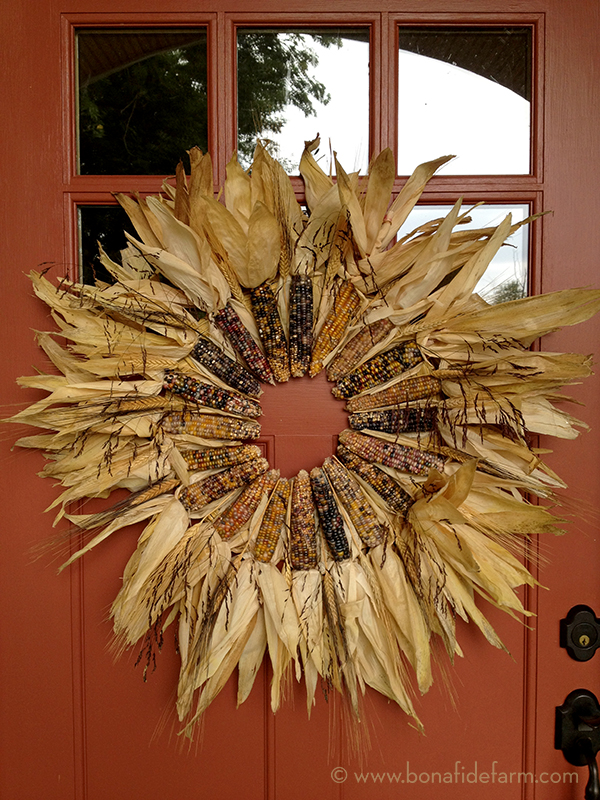
And then I made another for wreath for my mom’s front door. The wreaths have been hanging almost a month and seem to be holding up pretty well. They’re both on protected porches, which I am sure helps to extend their life. But if they should decide to take a turn for the ugly, I know a bunch of chickens that would be pretty thrilled to help dispose of the remnants of my harvest wreath.
September 25th, 2013 §
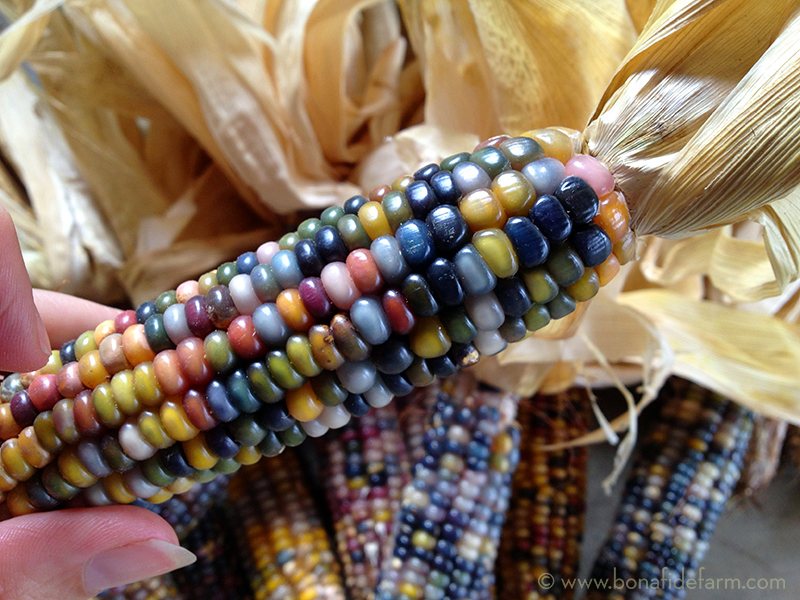
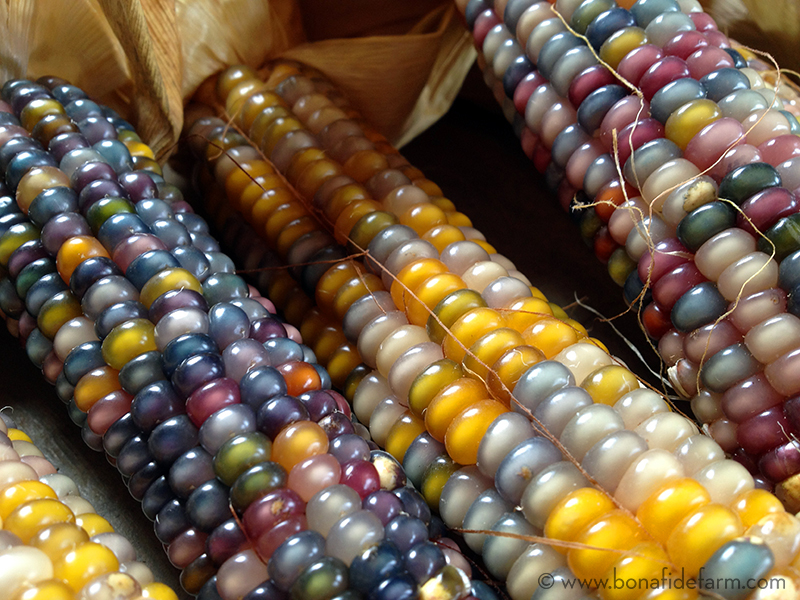
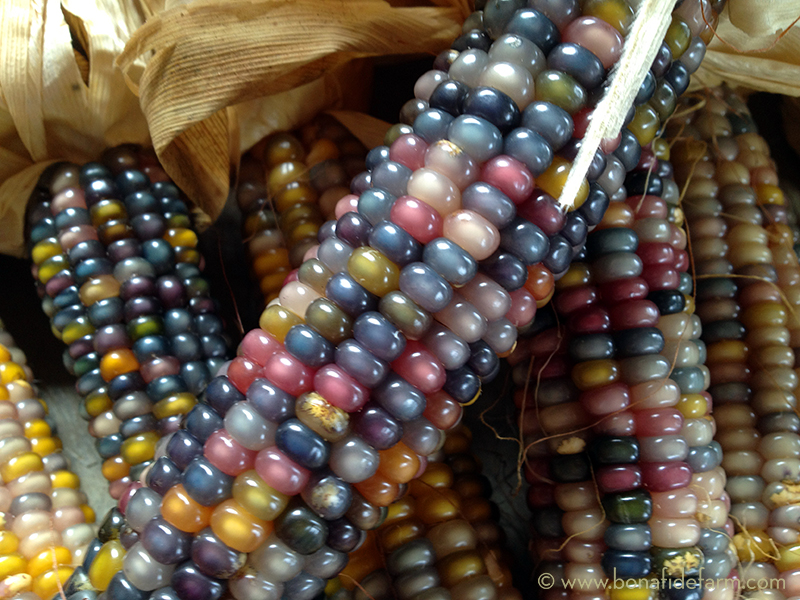
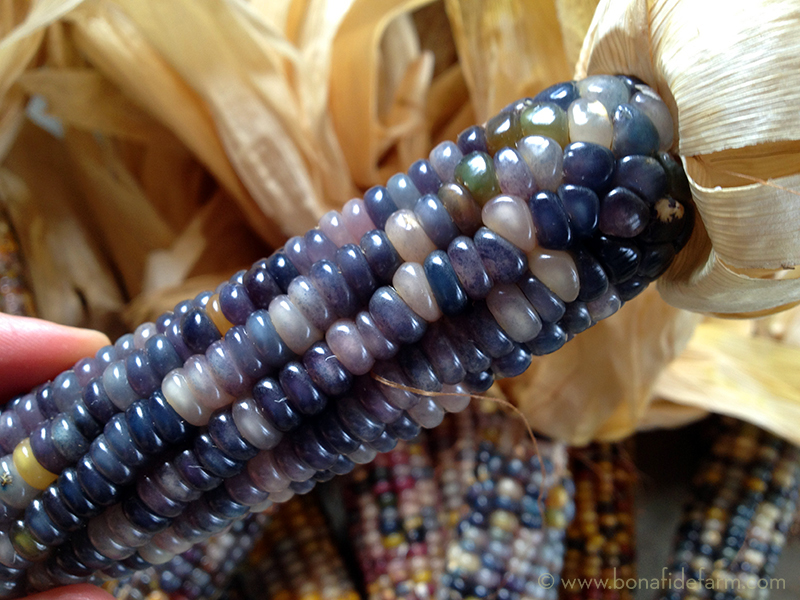
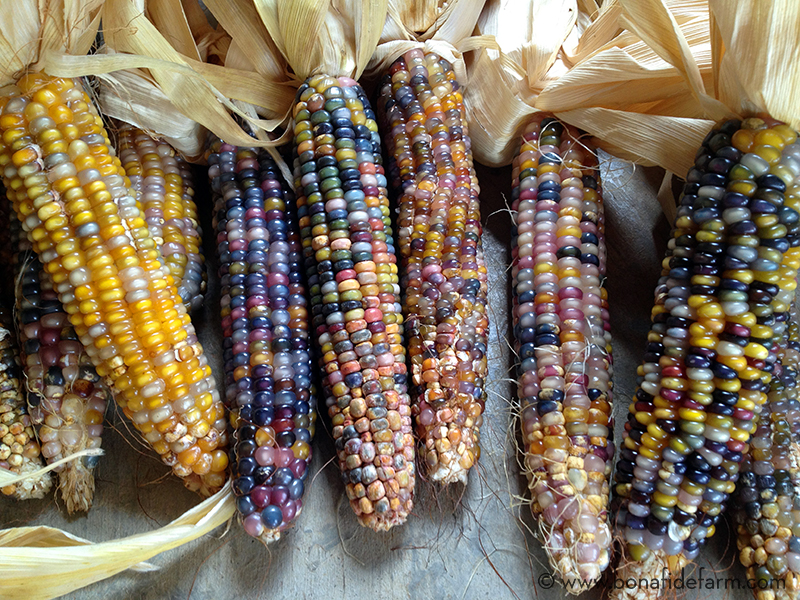
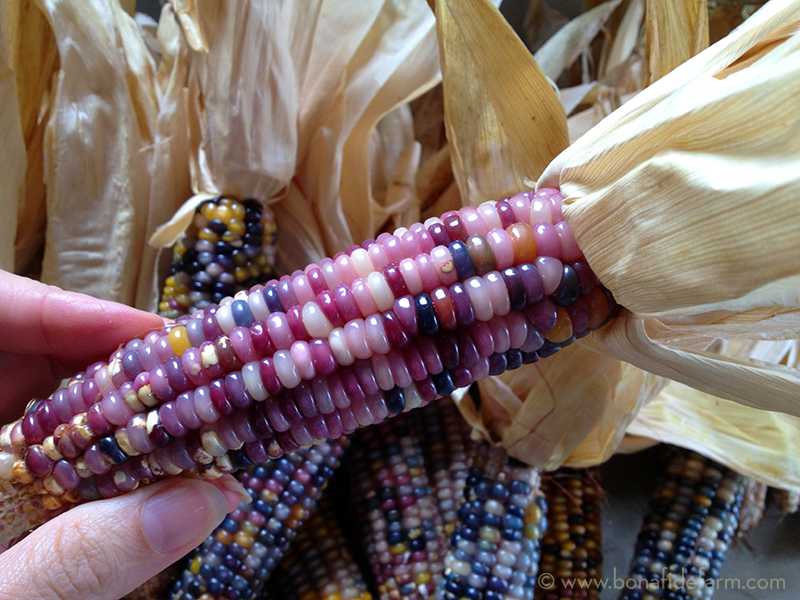
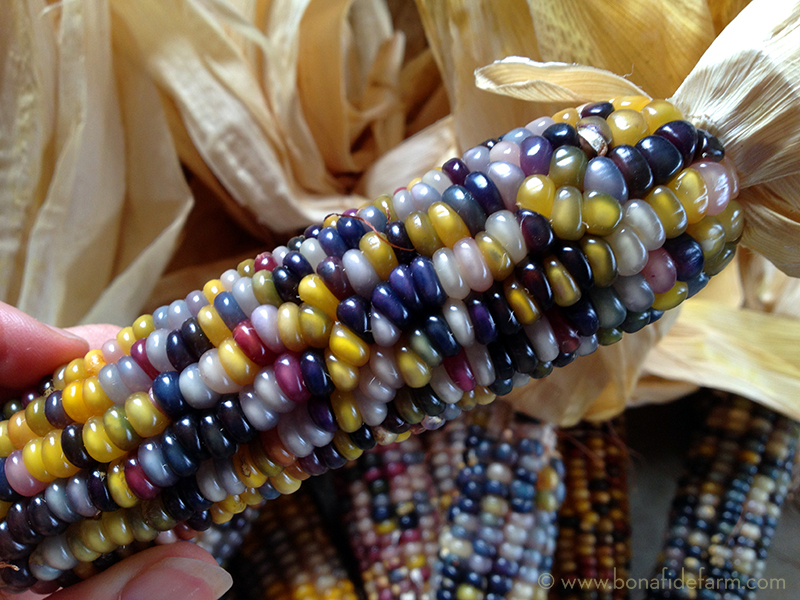
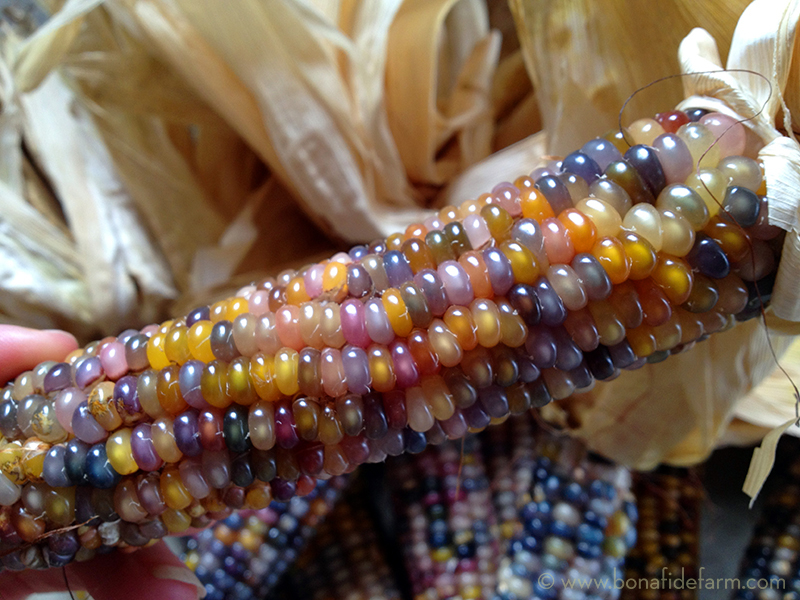
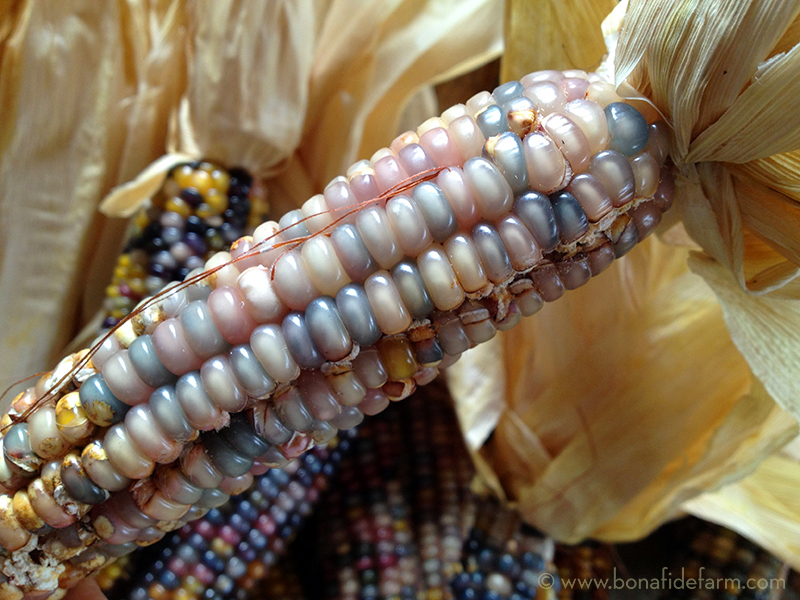
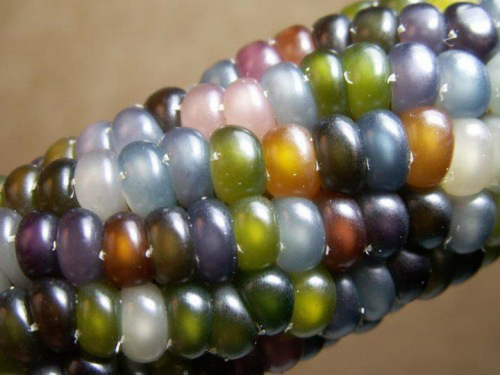
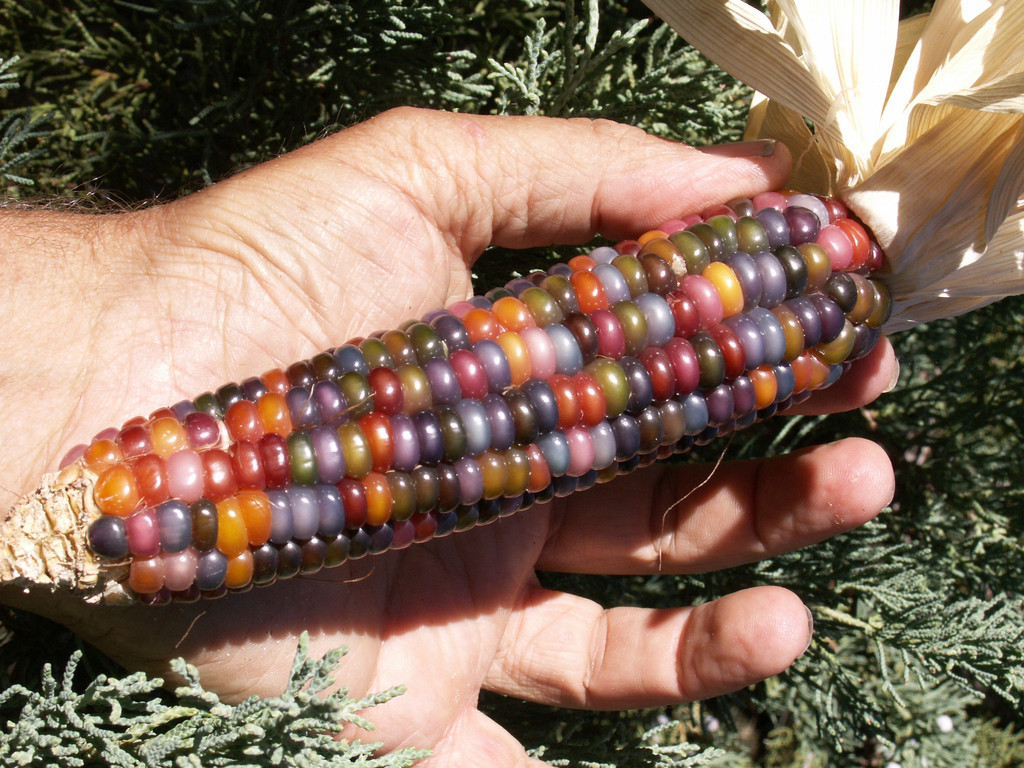
Here’s just a selection of the Glass Gem corn I grew this summer. As you can see, the range of colors is incredibly wide, both within each cob and between different ears. Glass Gem is a color lover’s dream. There’s something here for everyone, whether you prefer your corn in nursery pastels, sophisticated navy, screaming magenta, classic yellow, or my favorite, all mixed up teal green, purple, turquoise and pink.
These photos aren’t digitally altered, nor did I use any special shooting setup—this really is what this corn looks like. I just snapped a few shots with my phone as I lay the corn out on the garage floor after shucking.
To read about the entire 2013 Glass Gem corn experiment, please visit:
September 24th, 2013 §
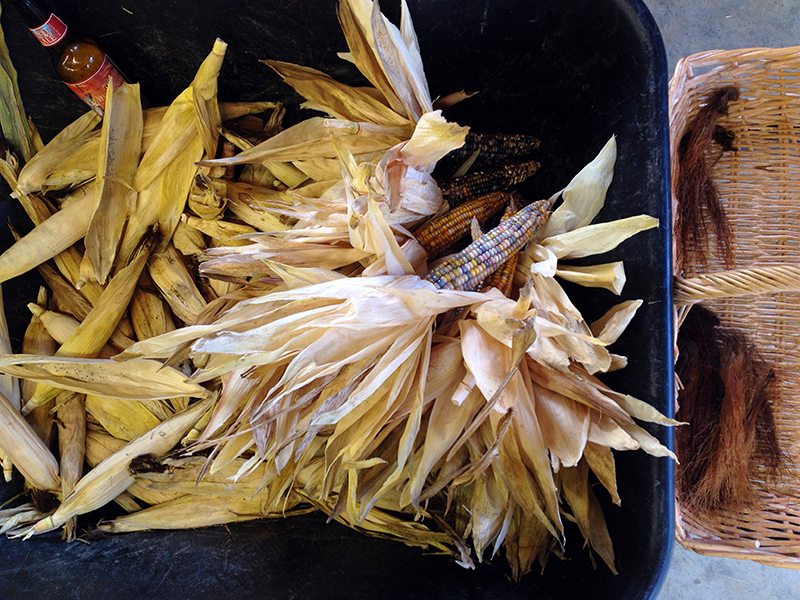
Once I had all the Glass Gem corn picked, it was time for the best part: opening each ear to reveal the multicolored kernels held within. I set up a little shucking station in the garage and got to work. It was kind of like Christmas as each ear exposed a new and different surprise. I separated and saved the best looking corn silk, in the basket below, for tea.
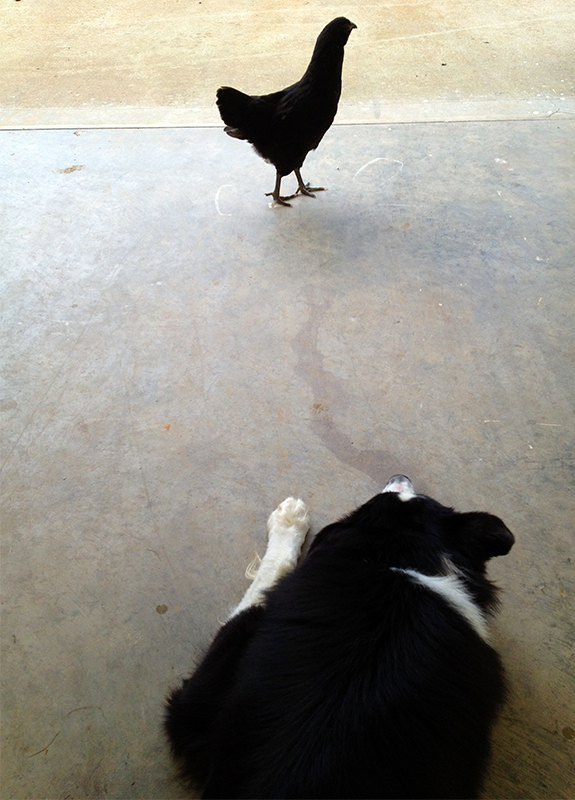
Of course I had company, though one companion grew pretty bored when the shucking stretched into a multihour endeavor.
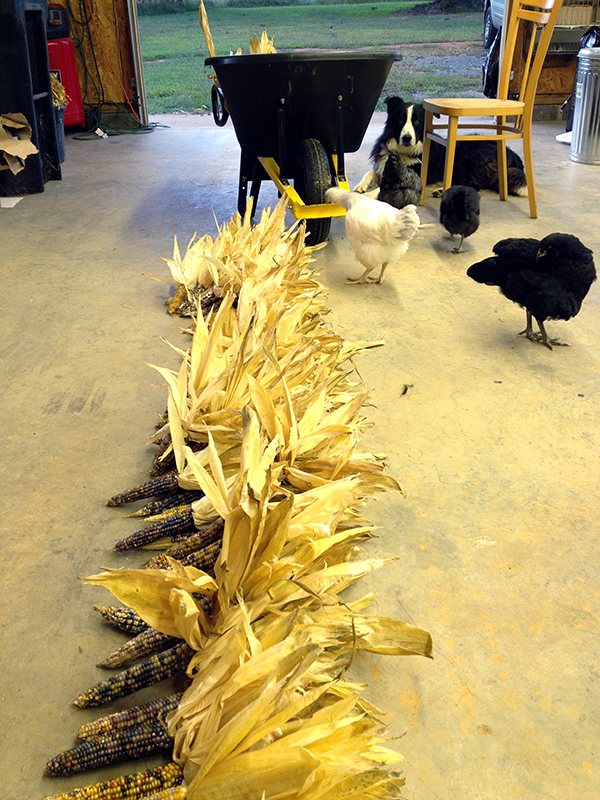
Shucking more than 100 ears, plus the time required to marvel at each beautiful ear, added up as I worked through sundown and into the evening. The rest of the crew got more and more curious as I lined the shucked cobs up on the garage floor, sorting them by size and condition. I was very pleased to see what I consider to be pretty good pollination and kernel set in most of the ears. I found only one insect, a little worm, in all 100+ ears, which seems remarkable to me given how much I struggle with bugs on some of my other crops. Perhaps I have the bluebirds and their nightly visits to the corn patch to thank?
A few of the ears contained kernels that looked as though they were starting to pop. I will have to do more research to figure out what causes that. But in all, I was pretty pleased with my harvest. Maybe it’s just beginner’s luck, or the blessing of an unusually rainy summer, but it’s not too bad for my first corn-growing experience!
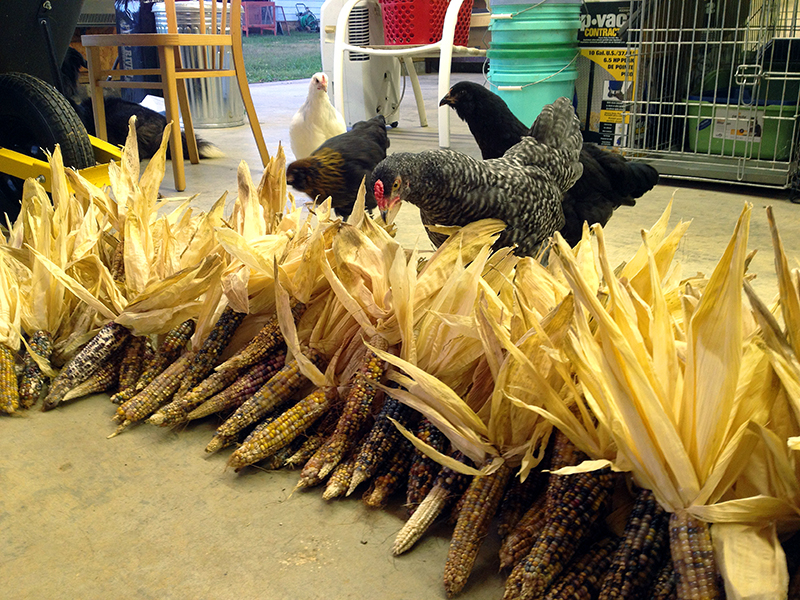
Though they were intrigued, the chicks hadn’t yet figured out that corn is one of the most delicious chicken treats around. And this wasn’t just any corn—it was the famous Glass Gem!
Up next, a closer look at the Glass Gem harvest…and all the pretty pictures you’ve been waiting for!
June 2nd, 2013 §
This spring I was lucky enough to get my hands on some “Glass Gem” corn seeds. Glass Gem is not a sweet corn. It’s an incredibly beautiful heirloom flint, or popcorn, and it’s quite a phenomenon in the gardening world, spurred on by photos like this that have been circulating online for a couple of years. You can read more about it here.
 (Photo from Native Seeds/SEARCH)
Everyone was nuts to get some Glass Gem seeds, but they became available only this year from Native Seeds/SEARCH, a Tucson, Arizona-based nonprofit that works to conserve seed from plants of genetic and cultural importance.
I first discovered Native Seeds when I lived within walking distance of their retail store on Fourth Avenue in Tucson. It was one of my favorite shops in the city, filled with Native crafts and, of course, unusual seeds. One year I bought my dad a bunch of hot chile pepper seeds and sent them home to Virginia, where he planted a giant chile garden. For years my parents had hot peppers languishing in the freezer from that massive experiment.
I was on a waiting list for more than a year until I got an e-mail this spring saying I could purchase one packet of Glass Gem seeds. Which I did, immediately. People are so nuts to get this corn that I’ve seen online auctions and stores selling each seed for a dollar or more, which is crazy because it’s still for sale on the Native Seeds Web site. It’s also nuts because corn is wind-pollinated, which means you need a pretty sizable stand (at least 40 plants) in order for cobs to set, unless you want to hand-pollinate.
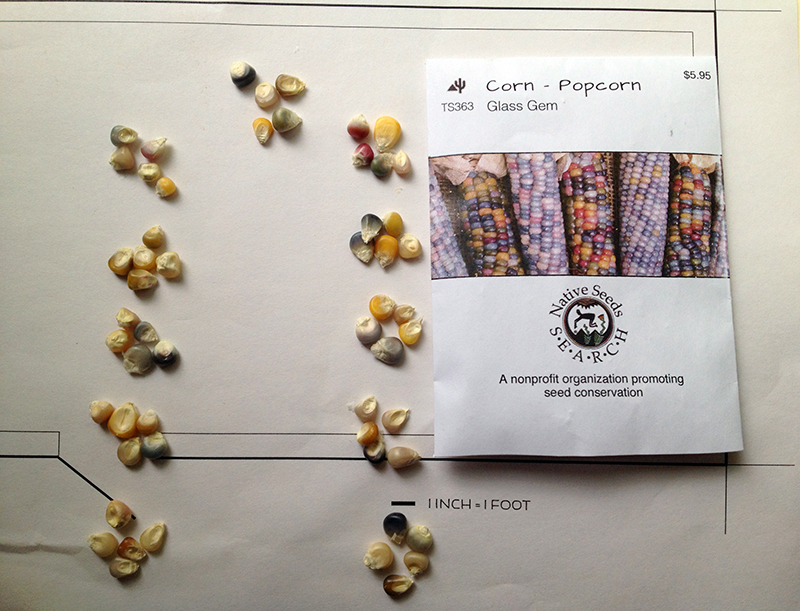
I received 65 kernels in my allotted packet of seeds. I have never grown corn before, so this experiment has required quite a bit of research as well as some garden plan drawings before I could start. And then I had to wait for the soil to warm up…
On May 11, I marked out the placement for each kernel using sophisticated measuring apparatus. Don’t laugh. It worked. I planted seeds one foot from each other in both directions, creating the suggested “block” configuration that helps insure pollination.
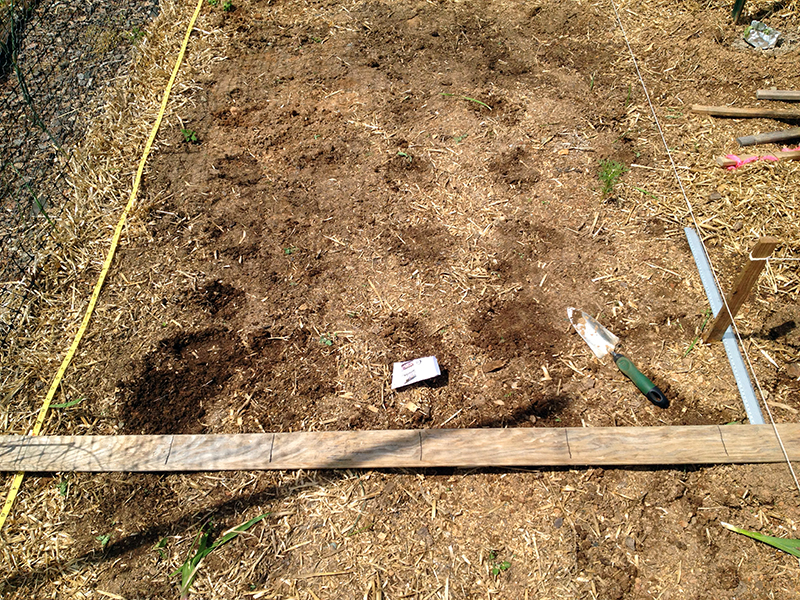
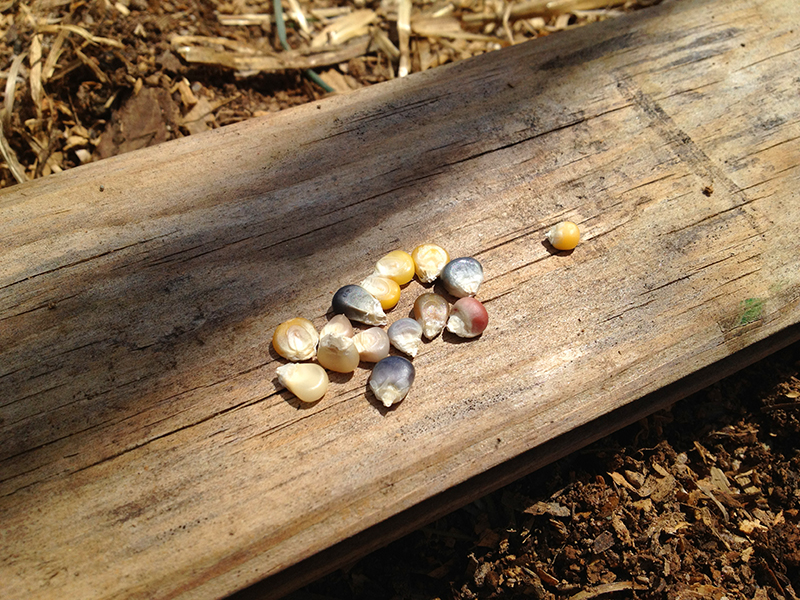
Glass Gem corn, ready to go in the ground. We had some nice rains in May and after about a week the corn germinated. Sixty-three of the sixty-five planted kernels came up, which is a pretty amazing germination rate: 97%!
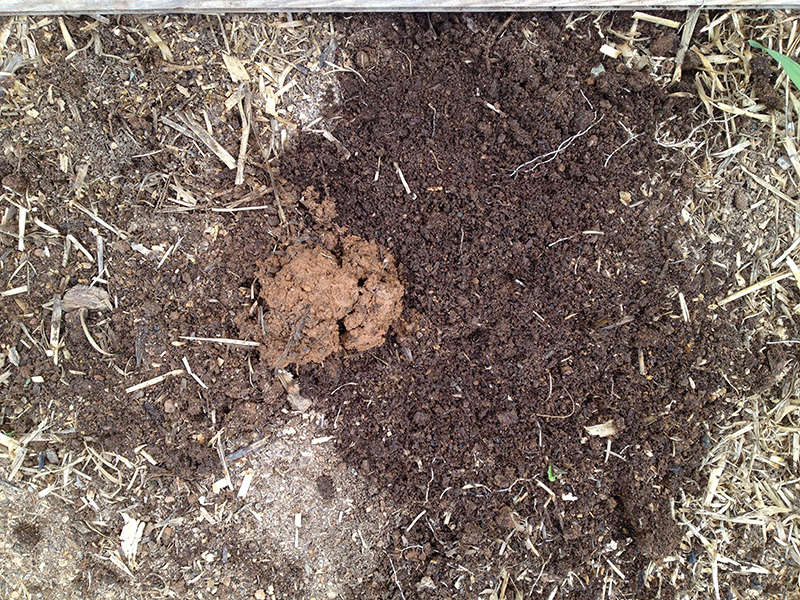
I’d like to take a moment now for some soil appreciation. The darker soil, above on the right, is what most of my vegetable garden looks like now, after three years of concerted effort to build soil tilth and fertility through sheet mulching, composting in place, running chickens in the garden, and adding homemade compost at regular intervals. The red clay blob is the native soil, dug from just a foot away at the edge of the garden. Quite a difference, huh?! I know it’s nuts to be proud of your soil, but that photo above represents countless hours of my life spent in research and hard physical labor, so it’s wonderful to see such an obvious improvement.
The corn is now about eight inches tall and this week’s heat wave (highs above 90 degrees) has had a noticeable effect. Corn loves heat, and just as I’ve heard in gardening folklore, you can watch it grow.
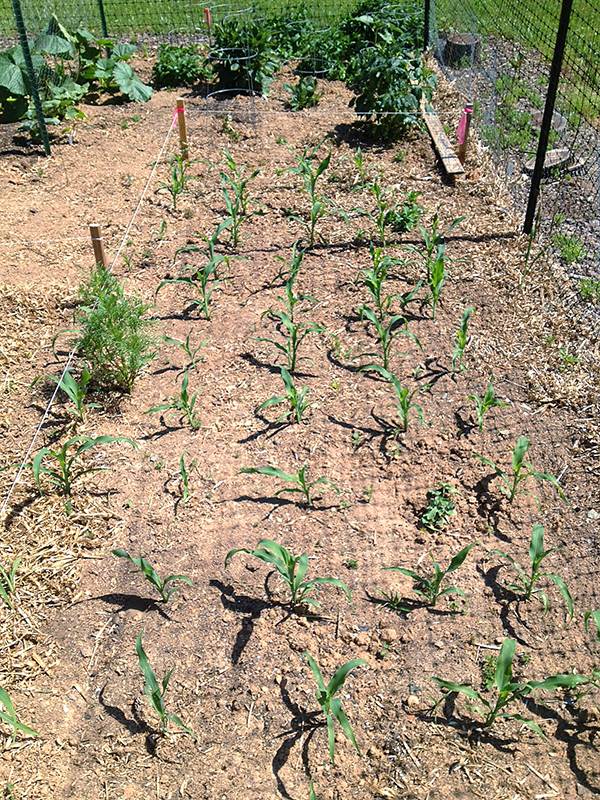
Many other bloggers are growing Glass Gem and writing about it, so it will be interesting to compare experiences. Some gardeners are really coddling their Glass Gem, but coddling isn’t really my gardening style and I am prepared to accept failure with this experiment. It’s a big risk as I devoted a relatively large section of my too-small garden to this corn, but I figured I had to at least give it a shot! We’ll see what happens!


