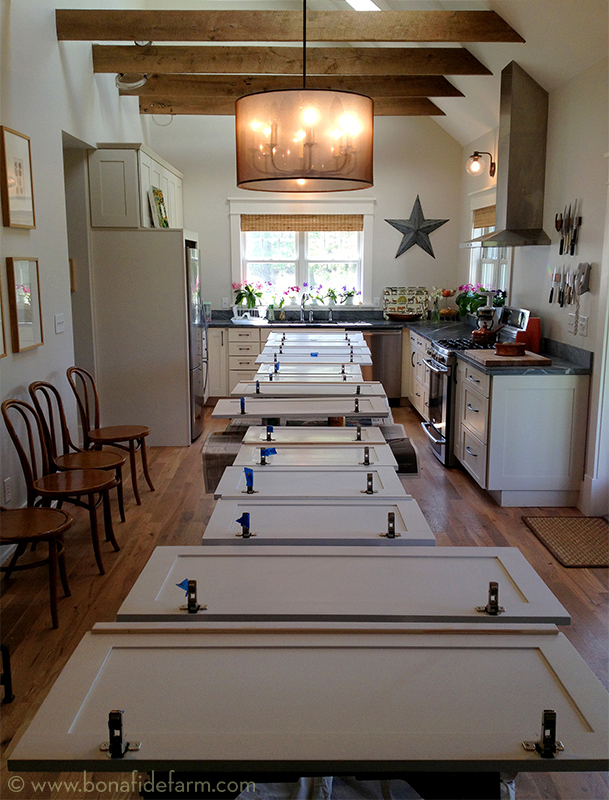
Remember back when I posted the photo of this spring’s major construction project? Well just because I failed to follow up doesn’t mean the construction stopped. Indeed, I spent most of the spring, when I wasn’t in the garden, working to install, trim, finish and paint seventeen custom cabinet doors.
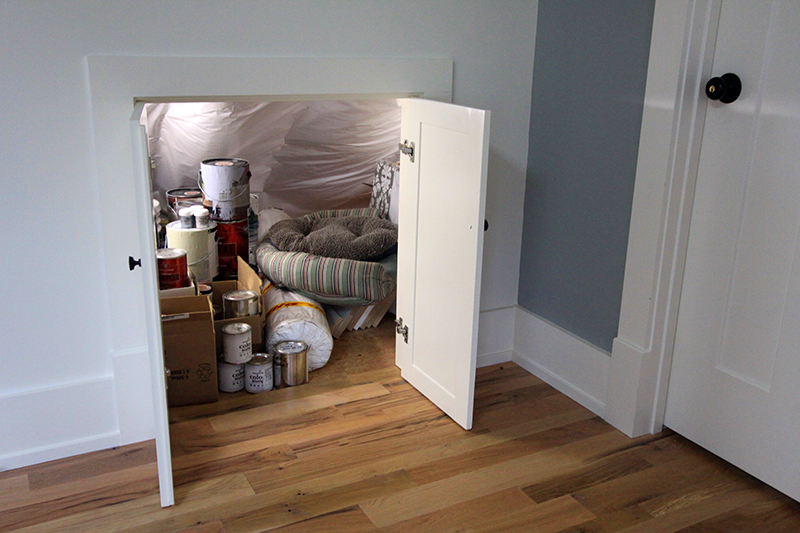
When I built my house I had the brilliant idea to leave all the under-eave spaces on the second floor open, with the idea being that they would provide valuable storage space in a house with no attic nor basement. My dad offered to build custom doors, so when the builders signed off on the job it meant that I was left with giant holes in the walls of every room upstairs and long stretches of missing baseboard around all these openings. For four years I stared at pieces of cardboard that I hastily nailed over the openings on the day I moved in, after my cat decided to try to commit suicide by wedging herself between an exposed rafter and some insulation.
Obviously I hated these holes, as they were a blight on a brand-new house. I also hated that because they were so exposed inside, they let in a lot of cold air, wind, and, yes, mice. So last fall when I had the crawlspace properly conditioned I had a crew spray the inside of all the cubbies with foam insulation. That went a long way toward cutting down on heat loss and together with the foam in the crawlspace seems to have really helped the mouse problem. 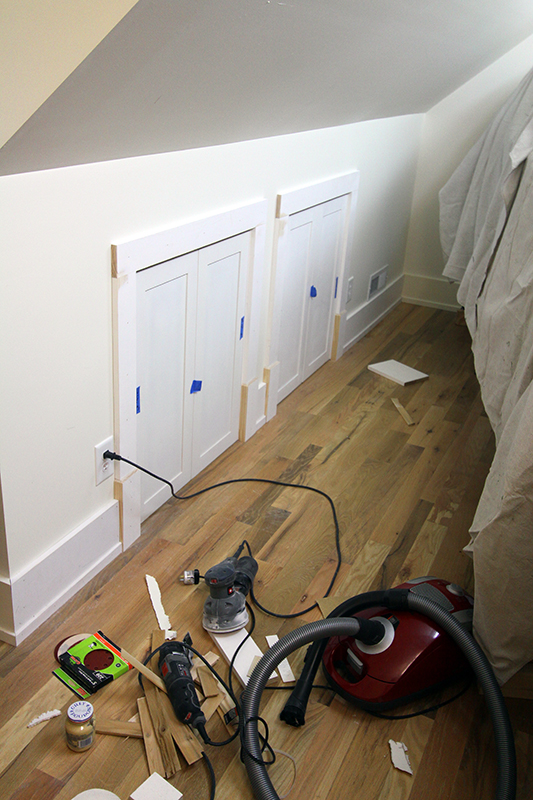
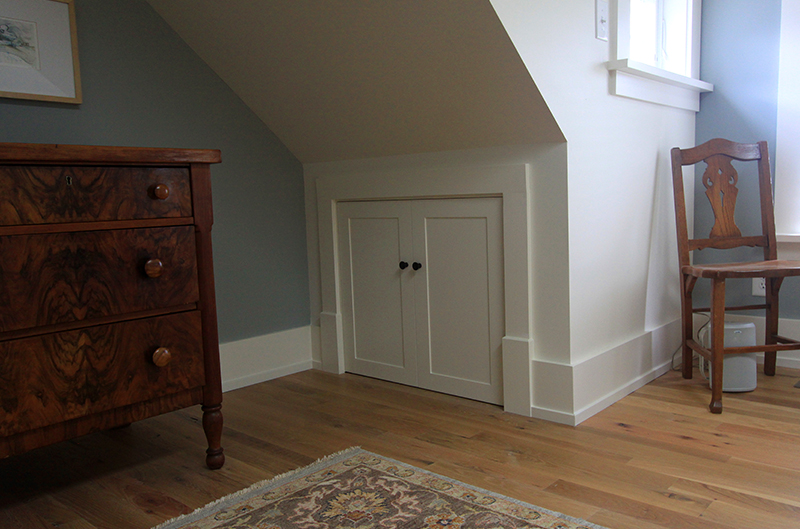
This spring my dad finished building the doors, and he installed them and trimmed them out, even cutting custom plinth blocks that were a slightly scaled down version of the blocks I used around my human doors. Install was no picnic as we discovered less-than-perfectly plumb walls that necessitated some creative carpentry work. 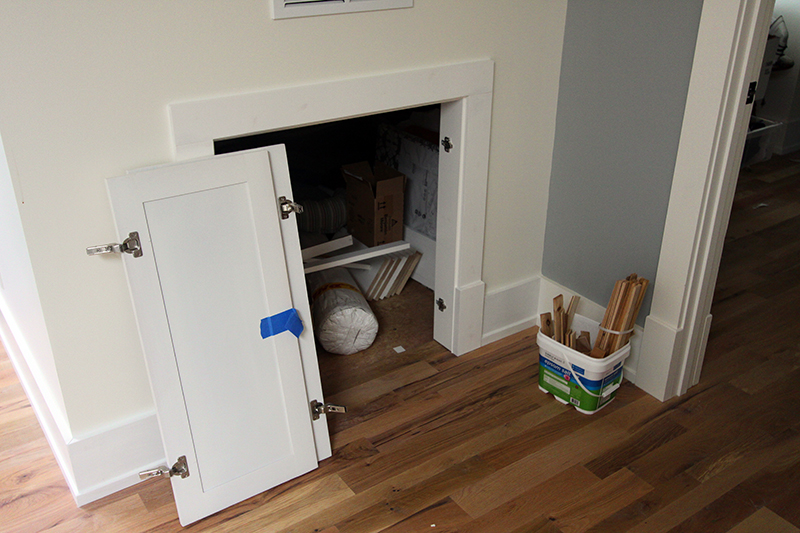
Then it was up to me to fill nail holes, sand all the trim smooth, caulk for what felt like miles, and finally paint two coats of oil-based paint on everything, sanding between coats. It felt like it took me forever, but the end result is totally worth it.
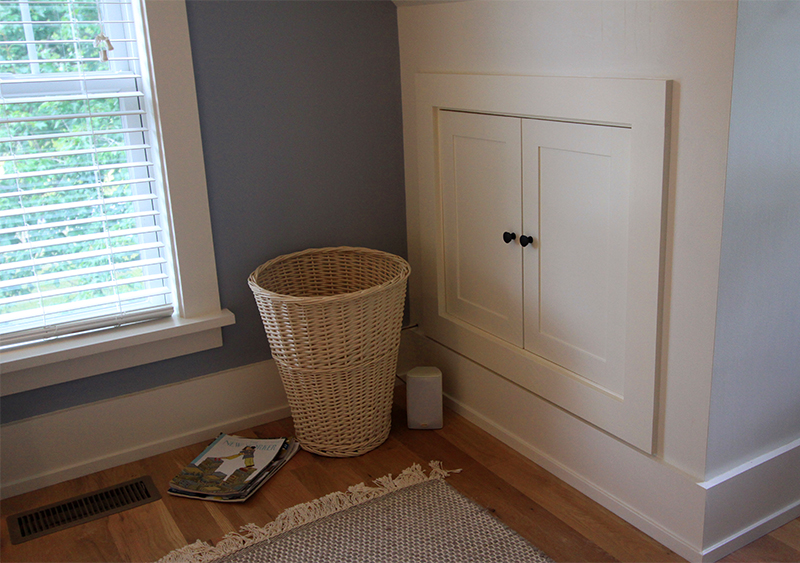
The two cubbies in the master bedroom, above, and one of the two on either side of the dormer in the master bath, below:
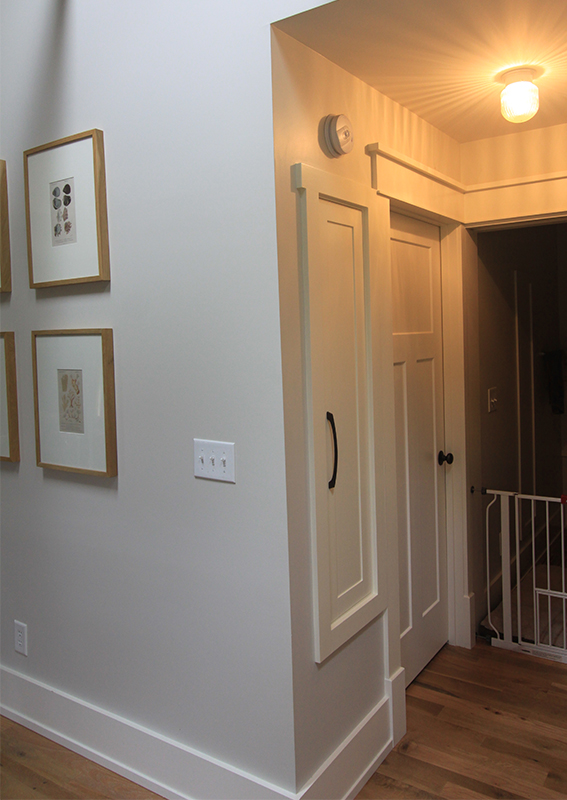
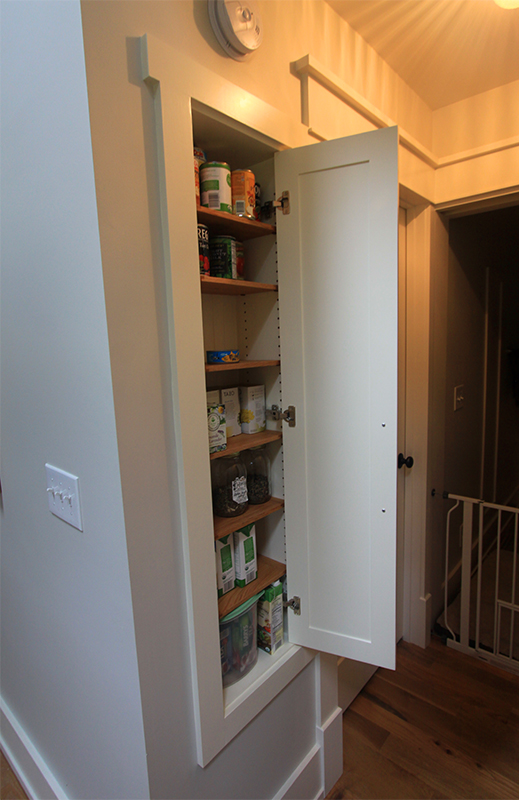
We also took care of what had been another hole, open the the HVAC ducting, right off the kitchen. This was meant to be a pantry, and now it finally is. In addition to making the door, Dad built an insert backed with beadboard and made beautiful little shelves out of a red oak tree harvested on his farm.
It doesn’t look like much space, but again I was trying to maximize storage in this small house. And this little niche fits a surprising amount of food. Dad also made some access panels to cover the hole in the laundry room open to all the structured wiring for the house and another access hole behind the master bath shower.
One point of frustration on this project was learning that oil-painted surfaces yellow over time. All my trim was done in Benjamin Moore’s White Dove when the house was built, and I loved it. But over just the past four years I suspected my trim was yellowing. This was confirmed when I went to paint all the new cubby doors and trim in brand-new White Dove. The new paint was no where near the color of the four-year-old paint. I was pretty darn disappointed that paint that cost $100/gallon didn’t retain its color. I had to get new paint matched to the yellowed trim, and it’s not perfect. Plus, I detest yellow-toned trim, and that’s what I am stuck with now. Lesson learned: Use latex to paint anything that you don’t want to yellow. That’s what I will be doing the next time I need the trim painted.
But all in all, this was a huge project with one pantry, eight cubbies, and two access panels complete. Thanks for your help and beautiful work, Dad! The cubbies are a massive upgrade and add tons of custom charm to this little cottage.

