The mother ship
July 12th, 2014 § 0
Happy Independence Day
July 4th, 2014 § 0
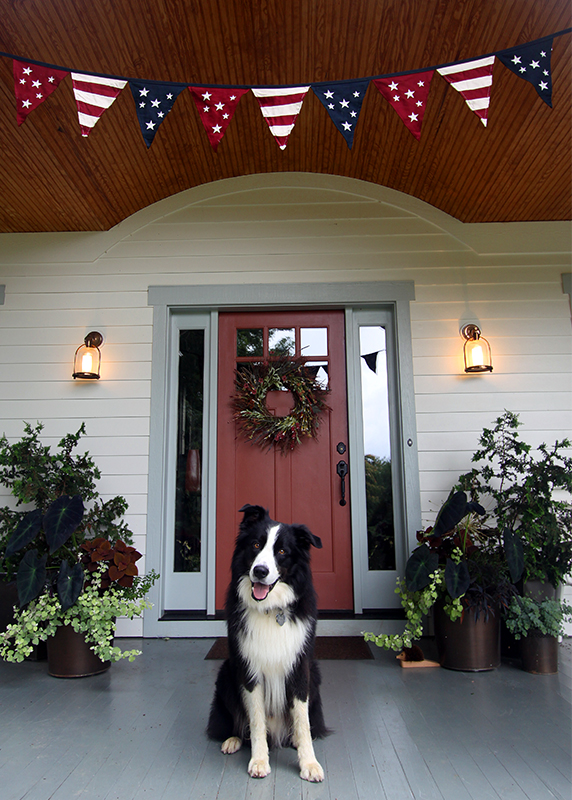
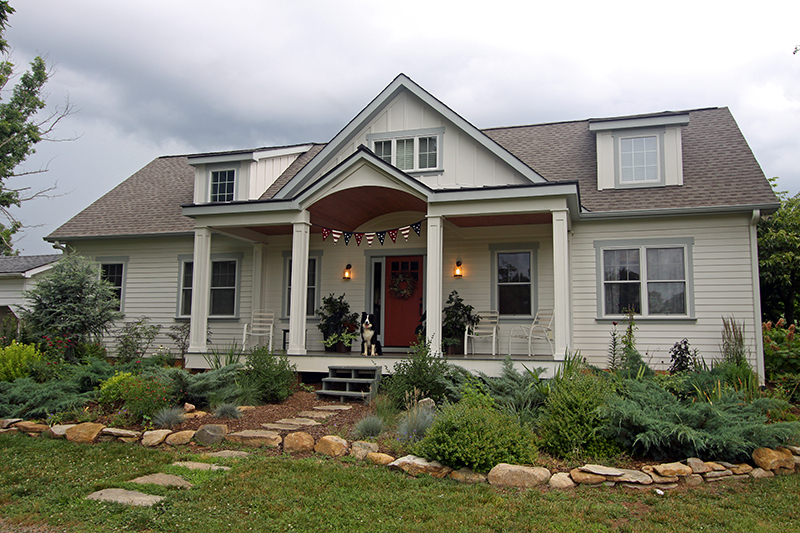
From your friends in Free Union—where this English shepherd and some suspiciously British-looking bunting hopefully don’t give us away! We’re patriots, despite appearances to the contrary! We swear!
(Even if we do love England.)
Floratherapy garden tours: Bourton House, England—Part two
January 15th, 2014 § 0
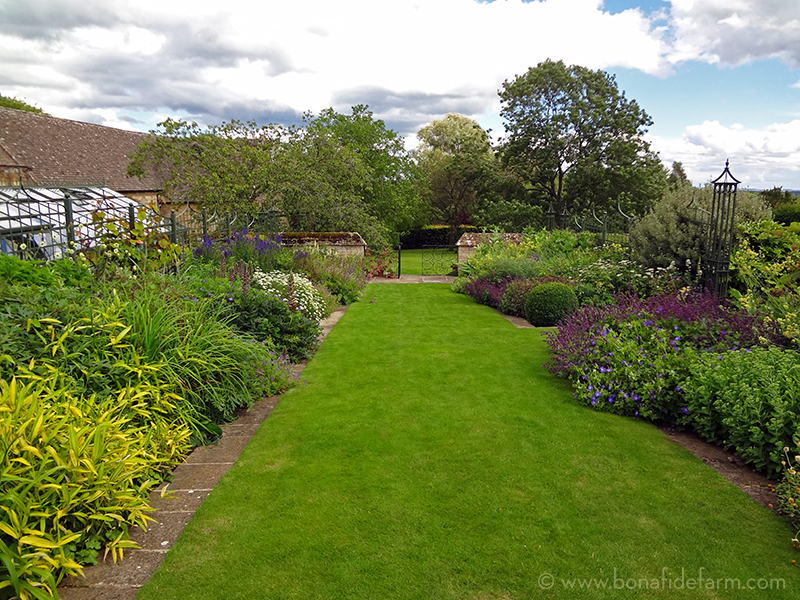
We continue our tour of Bourton House by focusing on a few details. The image below is a good representation of what I just learned from Ursula Buchnan, in The English Garden, is the quintessential English garden: “informal and generous planting within a formal layout.” Such a simple definition but it cracked open a world of understanding for me. You can see the formal elements in the lawn bounded by paving blocks and in the wall at the far end of the path. But the plantings within this structure are riotous—they range and blend together and overspill their bounds onto the lawn.
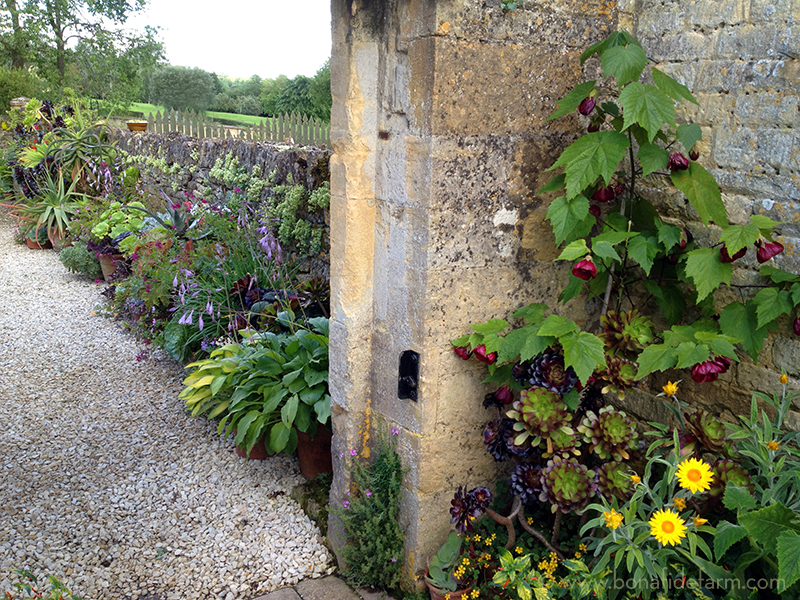
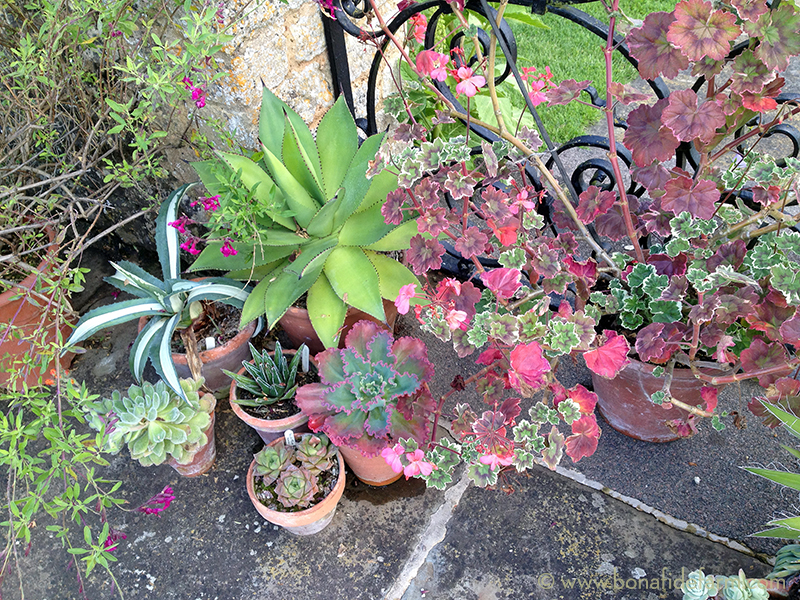
Even though they don’t fit the “English garden” definition as well as the photo above, I loved the areas in the two following photos. The collection of succulents and specimen plants looks like something I do at my own house, when all my tender plants go outside to spend the summer on the porch of the well house. I loved the succulents growing out of the wall, below, which gave the effect of the plants on the ground literally climbing the walls.
Someone with a great eye for color put this tiny masterpiece together. The shape of the geranium leaves (far right) really plays off the shape of the green and pink succulent in the center and makes for a unexpected and fascinating pairing.
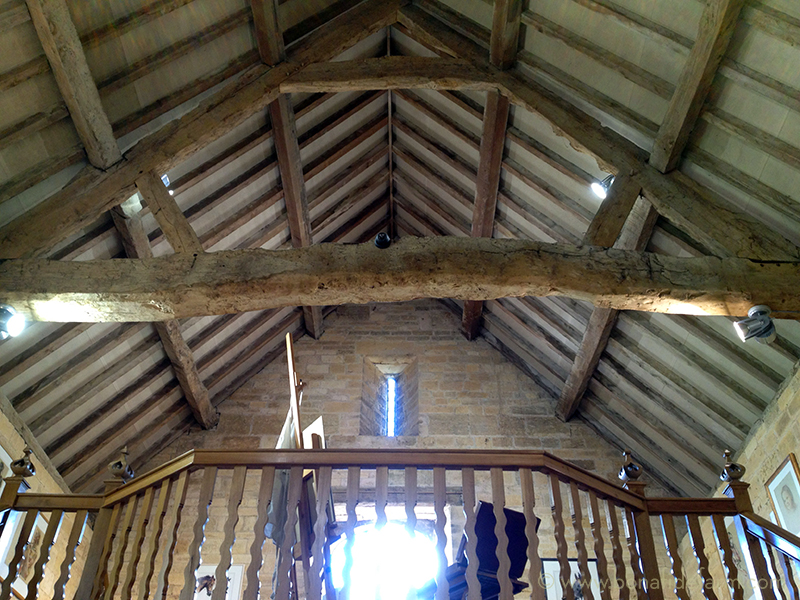
Next up, one of the coolest structures I’ve visited in England, the tithe barn adjoining Bourton House. It has a dedication stone of 1570 with the initials RP for the then owner, Richard Palmer. Back in the Middle Ages it was used to store the one-tenth of the farm’s produce that was tithed to the Church. What I loved about this space, which is now used as a gift shop and event space, was the proportions of the huge interior and the way the yellow Cotswold stone block walls joined to the plaster and beam ceiling. And look at these cross beams! They’re some seriously wonky, wormy, incredibly beautiful old wood.
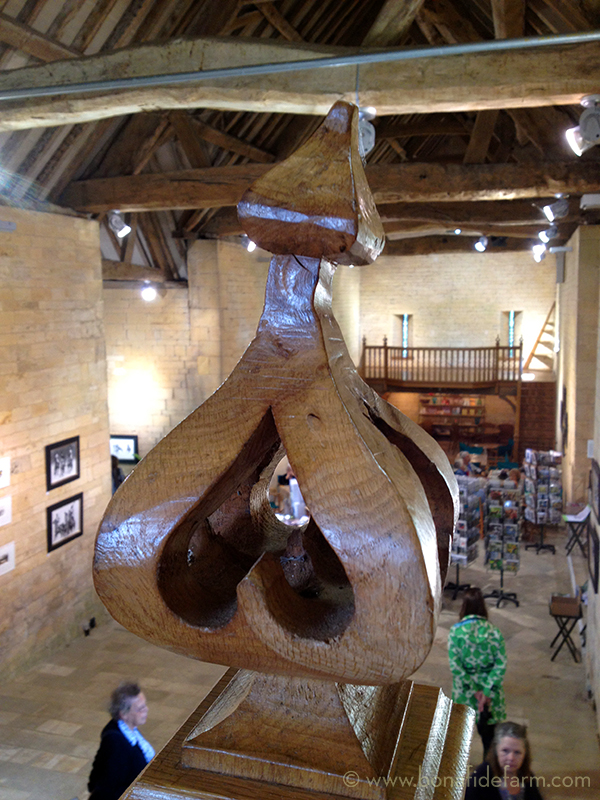
The detail on the balcony railing was also particularly nice, with the wavy balusters. The finials were my favorite—hand-carved and crooked in a wonderful way that made them appear full of personality.
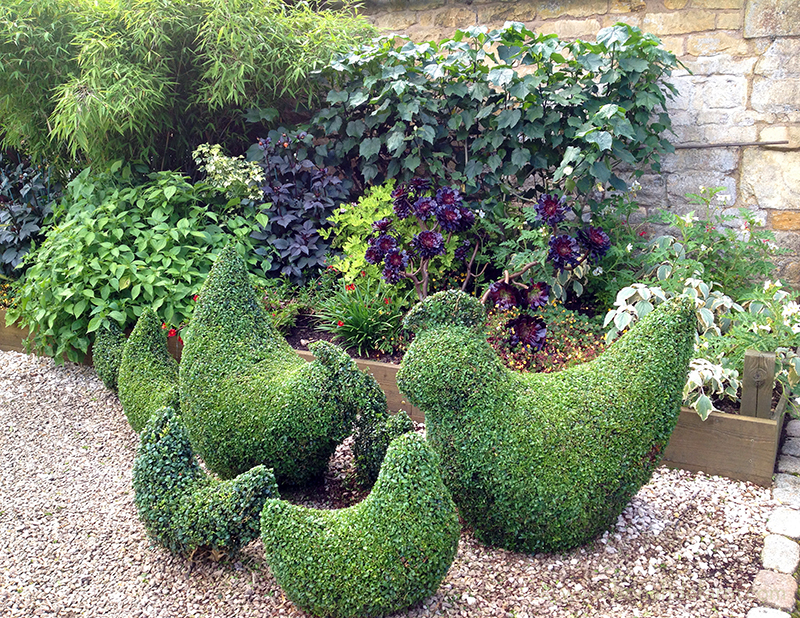
Back outside, I found the only topiary I’ve ever liked:
And finally, the mixed shrubbery planted along the exterior of the Bourton House fence is another master class in combining foliage colors.
Some day, something like this is what I’ll do in the field between my house and my neighbors, in front of the screening trees that I planted a few years ago. At least this is the vision!
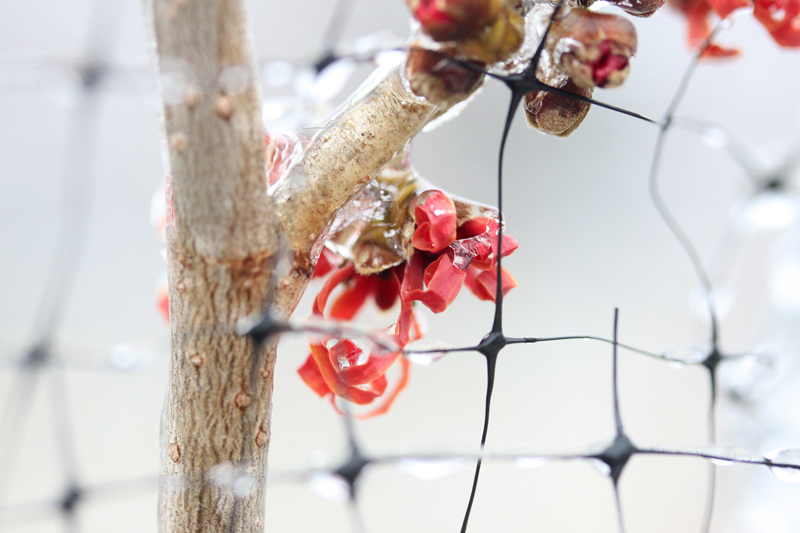
Hamamelis x intermedia ‘Diane’
January 22nd, 2012 § 0
A view of the prow
November 10th, 2011 § 1
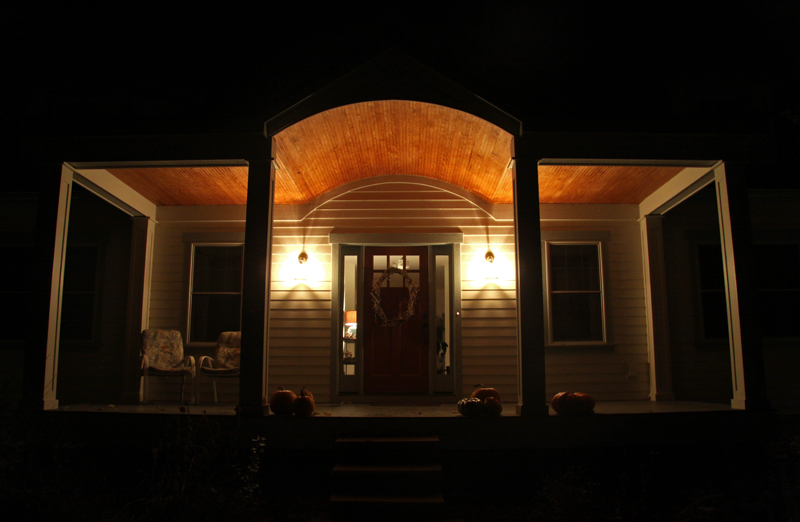
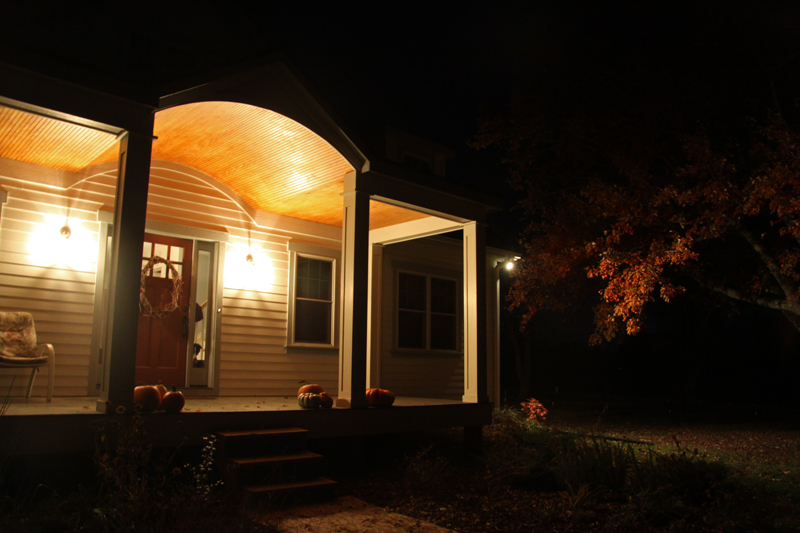
I’ve lived here for a year and a half and have just now gotten around to finishing the front porch ceiling. Up until this Wednesday, it was still raw tongue and groove pine. Now it’s got a lovely clear wood finish on it that has deepened and enriched the natural color of the wood—exactly what I wanted but was unsure of how to accomplish.
My accommodating painter got me over the hump of making up my mind. He painted up a great sample board with six different wood finishes and I held my breath and picked one.
And I am stoked with the result. At night the porch ceiling glows and looks faintly nautical—like part of a beautiful wooden boat. Daylight pictures to come…
And I can cross one more project—and design decision—off my list.
Row covers—and almost a fall garden
August 21st, 2011 § 0
If I’ve learned one lesson this summer as I attempt my first organic gardening season, it’s that I need to use row covers. The idea is that you plant your seeds or starts and immediately cover them up with material that’s impenetrable to pests but that allows light and water through. Obviously I missed my chance with my summer crops, so I thought I’d give it a go for my fall plantings.
My original plan was to make my hoops—the row cover supports—from nine gauge wire bent in a semicircle. However, a nice salesman at Lowe’s demonstrated to me that even with heavy-duty cutters, I’d probably break my wrists just cutting the wires. I am sure I could have gotten it done, but I’ve injured my fingers a lot this summer and they are sore and weak. So I looked for an alternative.
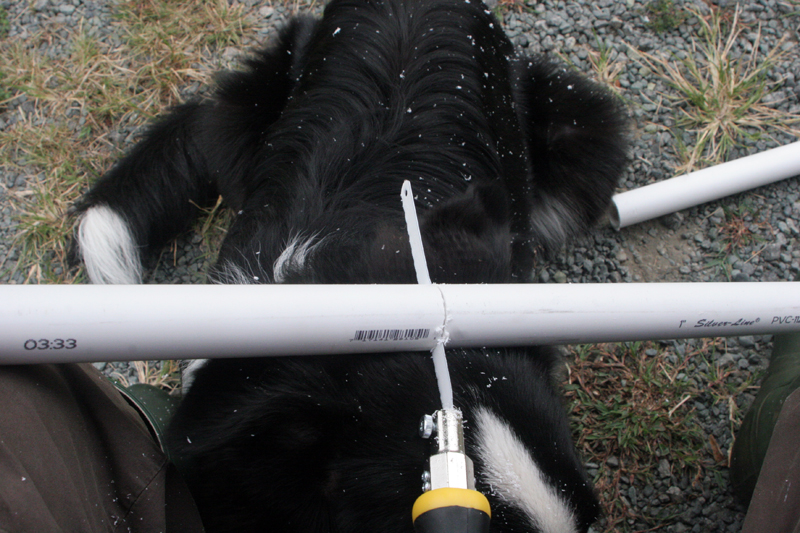
Mother Earth News suggested saplings stuck in pipes, so I picked up a few 3/4″ pieces of PVC and headed home. Once there I commenced to saw the pipe to 10″ lengths using the only tool I had, a jab saw. It wasn’t nearly as fast as a nice chop saw would have been, but I got a good workout and Tucker—who had to be right in the middle of the action—got to experience snow in August.
Once I had my pieces cut down, I took a maddox and buried them in the rock-hard dirt along the edges of the garden bed.
Then I headed into the woods behind my house for saplings. I have to admit it was satisfying to walk through my own property to find something I could put to use. Through trial and error, I found poplar to be flexible and strong.
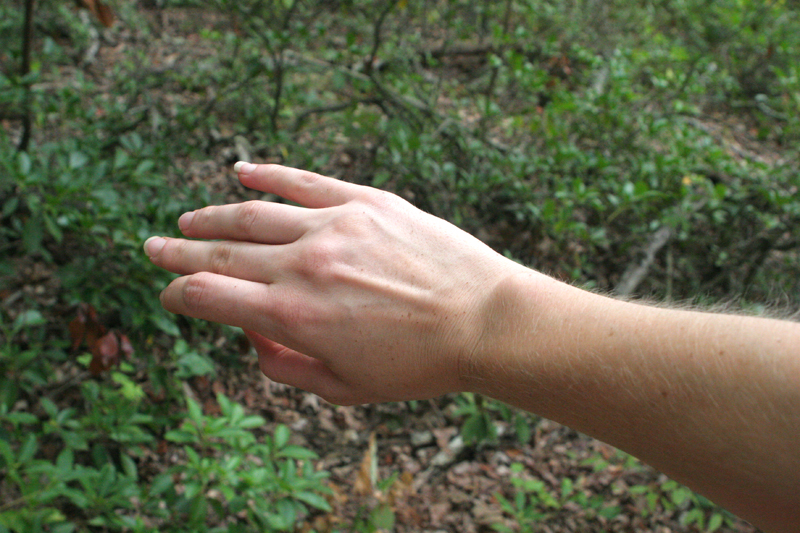
I also got in to a nest of seed ticks, which swarmed up my arm. Hard to see, huh? That’s because they’re each the size of a pinprick. And I’ve spent the last week going nuts with the 38 bites I suffered in the name of this row cover project.
But I digress. Once the saplings were cut to length, I inserted one end into a tube and then very slowly bent it over into an arc to meet the other tube. This bending was one of the most meditative things I’ve done in the garden as I had to go so slowly and listen to the wood with my hands as I bent my body into its curve, breathing into it like deepening a yoga pose. If I went too fast, the wood snapped and I had to start again.
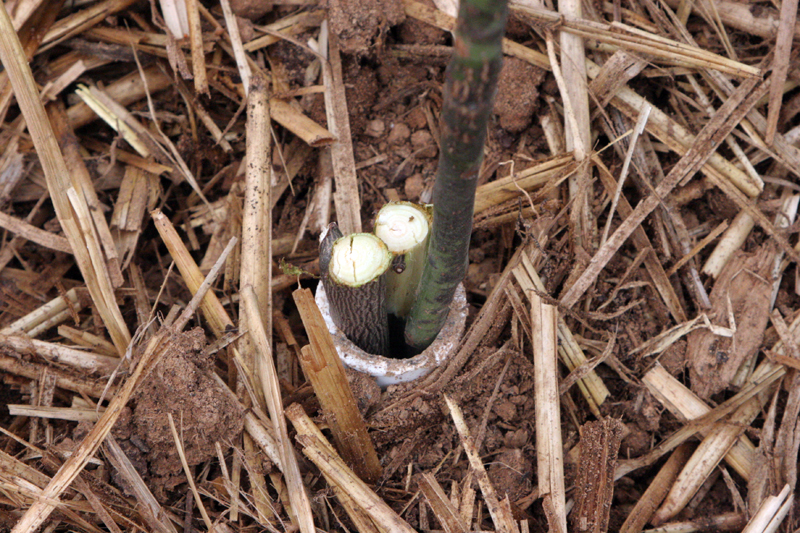
Once the sapling was bent, I used cut pieces as locks to hold the ends in place.
Two days of labor (!) later, and I had four beds ready to go. All this messing around took way longer than I thought it would, but I am pleased with the result. I like the natural look, and that I was able to achieve my goal with materials partially found on my land.
Now I just need to get the energy to plant my fall seeds: greens, lettuces, broccoli—all the plants that like a bit of cold and that often do better when frost-kissed. That was on the chore list for this weekend, but it didn’t happen. I know that subconsciously I am dreading having to tend seedlings in the heat of August, and thus I’ve been putting it off even as I’ve been preparing the row covers. But I know I am running out of time, so motivate I must.
Maybe tomorrow.
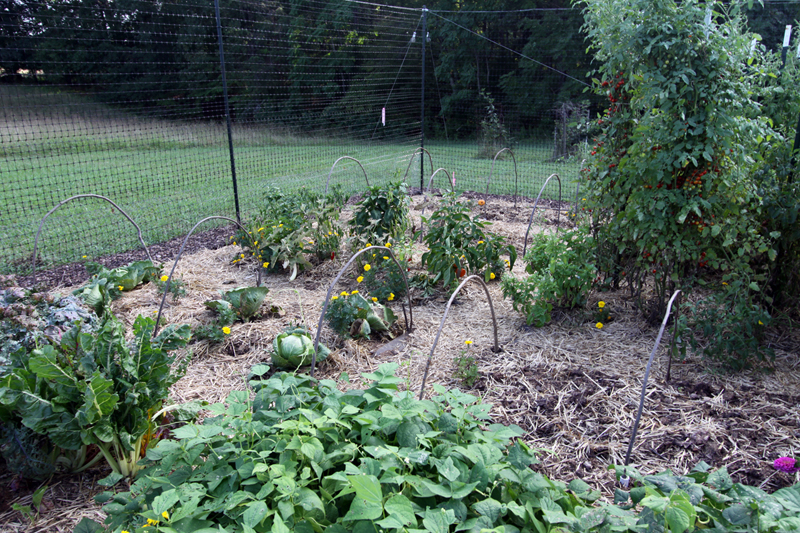
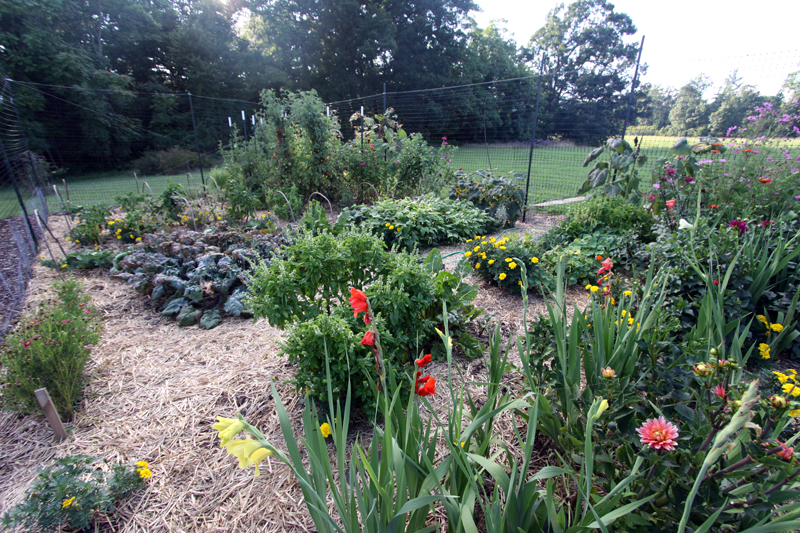
And finally, an overview shot of the mid/late August garden. This gardening season has taught me a lot, but that’s a subject for another post!
Introducing Lilac and Iris
May 15th, 2011 § 1
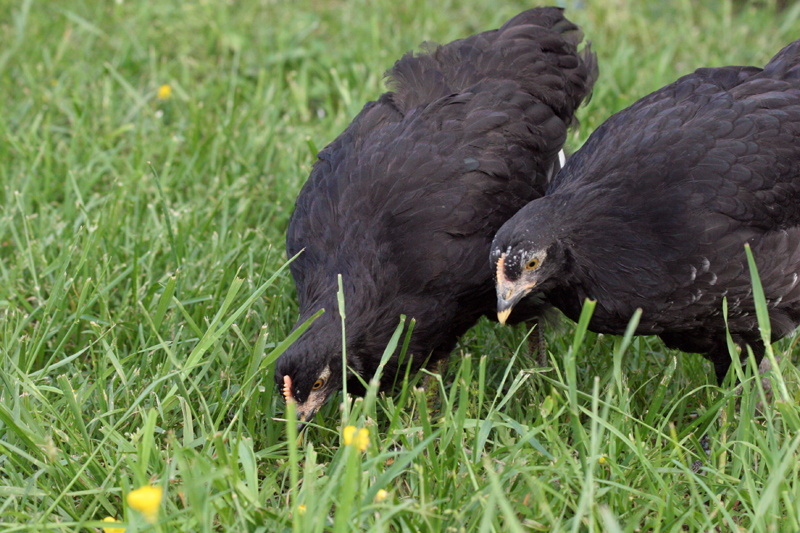
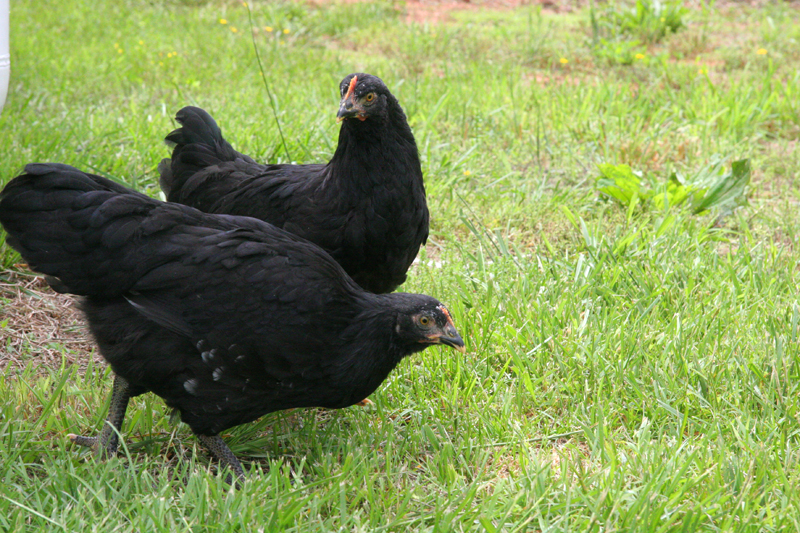
I realize that in my last post I mentioned some mysterious pullets without ever giving them a proper introduction. Please meet the newest Bonafide lifestock: Lilac and Iris.
I got Lilac and Iris Easter weekend at the Xions Crossroads Chicken Swap. I’ve been haunting these informal parking lot gatherings a lot since Tucker arrived, as they’re good places to socialize him among a bunch of animal-loving adults and children…as well as ducks, goats, noisy roosters and all sorts of new-to-him experiences.
I set out that morning determined to add something to my flock that would produce eggs. Little did I know that the very next day, on Easter, my guineas would present me with their first egg! I can still hear the universe laughing at my impatience.
Anyway, the vendors at these swaps are usually a mix of hardscrabble hill folk—die hard poultry fanatics all—and urban yuppies jumping on the pet chicken bandwagon. Just the chance to eavesdrop on the dialogue between the two groups is worth the trip, as the city folk struggle to decipher avian wisdom dispensed in an inscrutable dialect.
The Xions Crossroads swap took place tucked behind a lumber mill in the parking lot of a small hardware store next to the most depressing flea market I’d ever poked about. Old ladies creakily pivoted in chicken wire stalls, setting out second-hand rooster statues and chipped Jesus figurines. Next to the flea market was a gun shop comprised of a few shelves of ammunition and a couple of used shotguns on the wall. The owner hovered behind a counter with a hopeful smile as if the sale of that $249 Mossburg 500 meant the difference between dinner and going without. I almost bought the gun just to give him something to do with his hands, which he kept planted on the counter in front of him as if his weight could keep the whole place from blowing away.
I escaped back into the light and wandered amongst the poultry offerings spread out before me on the tailgates of pickups and in blanket-swaddled plastic tubs. I was looking for the perfect combination of breed, age and temperament. I knew I wanted to collect certain breeds, so that ruled out some offerings. And as much as I love raising baby chicks, with all the other spring farm chores as well as raising a puppy I knew I didn’t have time to monitor brooder temperatures and alleviate pasting up. Plus, I wanted a shot at getting my own eggs this summer instead of having young chicks mature in the fall and winter when they wouldn’t lay. And finally, I was looking for relatively docile birds. After dealing with mostly wild guineas for the past year, I was ready for a nice little bird that came when I called it, ate from my hand, and went in the coop when asked.
I’d almost given up and was ready to head home when a late arrival pulled into the parking lot. A woman got out of her truck and opened the back to reveal a dog crate full of gorgeous, glossy black birds. They clustered near the door of their cage as she spoke to them, and ate from her hand when she offered scratch. I could tell they were well-loved and very tame. And they were gorgeous—bright eyed, clean feathered, with violet and green iridescence to their feathers. I asked the woman what they were and she told me they were a mix of mottled javas and black australorps, two heavy breeds known for their docility. At eight weeks old I figured their size would give them a fighting chance when combined with the guinea flock, and as they were fully feathered and eating adult food, I could skip the nursery stage. I picked out two birds with the smallest combs, hoping they were both pullets, put them into a cat carrier, handed over $14 in cash and was on my way.
Lilac and Iris spent their first night in a cardboard box in the laundry room, much to the amusement of Tucker and the kitty. They stunk to high heaven, so the next day I moved them into the “Annex,” the feed storage area of the guinea coop. It’s fully protected but separate from the guineas—I figured I’d give the pullets a chance to put on some more weight before having to go up against the bigger birds.
And that’s where they’ve lived for almost a month. I am loving being able to let them out in the evenings to free range while I feed and water all the birds. It’s very cute to see them poke around, and also wonderful to know that I can get them back in the coop whenever I want. With the addition of Lilac and Iris, and the guineas now reliably laying one to two eggs a day and even seeming tamer themselves now that there are fewer, my enjoyment of my birds has exponentially increased.
Happy Thanksgiving
November 25th, 2010 § 0
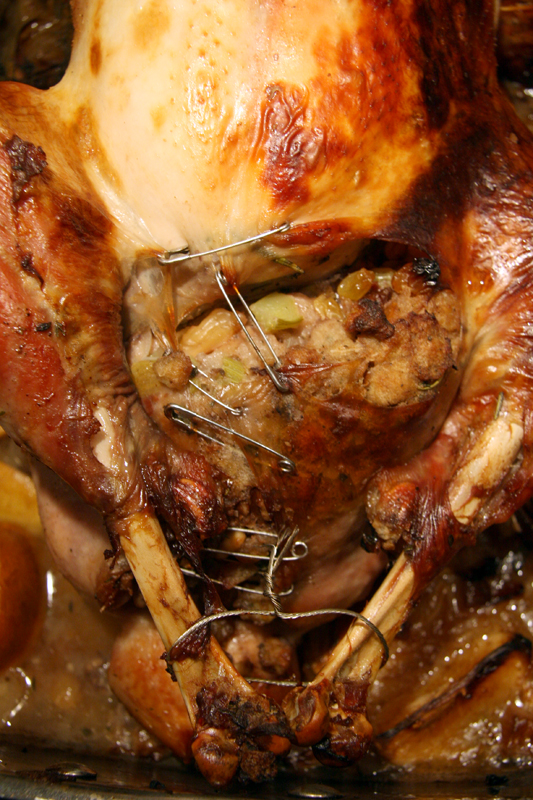
Happy Thanksgiving from the Bonafide Farmer, who is thankful for the health and happiness of her family members and beloved friends spread near and far, her beautiful and hard-fought-for home, and safety pins and picture wire.
The saga of the chimney, et al.
November 19th, 2010 § 0
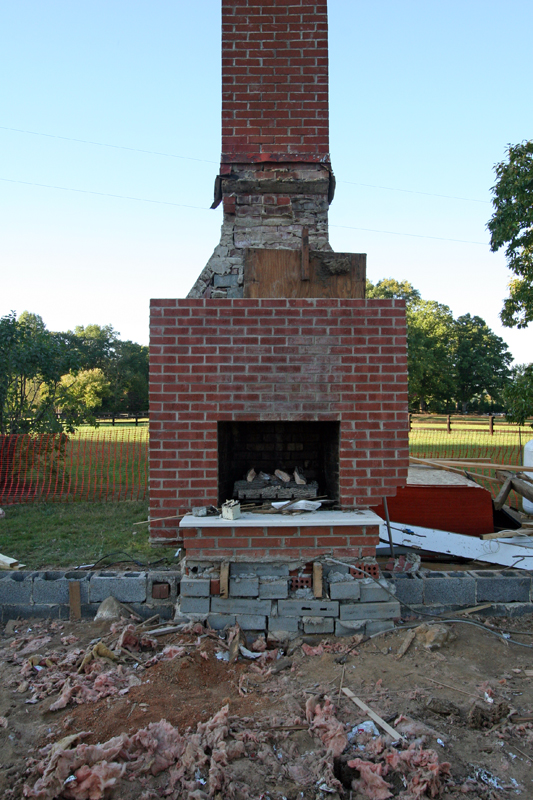
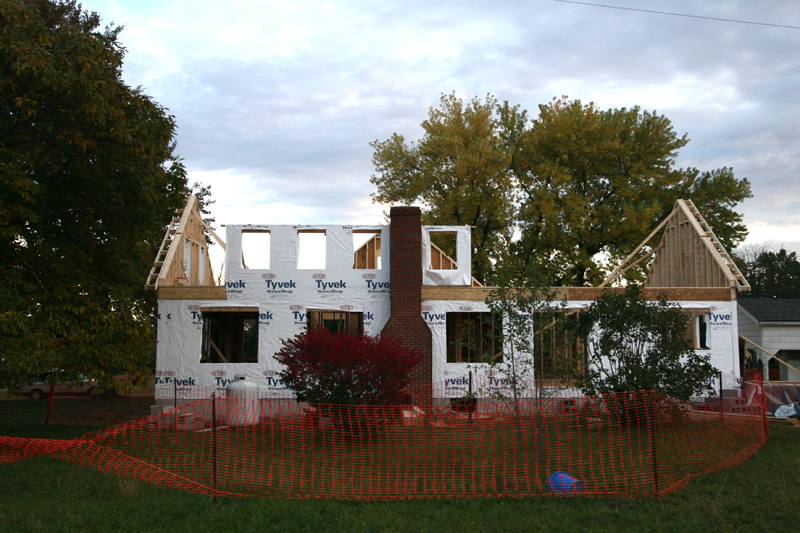
Remember this? This photo was taken last September, after I demolished the house I’d just bought. All that was left standing was the chimney.
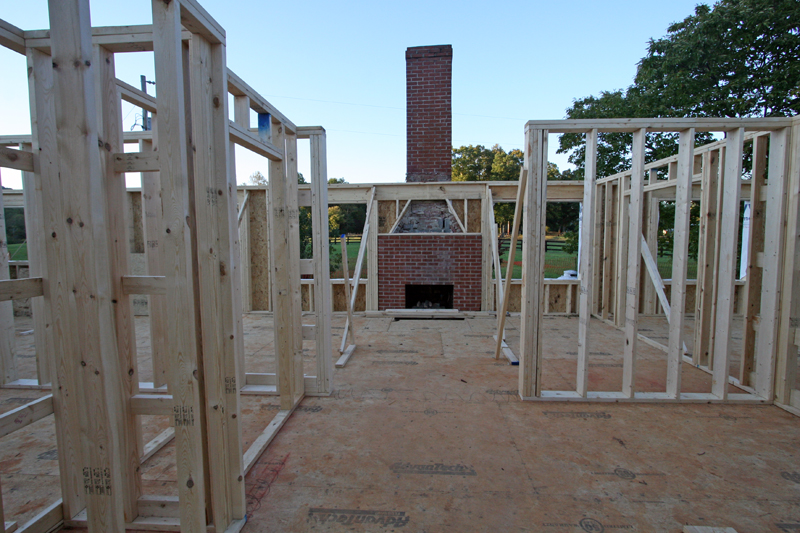
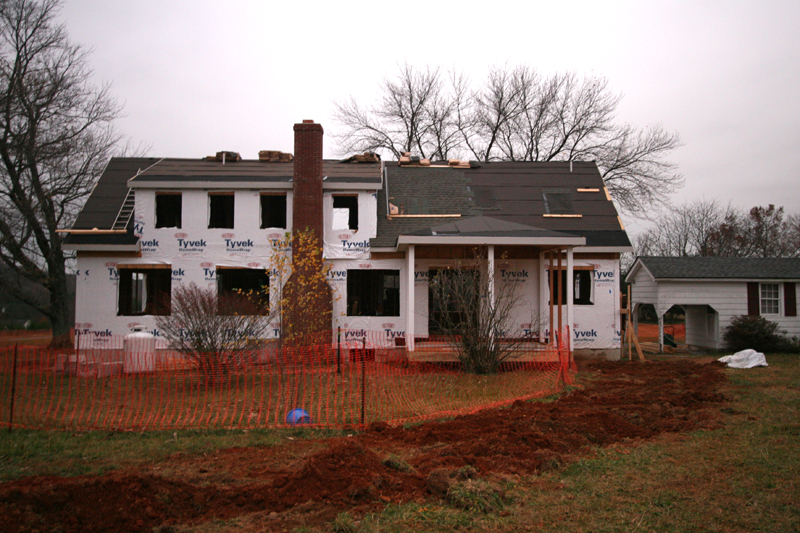
Would you believe it if I told you I took this photo from the exact same location a bit more than a year later?
It’s true. The long saga of the chimney/fireplace/hearth/mantle/stove has finally come to an end. But just for fun, let’s revisit how we got here.
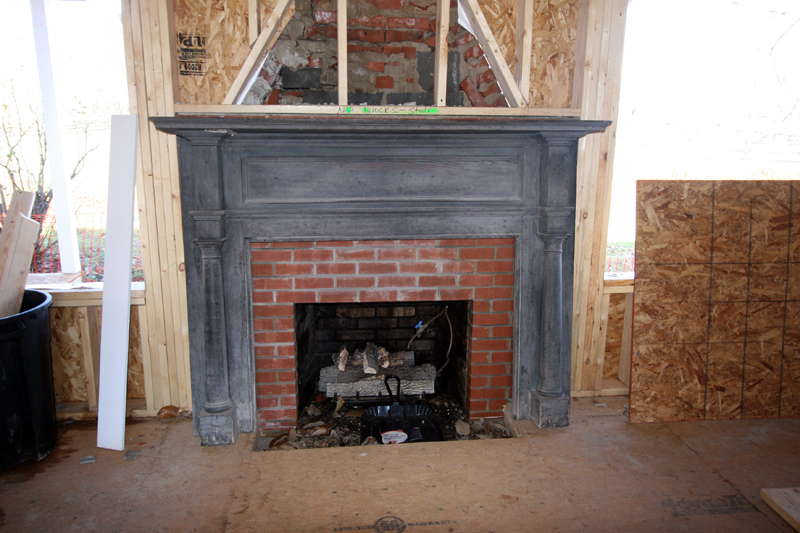
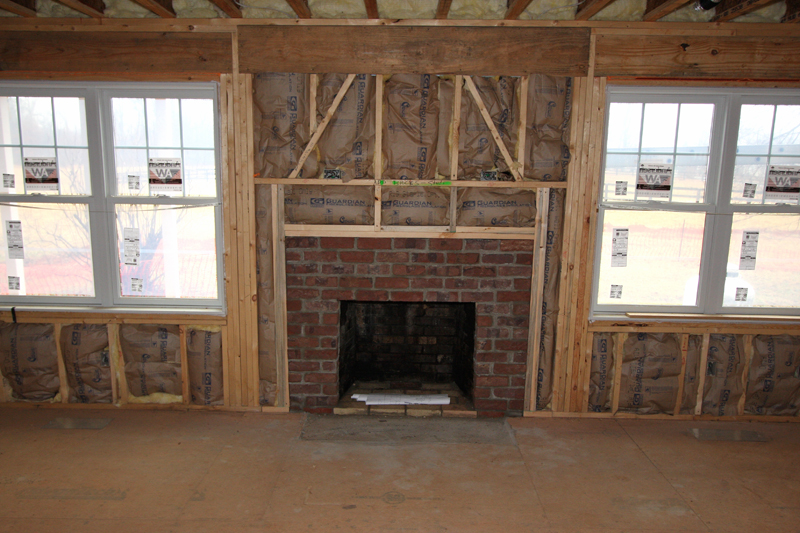
As the new house was built around the old chimney, the new floor joists raised the floor so much that the existing firebox was reduced to a tiny opening that not only didn’t look good, it also wouldn’t accommodate the stove pipe of the beautiful Jotul F3 CB wood stove that I planned to install (and that my parents gave me for Christmas). And I didn’t love the look of the boring red brick.
And when we dry fit the mantle I’d bought for the space, the old brick definitely wasn’t working. I had looked for years for an old mantle, and finally found one right in my backyard! The brother-in-law of the woman I bought the house from is a cabinet maker and does a lot of architectural salvage. He held a garage sale at the house before we closed on it, and I saw this mantle leaning against my well house. I didn’t buy it at the time, but I fell in love with it and it haunted me so much I tracked him down after construction was underway and convinced him to part with it. He did. He says it’s from an 1856 house he disassembled in Farmville, Va., and has its original coat of paint. I thought it was one of the most beautiful handmade things I had ever seen.
So, the old brick had to go, along with the previous owner’s gas logs. I had the mason remove the old red brick and rebuild the firebox to be taller using handmade brick from North Carolina. I remember showing up to the house after dark the night the masonry was completed and spending hours in the cold rubbing the hash marks out of the mortar by the light of a flashlight. I didn’t like the way they looked, and he’d done a sloppy mortar job, so with my bare hands I pushed the mortar into a state I could live with.
The mason also raised the floor of the firebox at the same time, and added several feet of chimney outside to accommodate the now-taller roofline of the house. Chimney before, deadending into the shed dormer in what is now my bedroom:
And after extension. The mason did a great job of matching the brick so the extension is hardly noticeable:
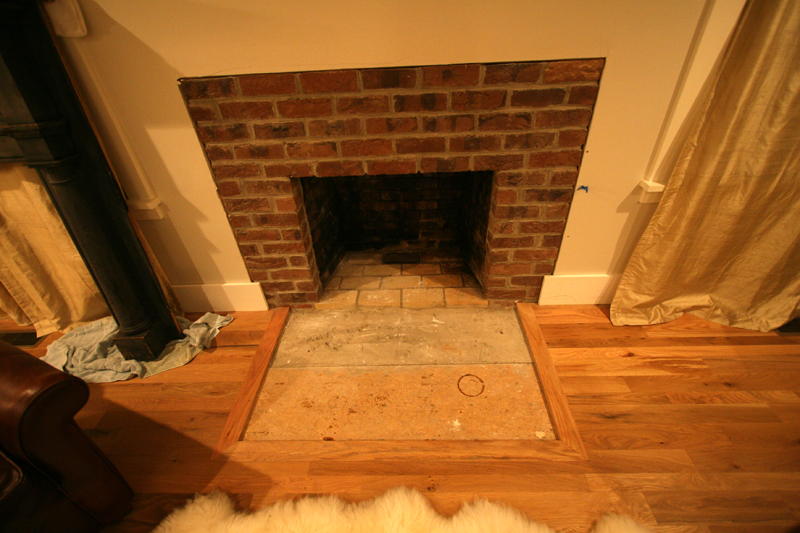
Back on the inside, the house was completed but I had a gaping hole for a hearth because I couldn’t decide how I wanted to finish it. I had the flooring guy run the hardwood up to make a border around the area I knew, based on clearance calculations for the wood stove, I would want for a hearth. But then it sat, a sad mix of subfloor and old concrete, for almost six months.
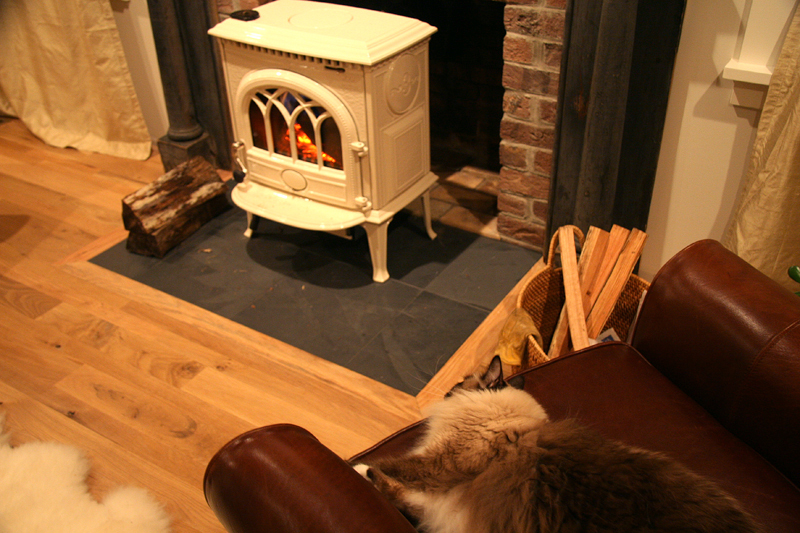
Until it started to get cold, and I got sick of such a major part of the house being unfinished. So I hired a guy to tile the hearth with black slate, my dad and I secured the mantle to the wall, and the next day I had a man come clean the chimney and install the wood stove. And I am thrilled with how it turned out.
Kitty seems to like it too.
Spa day for my trees
October 10th, 2010 § 1
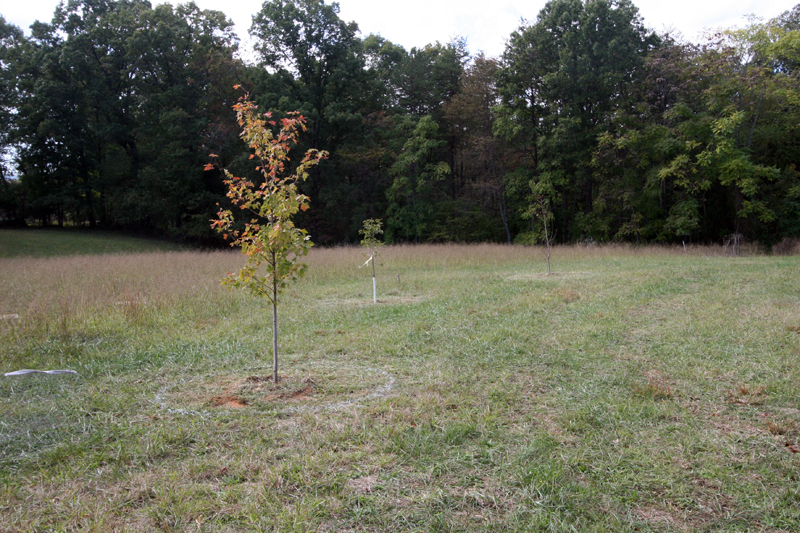
I’d grown tired of my trees looking unkempt in the field, with grass growing right up to their trunks. Not to mention it made mowing very difficult! Pretty ugly, huh?
So I ordered a load of mulch and a load of compost and got to work yesterday sprucing up the trees.
First I used a rope and a can of marking paint to draw circles around the trees. Then I got out the weed wacker and took down all the grass within the circles as short as I could get it. I trimmed around the trunks with hand shears.
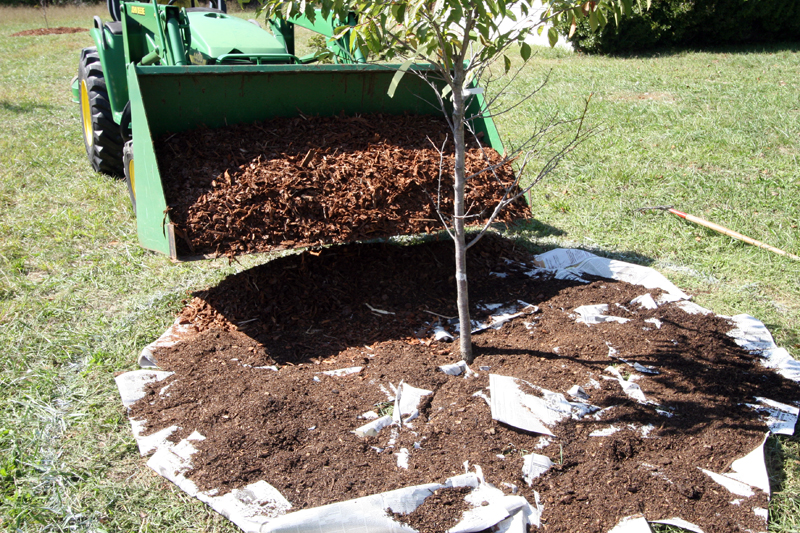
Then I put down a layer of newspapers to help kill the grass around the trees, and covered that up with a thin layer of compost. The compost will provide a great nutrient boost to the trees. The hardest part of this project was working alone it was hard to get the newspaper to stay down long enough to get compost on it—the paper kept blowing away in the slightest breeze.
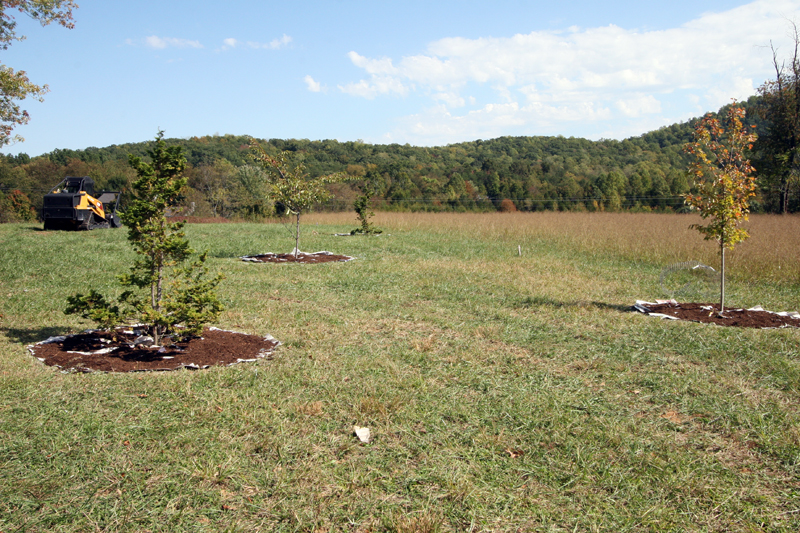
And then I spread a couple of inches of nice mulch on top of the paper and compost. It was slow work and I am quite sore today from all the pitchforking and shoveling but the trees that I finished look great and seem happy. Stay tuned for a final reveal! Meanwhile, I am taking the day to recuperate and enjoy some good times down in Nelson County at the Festy!


