September 29th, 2013 §
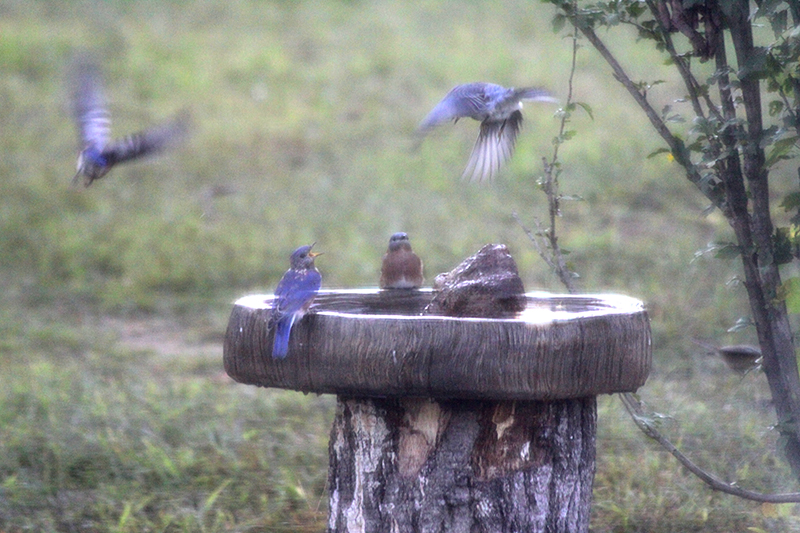
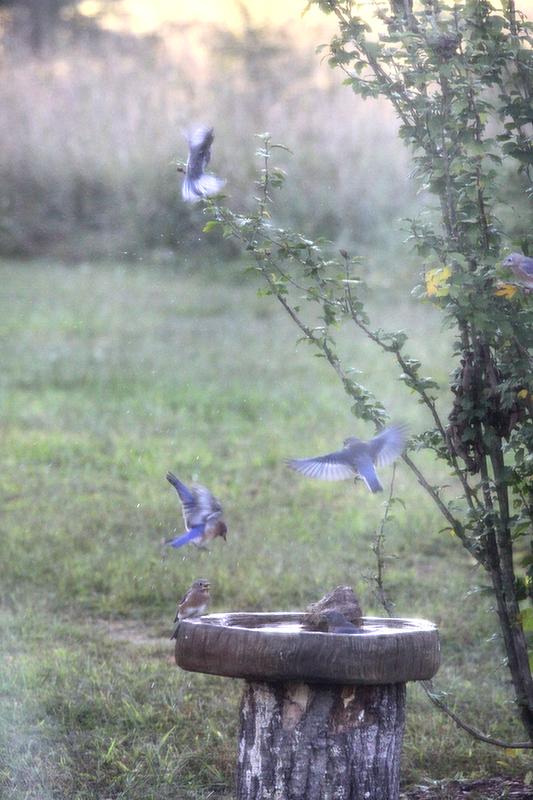
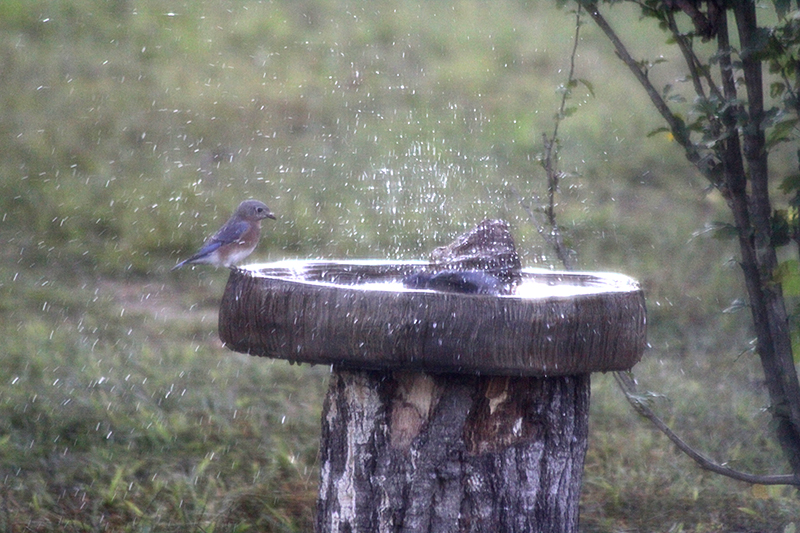
Let’s celebrate with a bunch of bluebirds! There were about nine bluebirds hanging out around the birdbath the other night. I believe they are some of the babies that were born and raised right here. A total of 12 babies in three separate clutches made it to fledging this year, and I have definitely noticed an increase in the number of bluebirds around the farm in general since moving here. And that is definitely something worth celebrating on this four-year anniversary of starting the blog.
First anniversary, fresh off house construction:
http://bonafidefarm.com/2010/09/29/the-anniversaries-just-keep-coming/
No official second anniversary post because I was in the middle of planting a new forest: http://bonafidefarm.com/2011/09/30/this-weekends-project-the-big-dig/
Third anniversary, just back from the Mother Earth News Fair and starting to experiment with chickens in the garden:
http://bonafidefarm.com/2012/09/29/three-year-blogiversary/
http://bonafidefarm.com/2012/09/29/chickens-in-the-garden/
September 26th, 2013 §
Turned over a chewed-upon morning glory leaf the other night to discover pure gold. A pure gold beettle, that is, as shiny as metal and iridescent to boot. It was so pretty I could easily have mounted it on a band and worn it on my ring finger.
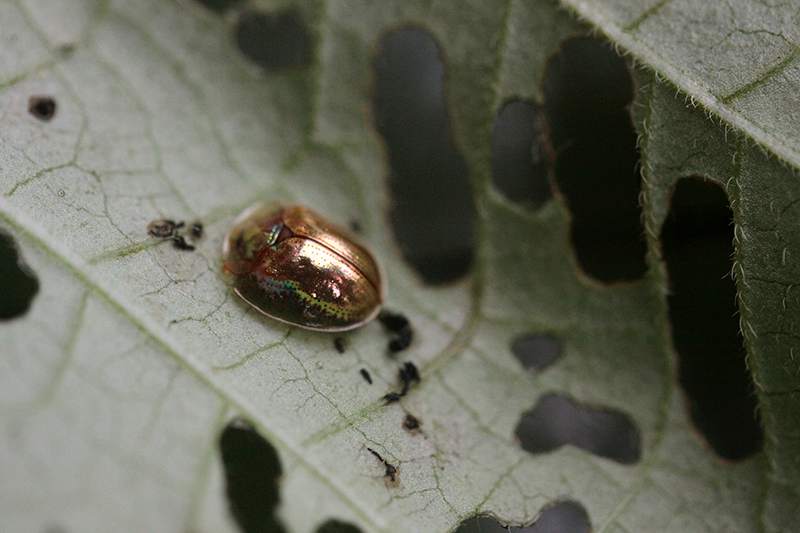
Meet the golden tortoise beetle. It’s about 6 mm long, and has the remarkable ability to change color from shiny gold to dull brown if threatened. I did my best prodding to try to get the one I found to change color, but instead of morphing it just took off and flew away. Apparently they are quite fond of morning glories, sweet potatoes, bindweed, and other plants in the Convolvulaceae family.
September 25th, 2013 §
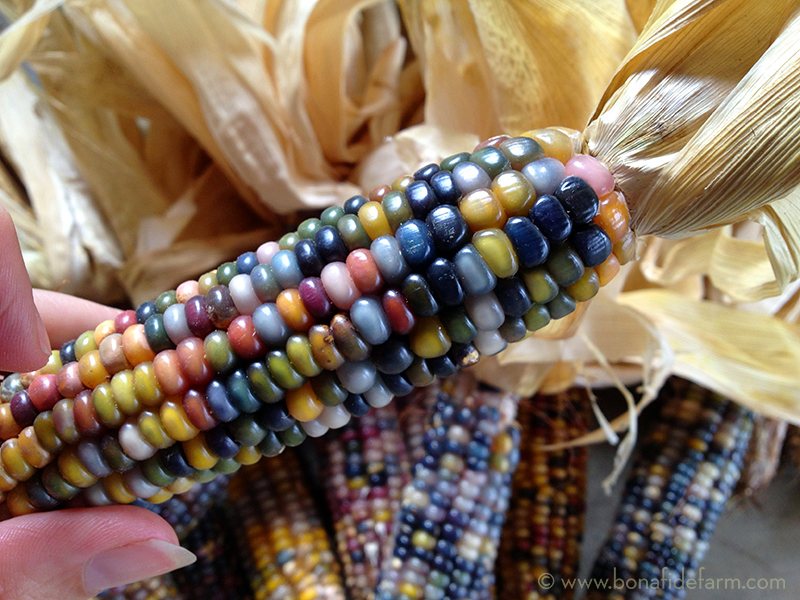
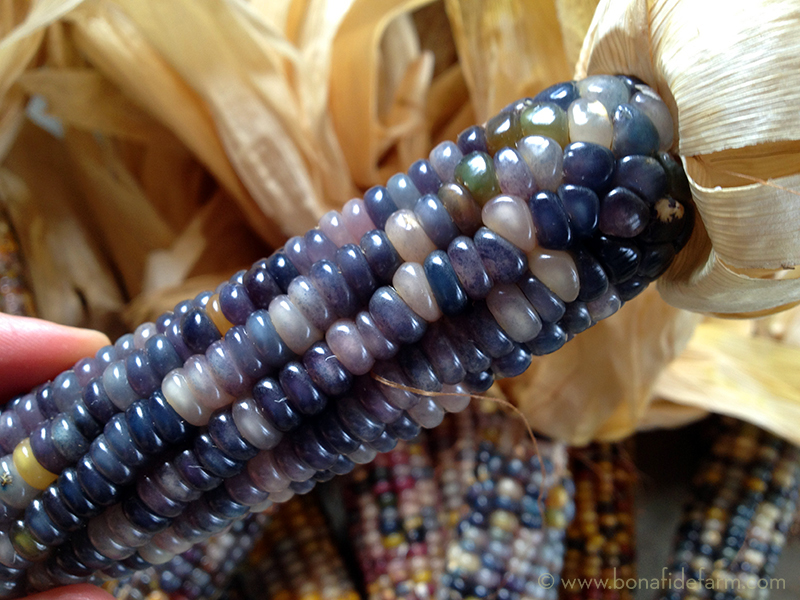
Here’s just a selection of the Glass Gem corn I grew this summer. As you can see, the range of colors is incredibly wide, both within each cob and between different ears. Glass Gem is a color lover’s dream. There’s something here for everyone, whether you prefer your corn in nursery pastels, sophisticated navy, screaming magenta, classic yellow, or my favorite, all mixed up teal green, purple, turquoise and pink.
These photos aren’t digitally altered, nor did I use any special shooting setup—this really is what this corn looks like. I just snapped a few shots with my phone as I lay the corn out on the garage floor after shucking.





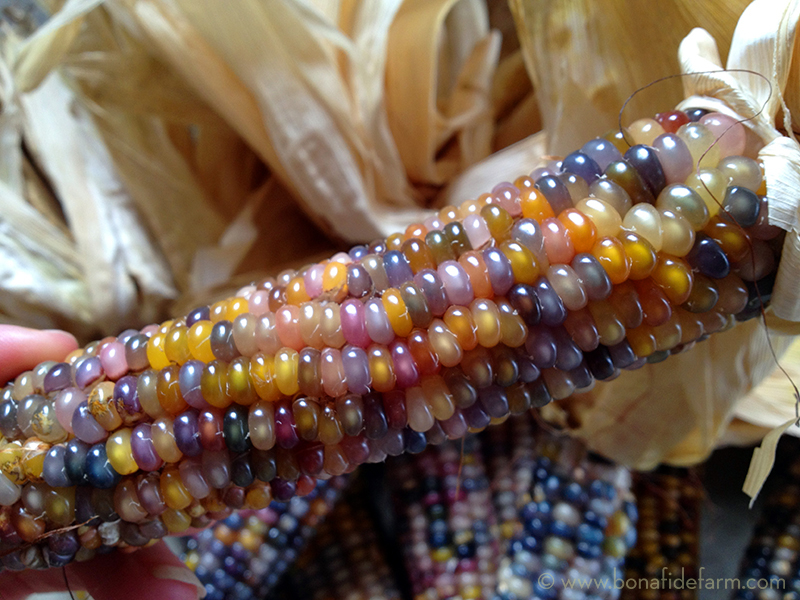
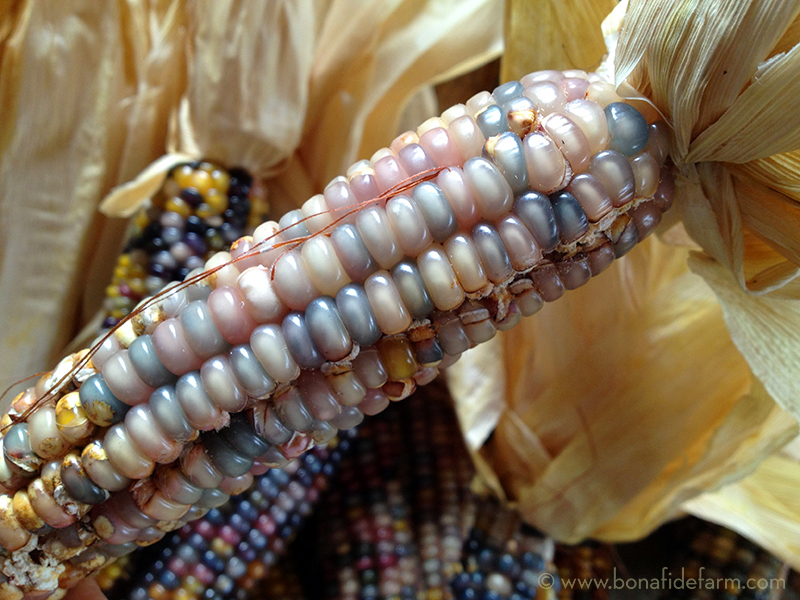
To read about the entire 2013 Glass Gem corn experiment, please visit:
September 24th, 2013 §
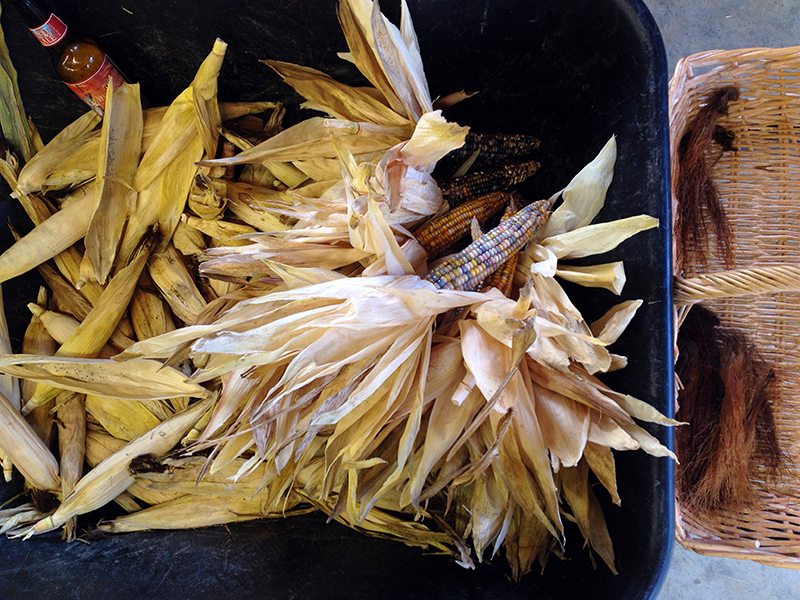
Once I had all the Glass Gem corn picked, it was time for the best part: opening each ear to reveal the multicolored kernels held within. I set up a little shucking station in the garage and got to work. It was kind of like Christmas as each ear exposed a new and different surprise. I separated and saved the best looking corn silk, in the basket below, for tea.
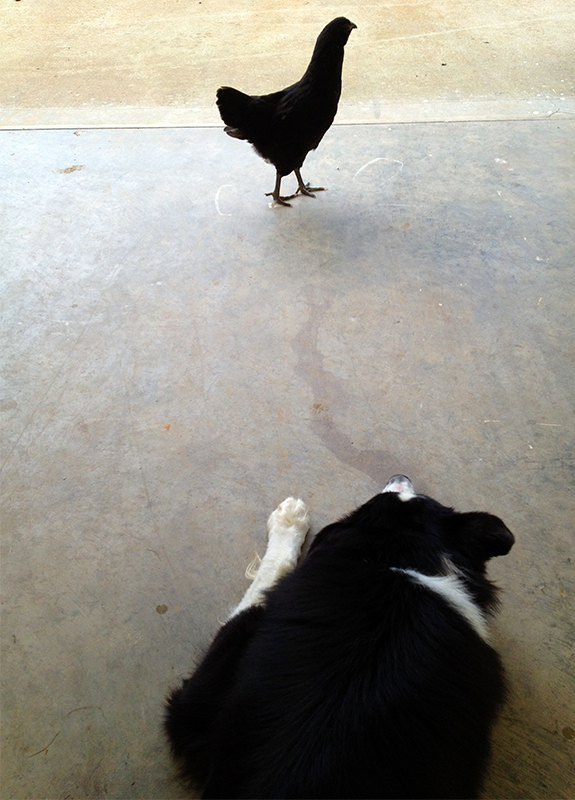
Of course I had company, though one companion grew pretty bored when the shucking stretched into a multihour endeavor.
Shucking more than 100 ears, plus the time required to marvel at each beautiful ear, added up as I worked through sundown and into the evening. The rest of the crew got more and more curious as I lined the shucked cobs up on the garage floor, sorting them by size and condition. I was very pleased to see what I consider to be pretty good pollination and kernel set in most of the ears. I found only one insect, a little worm, in all 100+ ears, which seems remarkable to me given how much I struggle with bugs on some of my other crops. Perhaps I have the bluebirds and their nightly visits to the corn patch to thank?
A few of the ears contained kernels that looked as though they were starting to pop. I will have to do more research to figure out what causes that. But in all, I was pretty pleased with my harvest. Maybe it’s just beginner’s luck, or the blessing of an unusually rainy summer, but it’s not too bad for my first corn-growing experience!
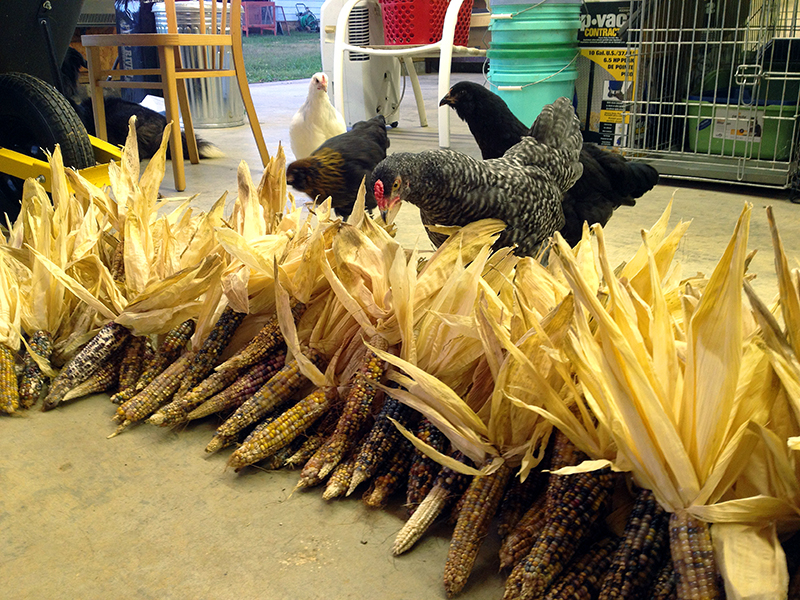
Though they were intrigued, the chicks hadn’t yet figured out that corn is one of the most delicious chicken treats around. And this wasn’t just any corn—it was the famous Glass Gem!
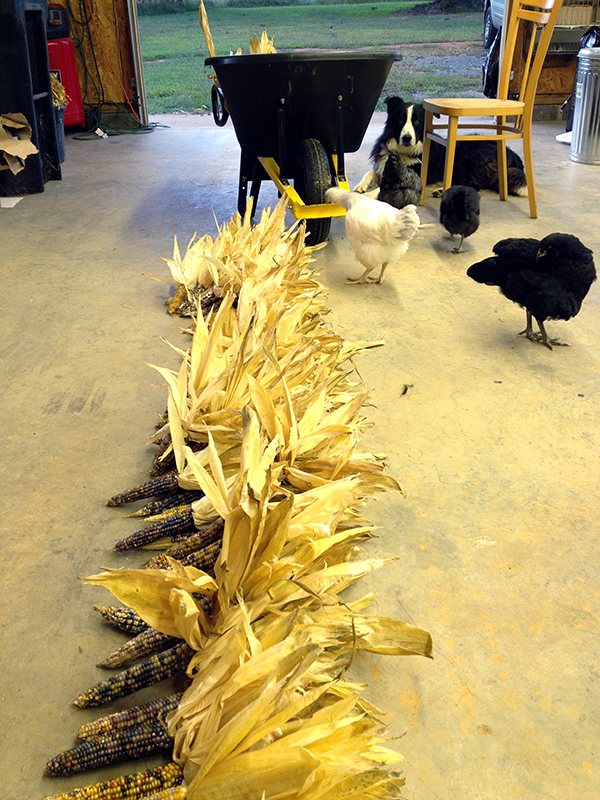
Up next, a closer look at the Glass Gem harvest…and all the pretty pictures you’ve been waiting for!
September 22nd, 2013 §
September 21st, 2013 §
During the last few weeks, the Glass Gem corn—my summer experiment—has begun to dry out and turn brown.
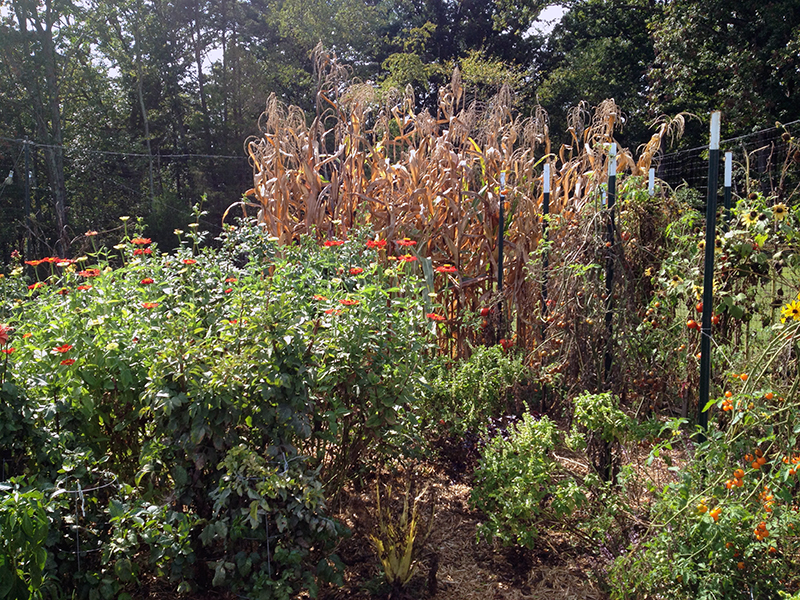
I picked a few test ears and determined that it was time to harvest. But first I needed to fight my way through a wildlife gauntlet to claim my jewel-toned treasure. First, a black widow protected the garden entry, tucked up inside her cinderblock lair.

Not only was she guarding the garden, she was also guarding a few egg sacks. Mother and young were slayed with scissors and wasp spray.
Then I re-engaged a known enemy. A couple of weeks ago, while harvesting my test ears, I was stung on the right wrist by a wasp. Turns out it was one of a gang that had built a little fortress hidden on the underside of one of the corn leaves.
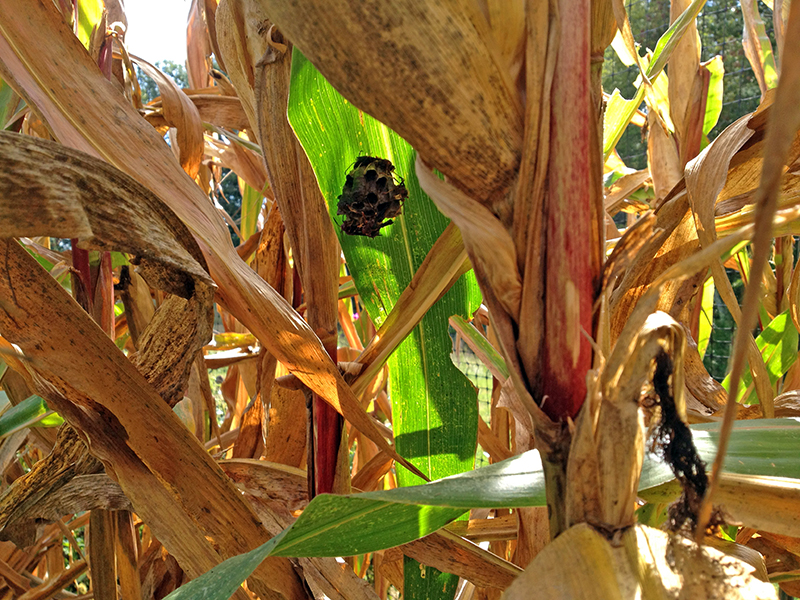
With throbbing wrist I had hastily retreated to ice packs and antihistamines, conceeding round one to the wasps. My entire arm ached for a week, feeling like it was broken deep inside.
But now I was back and better prepared. Before the wasps could mount a defense, I shot them all with a strong stream of wasp spray. They fell to the ground, writhing. A quick perimeter check found no more wasp nests, and the coast was clear for me to begin my plunder.
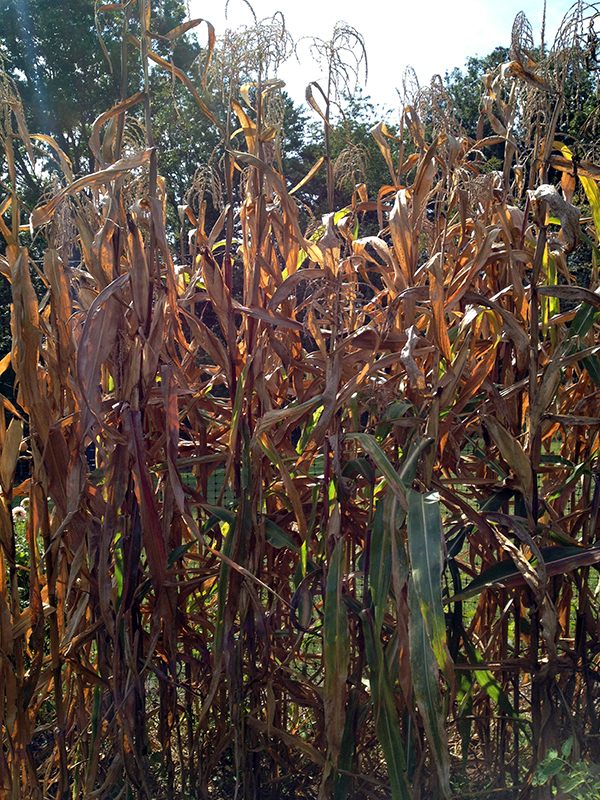
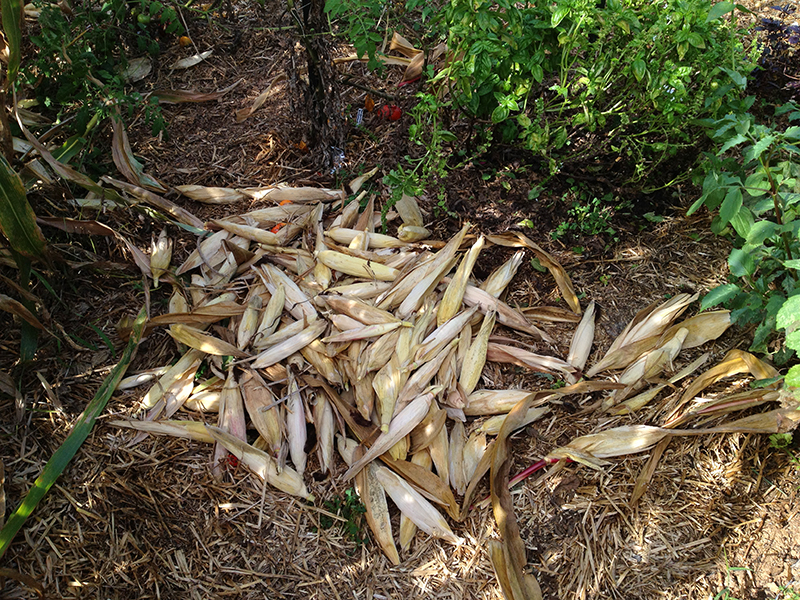
Harvesting corn is no fun. Between the fear of more hidden stinging creatures, and the claustrophobic feeling induced by threading myself amongst the close-spaced cornstalks, I wanted to get it over with as soon as possible. I wrenched the ears off the stalks, and cut the ones that didn’t come away easily with my pruners. I tossed them all in a pile to be sorted later.
Just when I was about done and feeling like I was home free, I encountered my final challenger. I reached into the stand of cornstalks and as I did felt a burning, stinging sensation travel up my arm from wrist to elbow. I screamed and flipped over a leaf to see this guy, just before I ran to the outside hose to douse my arm in cold water.
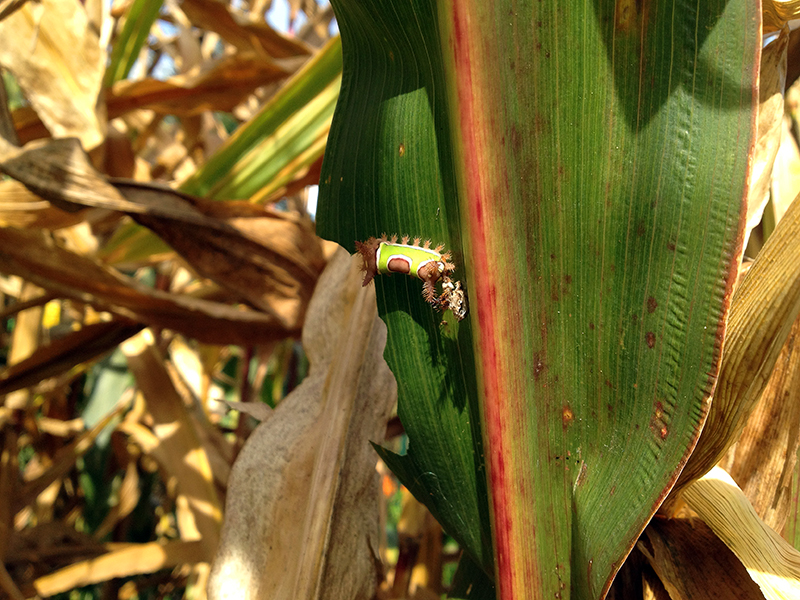
Meet my Cerberus, a saddleback caterpillar, its spiked protrusions covered with urticating hairs that had just set my arm on fire. A fitting final foe for what had been a hellish harvest.
But now came the fun part: opening each ear to see the multicolored surprises held within…
September 21st, 2013 §

We be harvesting up in here.
September 20th, 2013 §
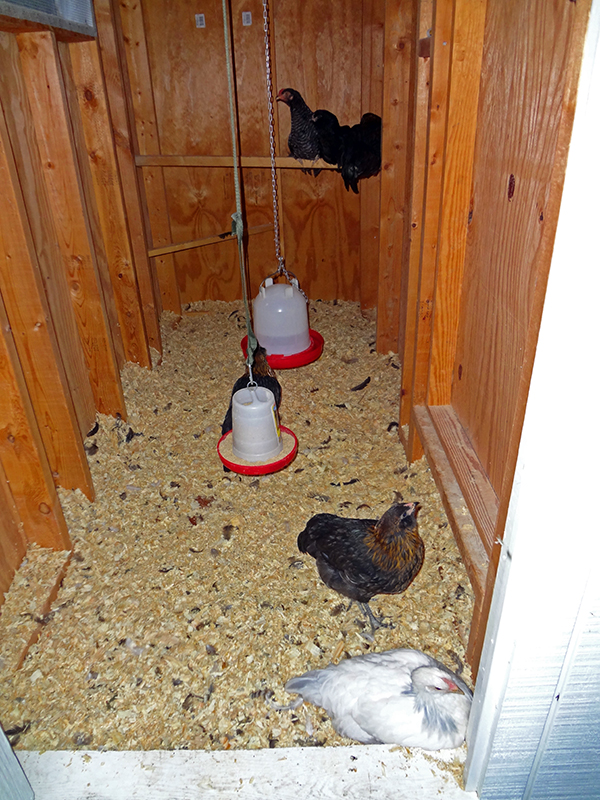
The chicks learned how to roost from their mother last night! Here they are when I opened the coop door this morning:
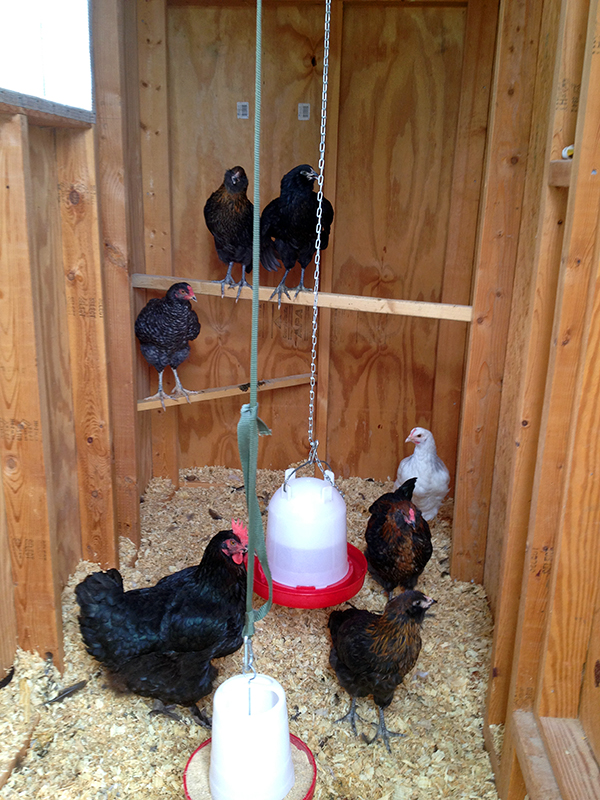
And here they are tonight around sundown, after a long day of free ranging:
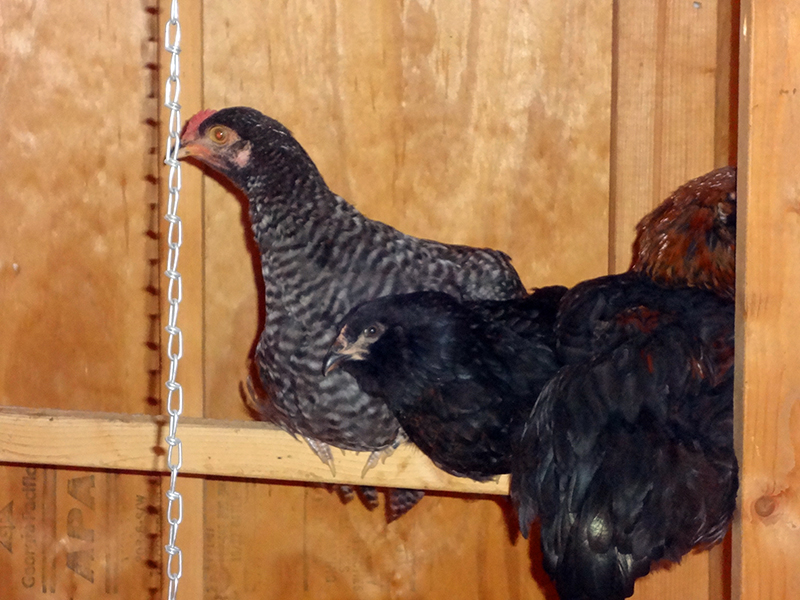
Well, at least half of them absorbed the lesson…the other three are still bedding down by the door!
September 19th, 2013 §
Last weekend I cleaned out the chicken coop, a fairly onerous task that involves a tractor, snow shovel, air compressor, dust mask and goggles. Combine all those in your head with copious amounts of airborne chicken shit dust and pine shavings and you don’t need to see any photos.
The only reward for this task, other than the agrarian nerd pleasure I take in making a hefty deposit at the compost bank, is that once the coop has aired out for a day I get to fill it will two bales of clean pine shavings, scrub out the nest box, and return the bleached feeder and waterer to their chains, full of food, and well, water. It gives me no end of pleasure to make a beautiful, clean, and healthy home for all the creatures in my care. It’s something I remember from being a kid and having all sorts of pets that needed tending. It sure wasn’t pleasant to muck out the mouse cage, or the bird cage, or the fish tank. But once it was done the joy of seeing my animals in a fresh, clean home made all that dabbling in feces and urine pretty much worth it.
And today, I feel the same way. So I cleaned out the coop, and while I was at it I decided I was tired of the growing mess that was the broody coop in the garage. The six chicks were now chickens, and they made enough mess that the tray under their coop needed emptying every three days. And, in typical messy, wasteful chicken fashion, they’d spill their food out of the feeder, and it would fall under the screen only to incubate maggots. One day when I changed the pan it was so hot I couldn’t hold my hand to it—fermentation in action! Gross, right? So while the chicks were out ranging I broke down their coop and dragged it to the driveway, where I scrubbed it with hot water and bleach. And then I cleaned out my garage, vacuuming out feather dust and sweeping away spilled food and feathers.
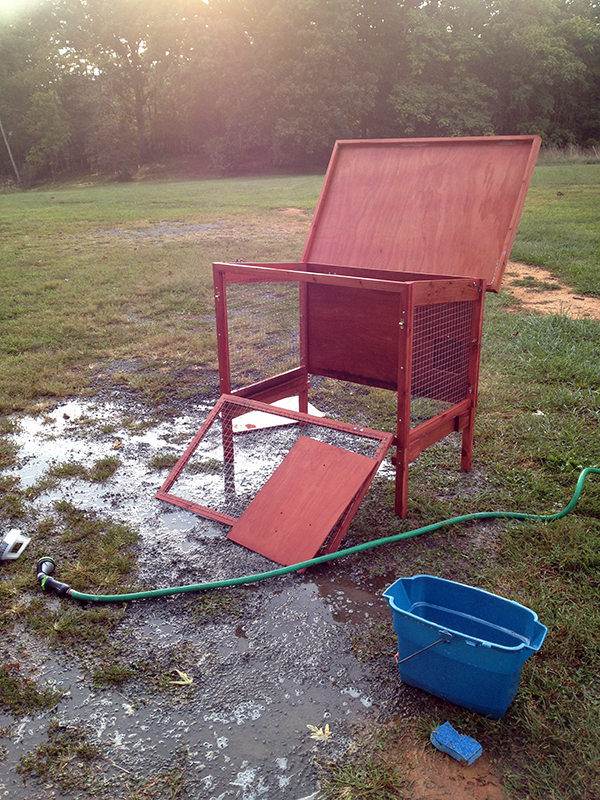
These ready-made coops were some of the best purchases I’ve ever made. They were picked up by my dad, out of desperation, for $99 each on sale at Tractor Supply, on the day the guinea babies hatched and started running out of the dog crate in which they’d been born. It seemed like an awful amount of money at the time, but they’ve paid for themselves in the use I’ve gotten out of them. I’ve used these small coops for injured birds, to separate fighting hens, for broody coops, and to raise chicks. The materials and construction are pretty cheap, and I can’t imagine them as full-time homes for any animals, but they are great for the short periods in which I tend to use them. The design is good, and I really recommend them.
Once the broody coop was drying in the sun, I set up the “annex” of the big coop to house the chicks. This is the area you first enter when you open the coop, and where I normally store the chicken food and various supplies. It has only one window, so it gets much hotter in the summer than the larger part of the coop, which has two big windows for good airflow. But now that the temperature has dropped it would be fine for the chicks.
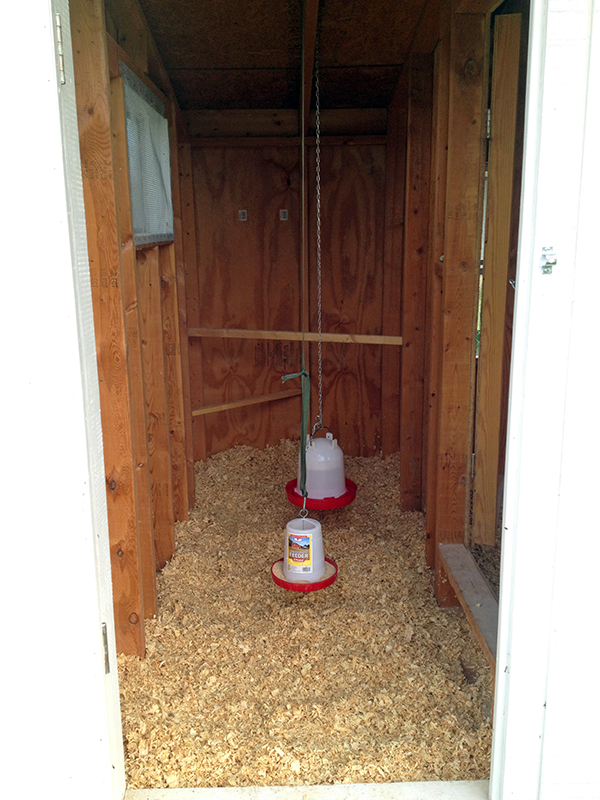
I spread pine shavings on the floor, nailed in a few roosts, and nailed up some chains to hold the feeder and waterer. Then it was all ready for the babies. Here you can see how the annex relates to the main coop. I figure it can’t hurt to have the older chickens getting used to the sounds of the chicks before I try to house them all together. It may stave off another bloody battle.
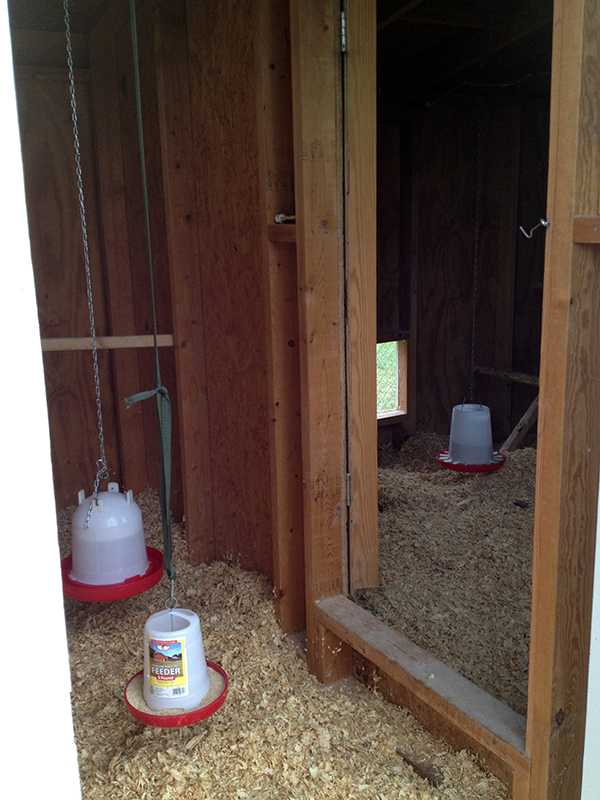
In their new home, the chicks were pretty unsure the first night. They kept trying to go back in the garage, where they’d been born. But I scooped them up and dumped them in their new home. Now, a few days later, they’ve figured out where the food is and are returning to the coop on their own in the evening. But there’s one problem: They don’t know how to roost.
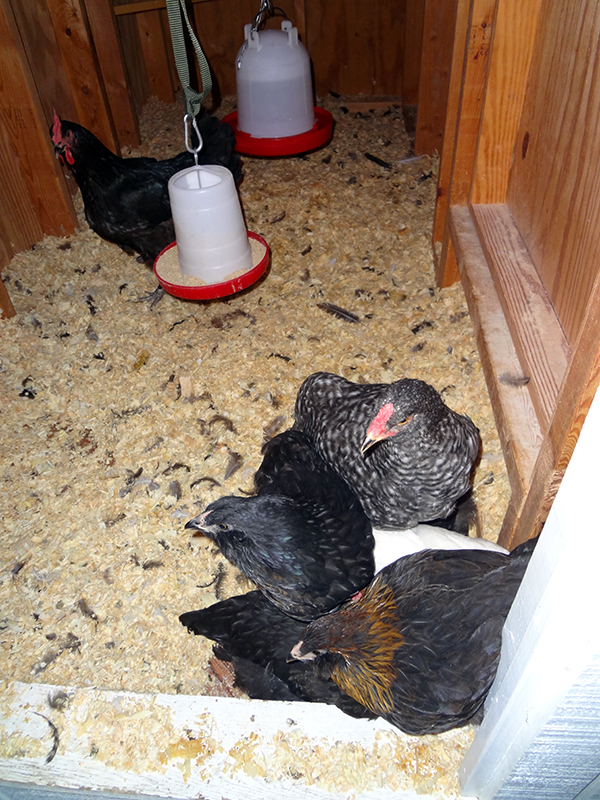
I figure that because there wasn’t a roost in their broody coop, where they lived with their mother, they never got this important chicken lesson. For the last few nights I’ve checked on them in the night, and they’re sleeping like a pile of puppies, on the ground wedged in a corner. It’s kind of adorable except that it’s really not in a chicken’s nature to sleep in a pile past the young weeks of chickdom.
So just for an experiment, tonight I caught Dahlia and put her in with her babies. That’s her above, looking at her kids like, WTF, who are you? Then, like a proper chicken she jumped on the roost to sleep. I am hoping that she will have a talk with her children and teach them how to roost. I am not super concerned—after all, chicks that aren’t raised with broody hens eventually figure out how to roost. I am more curious than anything to see if Dahlia’s behavior can influence her chicks at such a late stage in their development.
Speaking of development, this morning I awoke to Calabrese crowing, followed by his young son Griz crowing in response. This went on for a while, back and forth. I am sure my neighbors love me!
September 17th, 2013 §
This is what the backside of the coop has looked like since late winter.
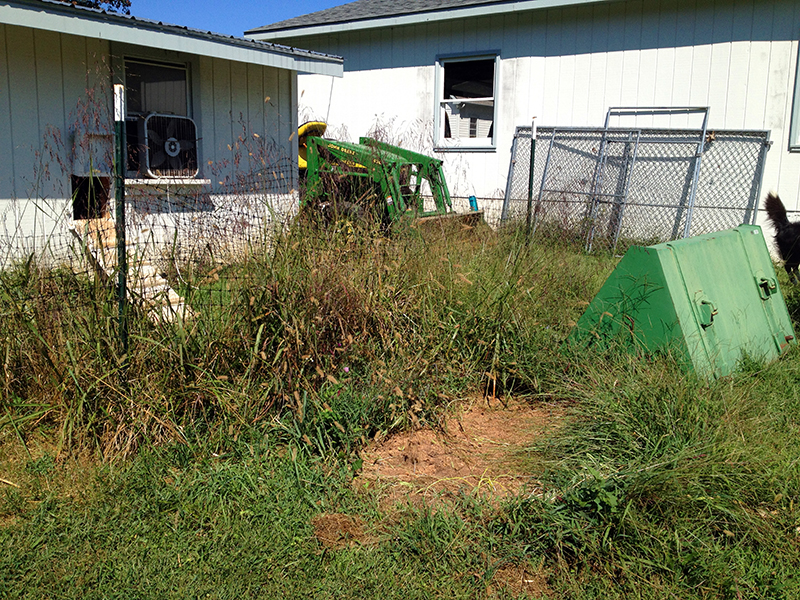
I’d thrown some netting up there when I decided to start free-ranging the chickens, and I wanted them to get used to being outside and coming and going through their chicken door before I let them totally loose. It worked, but since then this deer-netting and t-post pen has been used only to help capture the chickens to put them in the coop. Because the deer netting is plastic, I couldn’t weed-whack around it without destroying the netting, so the grass had grown up and through and sealed the net to the ground. Throw in a few tractor implements that I couldn’t move because the tractor was at my dad’s farm, and I had a real redneck mess and an eyesore that bothered me every time I looked at it.
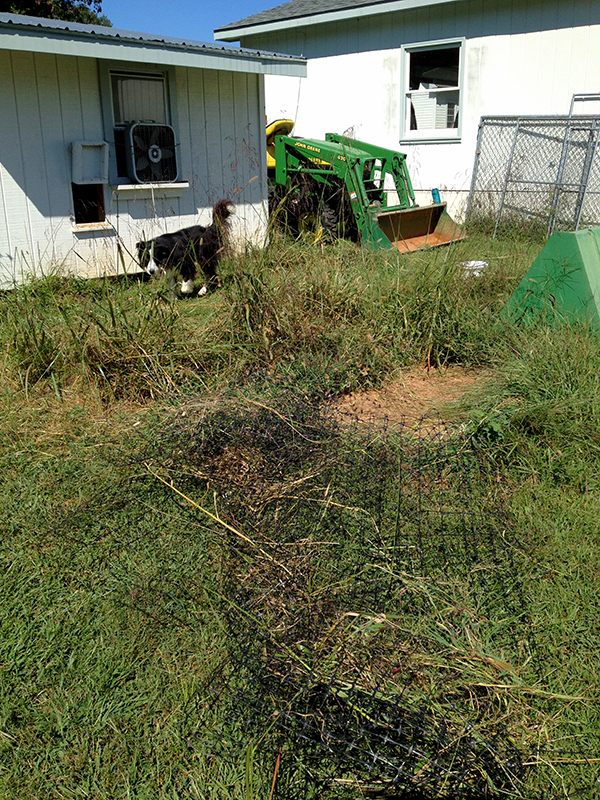
But on Friday the tractor came back, so I could finally move the forks and buckets and get to work cleaning up this mess. I removed the t-posts and then started pulling up the netting. It was so grown in that I had to use my scissors to cut the grass away from the bottom edge of the net. Not really a fun job. But I got it all up and then mowed the area.
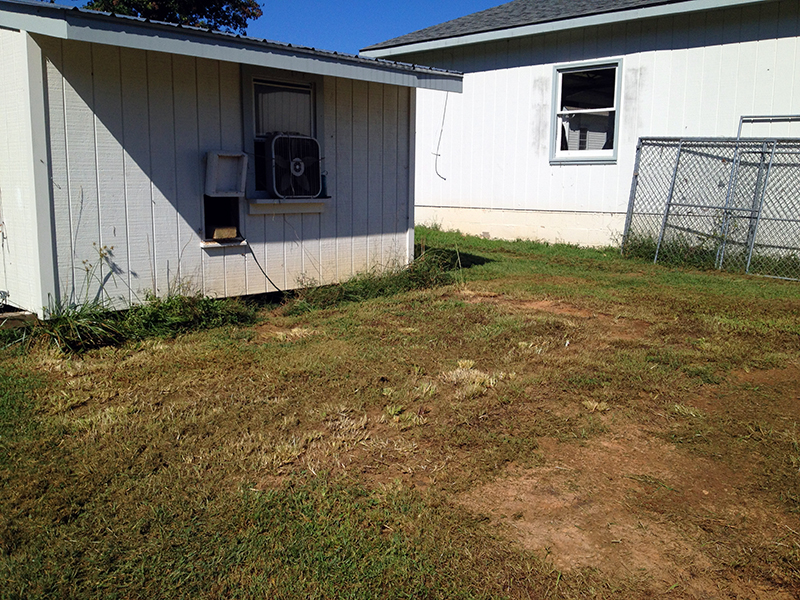
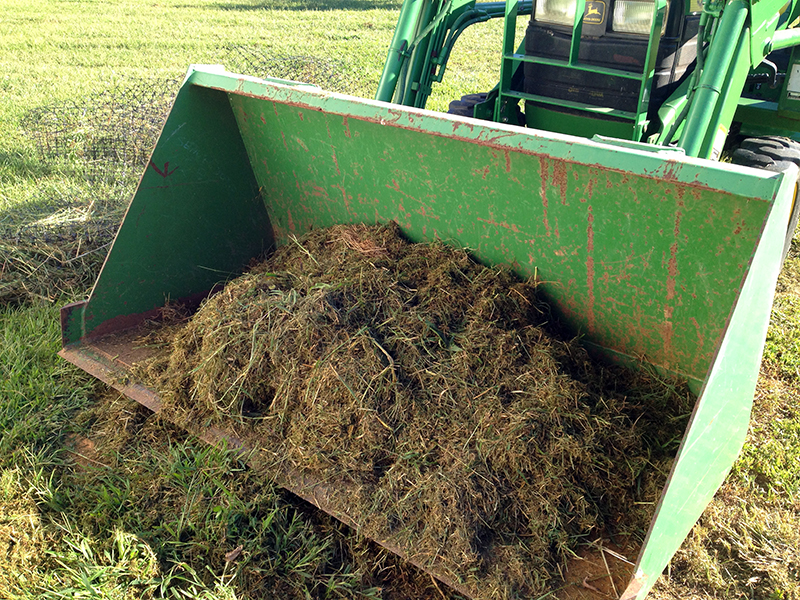
I couldn’t get my weed wacker started, so I had to cut the grass along the coop with scissors too. All this grass made for a nice tractor-bucket full of greens to juice the compost pile.
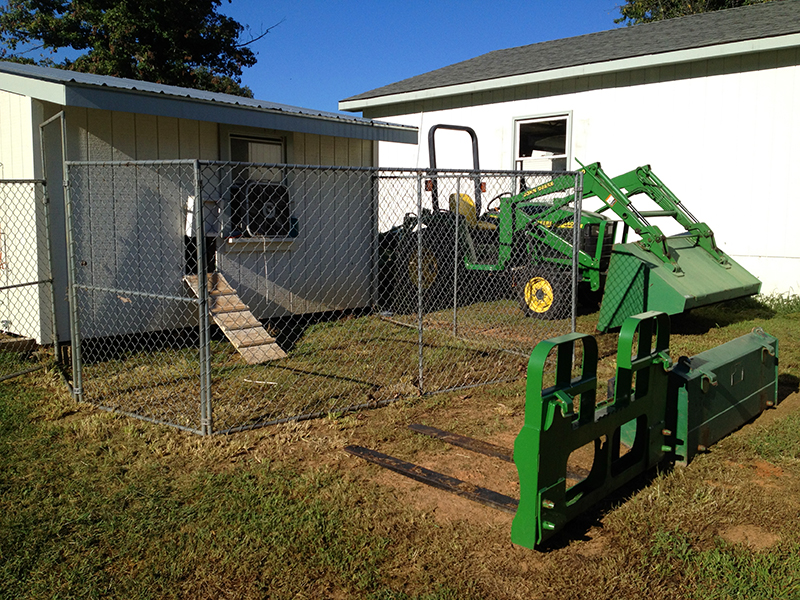
Then I had a clean slate to start setting up the dog kennel that’s leaning against the garage in the pictures above. I played around with a few configurations. Unfortunately I had two 10′ panels, and two panels that were only about 3.5′ wide. So a nice square pen wasn’t an option. Although the configuration I came up with bothers my sense of aesthetic order, the panels were free so I worked with what I had.
This was another one of the infinite jobs around here that would have taken two people about 20 minutes to do. But working alone I was at it for more than an hour, having to use shims and all sorts of other tricks to maneuver the panels upright and level so I could screw them together. And I totally torqued the tip of my thumb, trapping it between two panels while lifting them in to place.
But, injuries and annoyance aside, I got the pen up. I am living with it to see how I like it for a while, and if I decide it will stay I plan to dig some wire around the bottom so that I can have the chickens confined in there without worrying that they will be attacked. It’s not the most exciting or beautiful upgrade, but it’s an improvement that cost nothing but a few hour’s work and all sense of feeling in my left thumb.
